The Emperor on Pendola Pass holds loot you cannot get anywhere else, including the Emperor Modulator that unlocks Gunsmith Level 4. Walk in unprepared and one bad jump costs you the whole loadout.
This Arc Raiders Emperor guide covers how to craft the key, what to bring, how every room works, and when to leave. We ran it as a duo more than once, and this is what worked.
Table of Contents
- What Is the Emperor in Arc Raiders?
- How to Get the Emperor Gateway Conduit
- Best Loadout for the Emperor Run
- Where Is the Emperor Entrance?
- Emperor Walkthrough: Every Room and How to Beat It
- Exit or Push: How to Spend Your Raid Time
- The Grand Loot Room and the Emperor Modulator
- How to Extract After an Emperor Run
- Mistakes to Avoid in the Emperor
- Key Takeaways
- FAQ
What Is the Emperor in Arc Raiders?
The Emperor is a fallen ARC machine on Pendola Pass that you can enter once you craft a key. Inside is a chain of randomized trial rooms that ends in a loot hangar with Amplification Modules and the Emperor Modulator.
It arrived with the Frozen Trail 2.0 update on October 8.
Embark’s launch-day post says rare technology lies inside the collapsed husk and that the Hydra protects it. Our Hydra guide covers its weak points.
Here is what you are signing up for:
- The key: an Emperor Gateway Conduit, crafted from a blueprint and three couplers
- The rooms: a fixed ground floor, a fixed loot hangar, and randomized trials in between
- The rewards: the Emperor Modulator (see our Emperor Modulator guide) and Amplification Modules of different Marks
- The other source: the ARC Frigate is the other known place that drops modules
How to Get the Emperor Gateway Conduit
You craft the Emperor Gateway Conduit at Workbench I from one blueprint and three ARC couplers: Plated, Conductive, and Insulated. Every part comes from the Redirection event on Pendola Pass.
The couplers are the easy part. The blueprint is the rare drop.
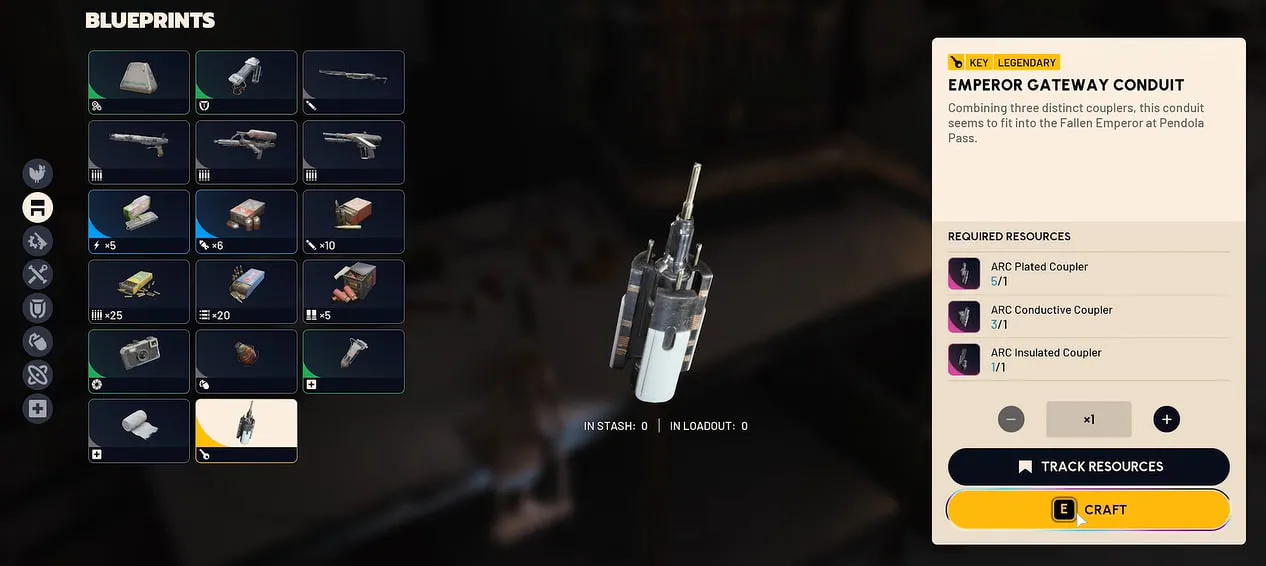
The ARC Raiders Wiki lists the conduit as a Legendary key.
What You Need
| Part | Amount | Where it comes from |
|---|---|---|
| Emperor Gateway Conduit Blueprint | Learn once | Rare drop from Emperor payloads |
| ARC Plated Coupler | 1 | Emperor payloads |
| ARC Conductive Coupler | 1 | Emperor payloads |
| ARC Insulated Coupler | 1 | Emperor payloads |
| Crafting station | Workbench I | Your workshop in Speranza |
The three couplers are the purple items in your loot.
We also saw the same purple couplers drop from the ARC we killed on the Frigate, so the Frigate is a backup source.
Want a shorter version of the guide? Check out this Medium Article.
Find the Redirection Event
Redirection is a minor map event on Pendola Pass. It is not one of the big conditions like the Frigate or night raids. Our Pendola Pass map guide covers the condition in more detail.
It runs about three or four times a day in one-hour slots spread through the day, so you need to target it while it is live.
Damaged Emperor Relays are spread all over the map. A couple of them activate at a time and show a looping timer.
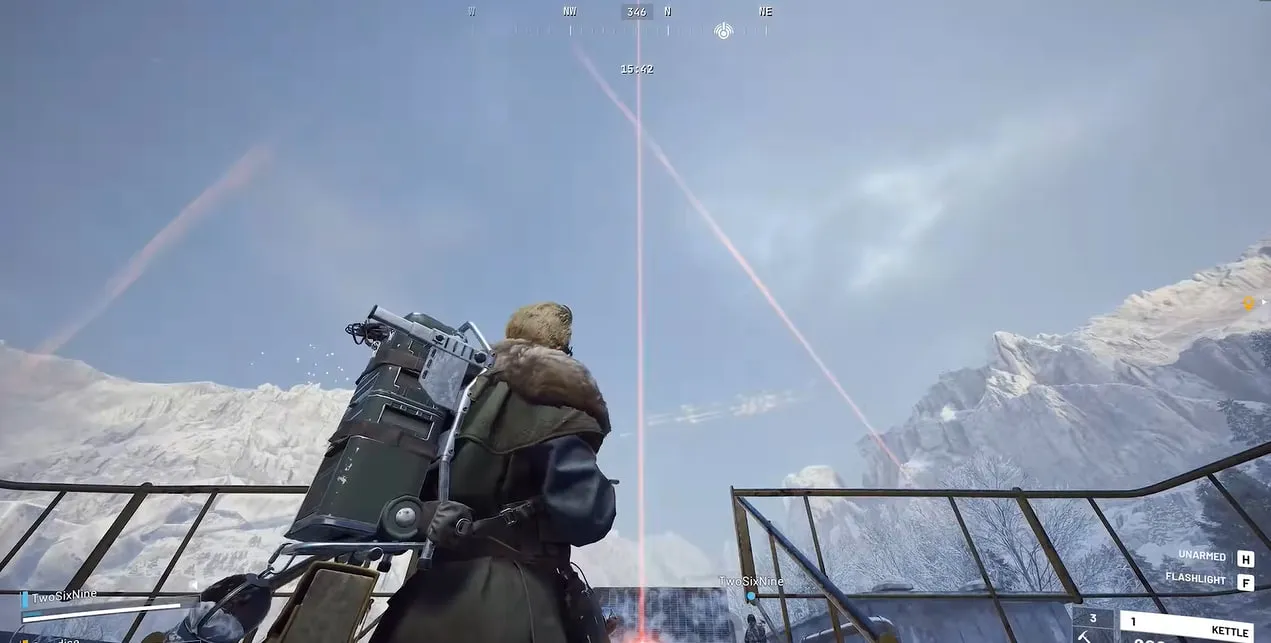
An active relay fires a red beam into the sky. Run to it and loot it for an Emperor Beacon.
Other players can see the same beam. Expect PvP at the relays.
Guides report that relays start switching on at roughly 25 minutes left in the raid, so plan to be near one by then.
Place the Beacon and Loot the Payload
Put the beacon in a quick slot and place it where you can defend the drop.
Do not extract with it. An unused beacon turns into a Ruined Emperor Beacon that you can only sell. Use it on the map where you found it.
Our best spot was a rooftop with few entrances. That makes it hard for anyone to ambush or snipe you.
If nobody is nearby, place it right away so fewer players have time to run at you.
Debris and explosions rain down for about 10 to 20 seconds. Stay near a building so you can take cover.
Fireballs, big debris, and small broken parts drop everywhere. The small parts are lootable.
Then a payload lands exactly where you placed the beacon. Breach it.
Only the large upright payload holds the couplers and the blueprint. The small pieces around it give ARC parts.
If rivals keep finding you, smoke grenades help. Corners of the map and rooftops also make it easier to grab the payload with less pressure.
Expect to repeat this several times. Couplers drop easily, often more than one per payload. One guide reports that the blueprint took five or six payloads for one player and 20 or more for another.
Put the blueprint in a safe pocket first. Then pocket one of each coupler type before any spares.
Craft the Key
Extract, learn the blueprint, and craft the conduit at Workbench I back in Speranza. Then put the finished key in a safe pocket and bring it into a fresh Pendola Pass raid.
You cannot craft it mid-raid, and guides report that couplers cannot be pooled between Raiders.
If you would rather skip the farm, the wiki lists a finished conduit as the last reward on the Frozen Trail Premium Reward Pass.
Best Loadout for the Emperor Run
Bring a Hullcracker, an accurate second gun, a Grappling Hook or Snap Hook, shields, healing, and an augment with safe pockets. Our Grappling Hook guide covers how the hook works. The hook matters most, because it saves the time you need to reach the loot hangar.
| Item | Why we bring it |
|---|---|
| Hullcracker | Takes Hydras down fast. Both of us carried one in our duo runs |
| Renegade | The big magazine makes it easy to shoot the yellow nodes that open doors |
| Grappling Hook or Snap Hook | Skips most of the parkour and saves minutes |
| Barricade kits | Block lasers in the laser room |
| Shields and medical items | We carried several stacks of each |
| Looting Mk. 3 (Survivor) | Gives you safe pockets for the blueprint, key, and loot |
| Ammo | A few stacks of whatever your guns use |
Any weapon can shoot the yellow nodes, and medium or heavy guns work best. The Renegade wins on magazine size.
Our augments guide lists the shield tiers and safe pocket counts for each augment.
Patch Changes That Affect This Kit
Embark changed several things in the 2.0 patch notes.
- Snap Hook: range dropped from 20 m to 18 m, durability cost rose from 2% to 4% per use, and power cost rose from 50 to 60. Bring a spare or pair it with a Grappling Hook.
- Hullcracker: explosives now deal over 50% more damage to armor plates and about 30% less to fragile parts.
- Supply: Tian Wen no longer sells the Hullcracker or Anvil. They now rotate through the weekly Nomadic Envoys.
The Store Update 2.1.0 notes also made Grappling Hook vaulting more reliable, especially on Pendola Pass. Our Grappling Hook guide covers the blueprint and recipe.
The Store Update 2.2.0 notes from October 20 touch the Emperor directly:
- Emperor fixes: moving platforms no longer drift out of sync, some gaps in the compaction killboxes are closed, and map boundaries near the entrance are tightened so players stop clipping out of bounds.
- Fallen Emperor: a collision issue that could trap players inside the Fallen Emperor is fixed.
- Hydra: weapons now spread across targets more often, and base damage went up to compensate.
- Grappling Hook: rappelling to the ground and auto-vaulting on steep slopes are smoother.
Embark’s Hotfix 2.1.1 on October 16 also fixed instances that let players into locked rooms. Embark did not say which rooms, and some players reported an unverified route into the final loot room that may leave it already looted, so treat a key as a risk rather than a guarantee.
Where Is the Emperor Entrance?
The entrance is the big vault door at the base of the Fallen Emperor Husk, in the west of Pendola Pass. Slot the conduit into the socket and the door opens.
On the map, head for the Fallen Emperor Husk and aim for the spot in front of its face. The door sits right beside an extraction point, which you can use at the end of the run if you have the time.
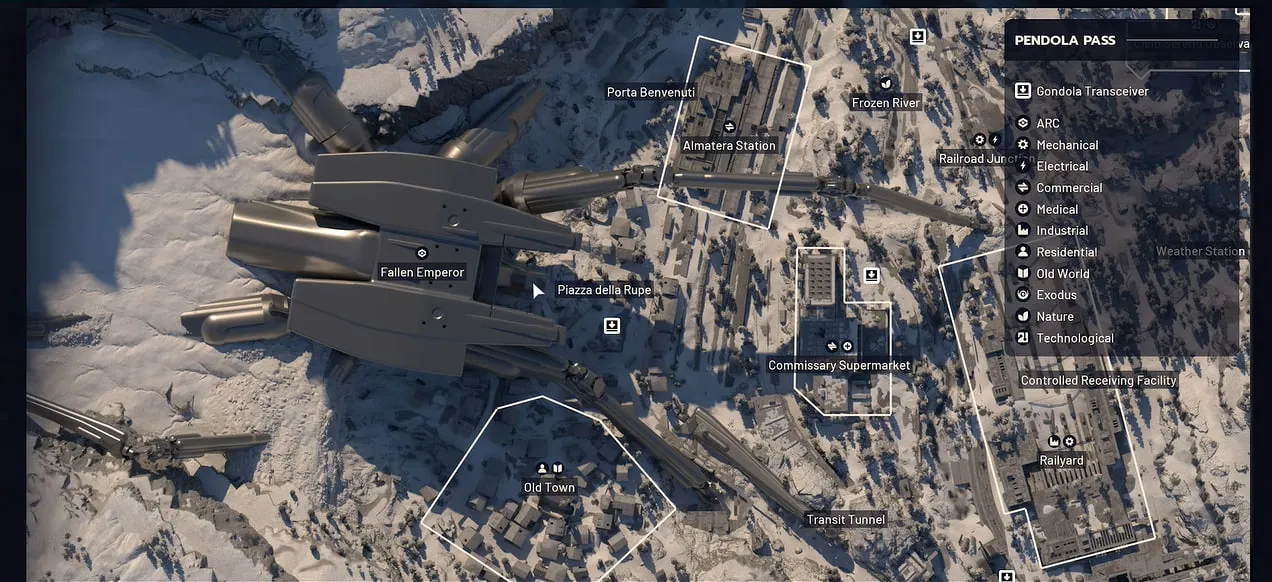
Guides place it near Piazza della Rupe. Our Pendola Pass map guide shows the surrounding landmarks.
Opening the door is loud. In our experience nearly everyone on the map can hear it, so expect company.
Two guides report that using the conduit consumes it, so each door opening costs one key.
Other guides report that you can follow a player who has already opened the door. We ran in alongside a friendly duo on one run.
Once you are inside, it is relatively safe. The rooms are chaotic and full of jump puzzles, and most players are still learning them.
Emperor Walkthrough: Every Room and How to Beat It
The ground floor and the loot hangar never change. The rooms in between reshuffle every run, and some rooms have more than one layout.
Learn what each room type asks of you instead of memorizing a route.
| Room | Main danger | What worked for us | Best tool |
|---|---|---|---|
| First tunnel | Shock boxes and a Hydra | Shoot the boxes, then kill the Hydra | Hullcracker |
| Elevator | Electric floor, falling, squishing | Destroy every yellow node, then ride up | Renegade |
| Maze | Pops, fireballs, moving block | Kill the ARC, find the nodes or the open door | Any rifle |
| Parkour tunnel | Electric blocks that recharge | Shoot them before you jump | Hook |
| Crushing room | Closing walls, gas, no stamina regen | Hide in a recess, then take the back route | Hook |
| Dark room | Moving floors and Hydras | Kill the Hydras first | Hullcracker, hook |
| Laser room | Lasers that wreck you if you stand in them | Crouch in safe spots | Barricade kits |
| Loot pods | Explosions | Take your best items, then step away | Loot speed skills |
The First Tunnel and the Hydra
The first tunnel has shock-looking boxes. Shoot each one so it explodes, then run past. They recharge, and running into one sets you on fire.
A Hydra spawns at the far end. You can run up and melee it or shoot it point blank.
It can only hit you with its bottom turret. Destroy that one and the other turrets cannot reach you.
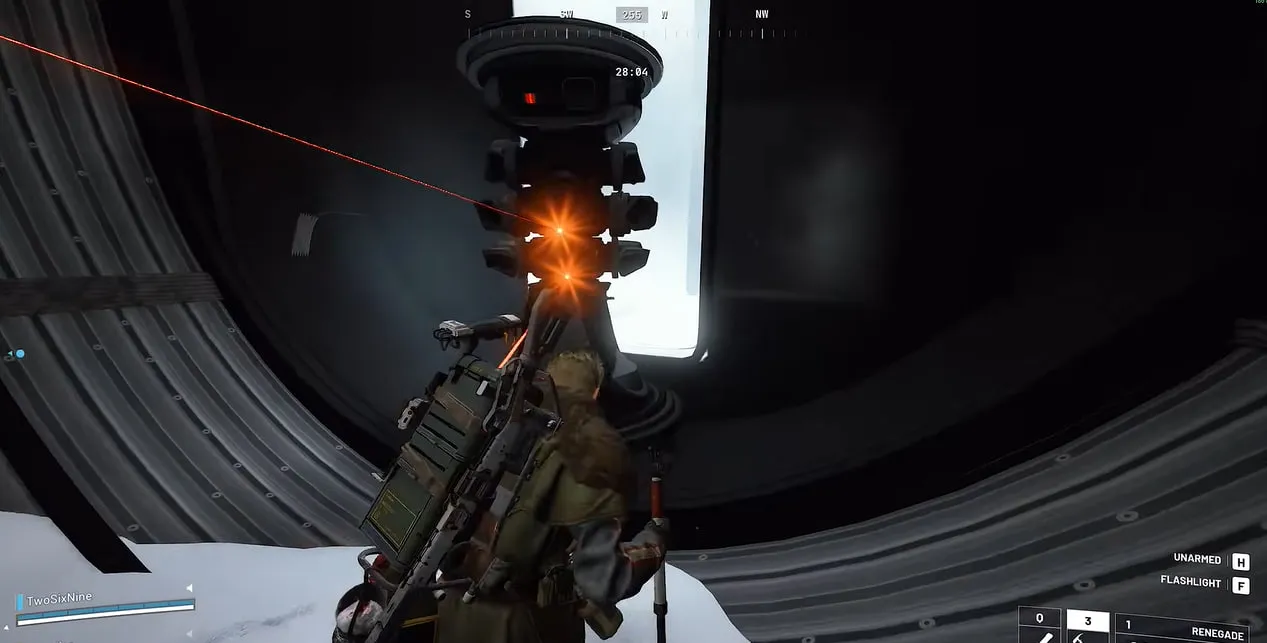
With a Hullcracker, one or two players take it down quickly. Our Hydra guide covers its weak points.
The Elevator Room
Do not stand on the electrified floor. You will take damage.
Destroy the yellow nodes above it first. After the four center nodes go down, notches on the outer walls open up. Destroy those too.
That shuts off the electricity and slows the outer spinning ring so you can jump on.
The elevator moves up and down with platforms at different lengths. Mistime a jump and you can fall through the gap and die. Go too high and you can get squished.
Wait for the elevator to move and then stop. Jump onto the highest pad, go into the next room up, and repeat.
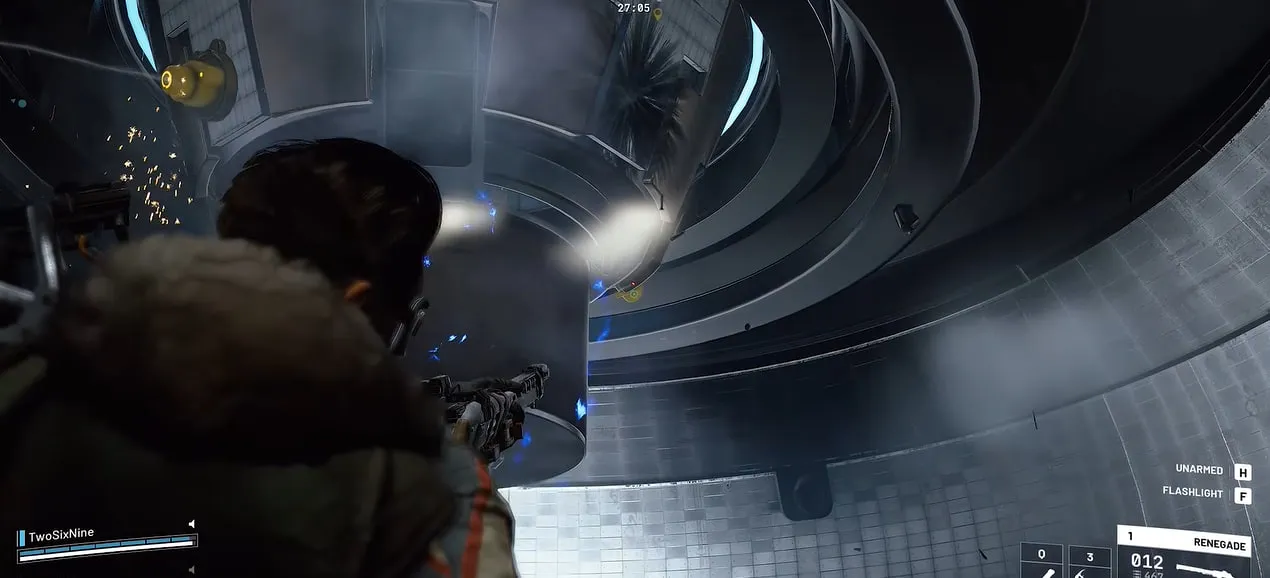
Jump out when you see a big doorway. Depending on how the dungeon rolls, you may end up working your way down through later rooms instead of up.
The stops have breachable containers. We found Amplification Modules of different Marks in them, plus purple and blue items.
The Maze Rooms
We saw two maze layouts, and you may not get a maze at all.
Open grid: lots of ARC, including shredders, pops, and fireballs. Kill as many as you can so you can run freely. Look down every row for the four yellow nodes and shoot them.
After that, one large square block moves up and down. Wait for it to come all the way down, jump on top, and line up with the gap at the top.
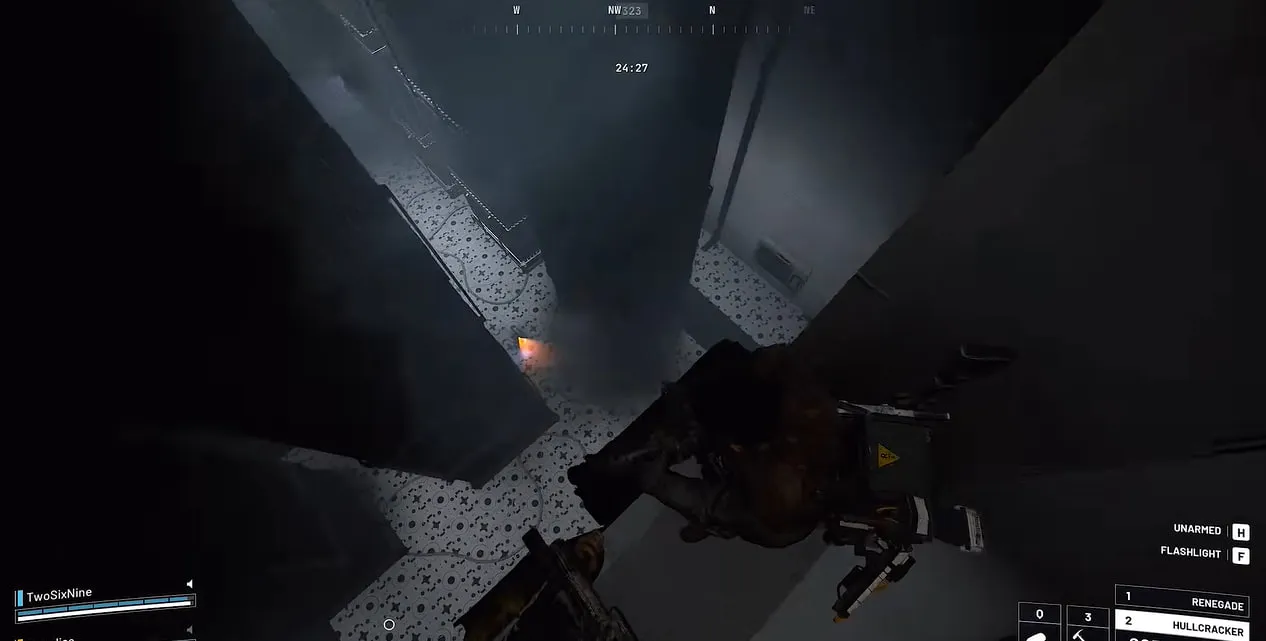
You can get squished here. The gap is bigger than it looks, and two players fit through easily.
Partitioned maze: it plays like a traditional maze. Pops and fireballs travel under the blocks and can ambush you. Destroy the ARC and find the doorway that opens.
The Parkour Tunnel
Climb the yellow ladders, do small back jumps, then parkour upward.
Shoot the electric blocks before you land on them. They fire a big area blast and they recharge, so if you are slow you get shocked and may fall or die.
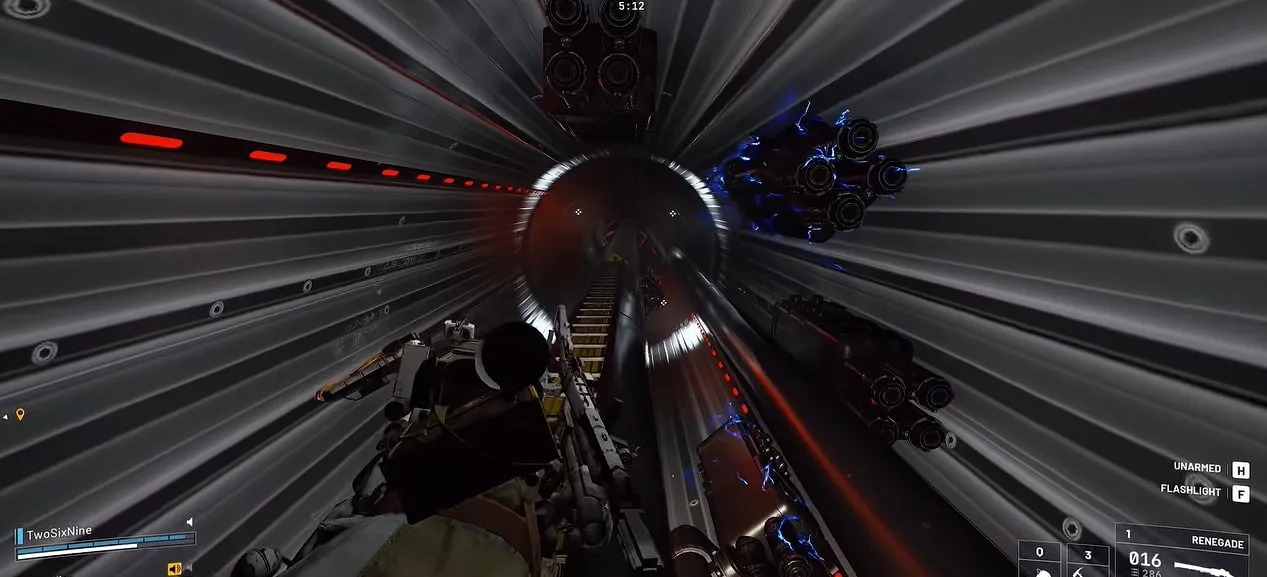
In our opinion, you need a Grappling Hook or Snap Hook to reach the grand loot room in time. The jumps are really hard to make, and doing everything by parkour eats your clock.
The Crushing Room
This room is an Indiana Jones trap. The walls close in, gas sprays everywhere, and your stamina does not regenerate.
It is easy to panic. On our first visit we thought we were dead.
Look for the recesses along the wall and hide in one. One guide also reports a safe dip in the middle of the floor.
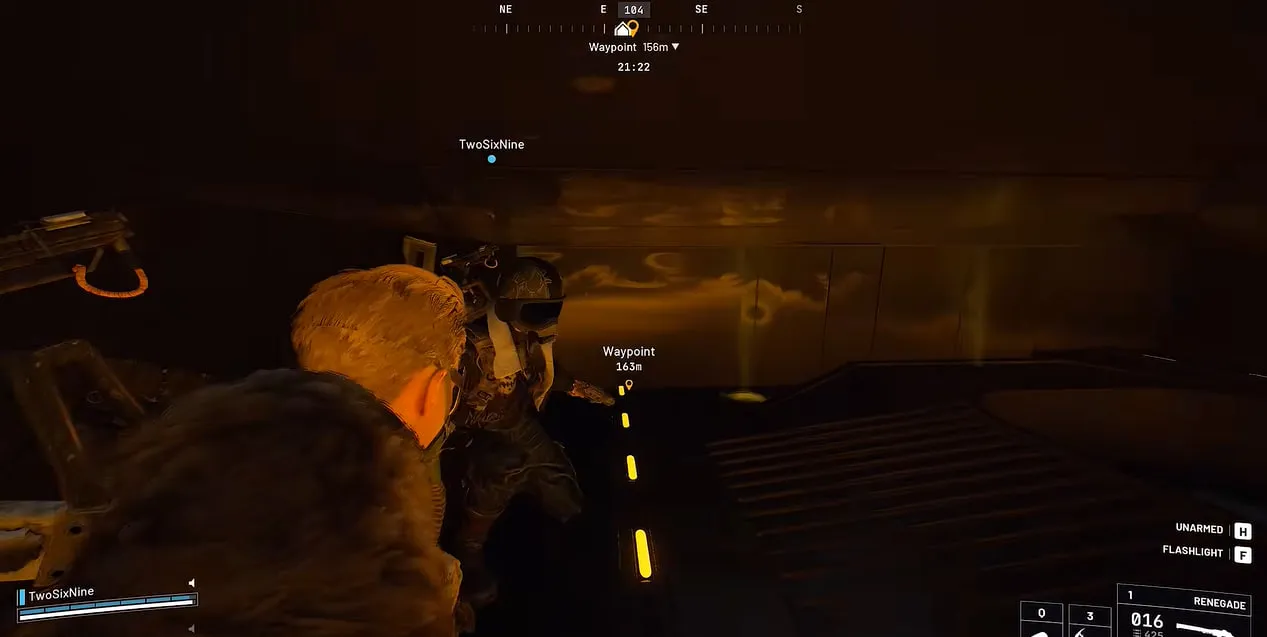
To move on, run to the circular wall and jump your way up, or hook over to the other wall. The room has two or three connected parts.
For the back route, wait until you have the most time possible. Drop down, run forward, slide under the big motors, and climb the ledges up and to the right.
Later you reach a jump that only lines up at certain moments. Miss it and your run may be over. Then climb the ladder as high as you can before you jump to the next one, because it slides you down a little.
The Dark Rooms
Above the crushing room is a dark room with a floor that opens and closes. Big boxes stay in place, so you are safe as long as you are aligned with a box.
Two Hydras can spawn around the corners, and there is little cover. Kill them early. They hit hard in the open and shoot you during jumps.
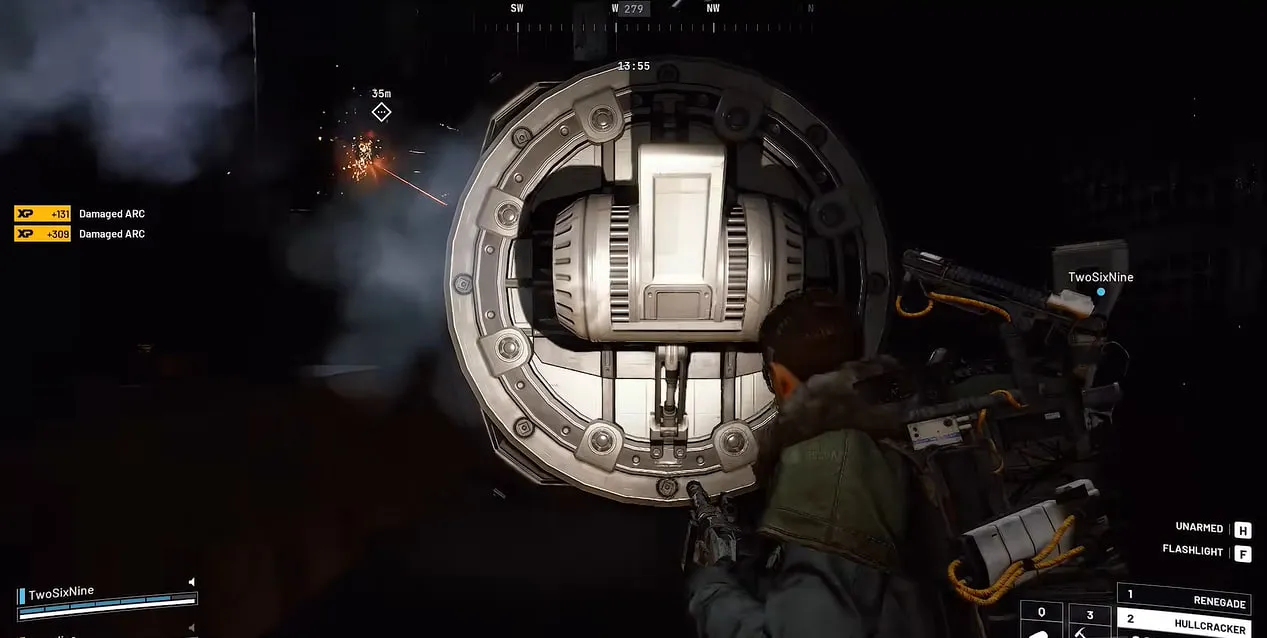
Our route went like this:
- Go to the far right box at the back right of the room.
- Jump onto the front bit, then onto the box.
- Hop across into the small cubby gap.
- Jump onto the moving debris with the notches and climb it.
- Climb up to the railing and follow the wall.
We also saw a variant where the floor did not move, because we had not rolled the crushing room that run. The idea stays the same. Use the moving pieces and railways to cross.
We used a Grappling Hook in that variant and it was far easier. A running jump also worked in one spot.
Some pods in these rooms are blue, which means they will not explode.
The Laser Rooms
We saw two laser rooms. One is packed with pods that block the beams, and one is open.
Before you reach them, you may need to dodge a fast-moving pod that climbs over the area.
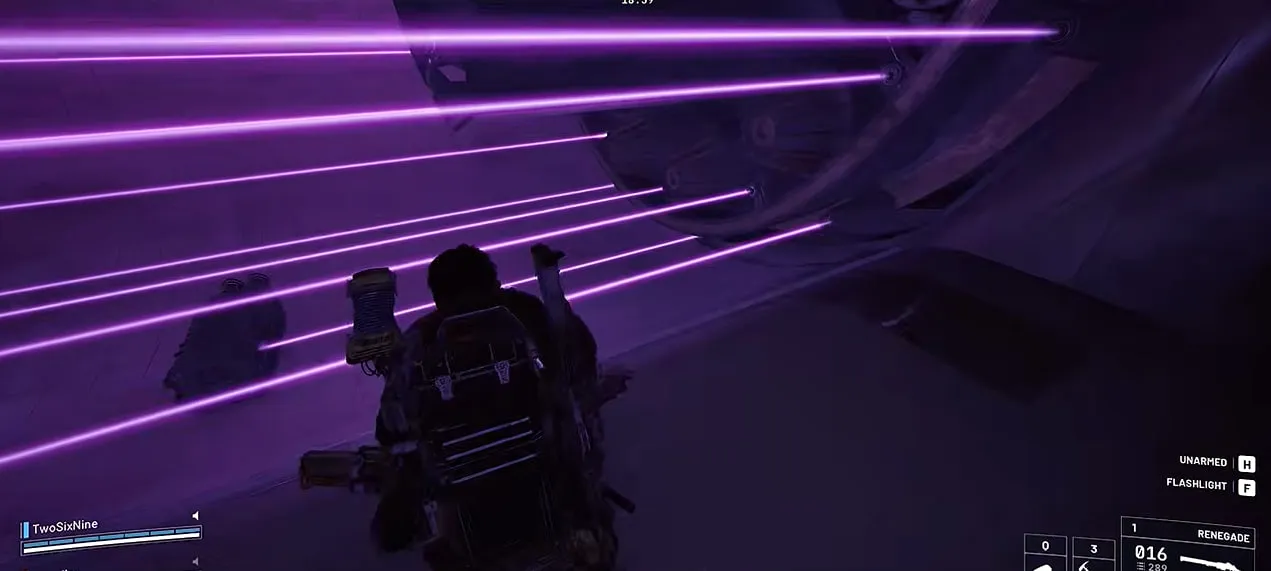
You will take some damage no matter what. Touching a laser is fine. Standing in one will wreck you.
Use the safe spots and crouch. Crouch below the lasers that sweep up and down.
In the pod version, make a long run to the back of the pod and watch the explosive pod nearby. In the open version, there are more safe spots, but you are more exposed.
Barricade kits block some of the lasers for a short time. They help if you struggle.
The open laser room had loot inside, but ours was trash and not worth the risk.
Exploding Loot Pods
Orange or red pods blow up after a short timer, and they chain-react into nearby pods. The blast hurts you.
Even with every loot speed skill unlocked, we could only loot about eight items before one went off.
Take the best items first, then step away. Blue pods are safe.
Exit or Push: How to Spend Your Raid Time
Deep in the dungeon you reach a fork. One path takes you back toward the elevator and out, and the other leads deeper to the loot room. Decide by the clock before you commit.
The elevator ride is the safe exit. You ride it in reverse, it takes you all the way down to the entrance floor, and you keep your whole loadout.
In the run we filmed, the fork showed about 4 minutes left, which is a good moment to ride the elevator out. We kept going instead. Only a couple of minutes remained when we reached the loot room, and we still got an Emperor Modulator from the floor. An army of ARC met us there, and we did not have enough time to leave through the big door.
That is the trade. The loot room pays more, but it needs time to loot and time to fight your way out.
Do not rely on door color alone. In our footage a white door led back to the elevator room. One other guide reports the opposite, with a door that has two white lights as the way forward and a yellow-lit door as the way back.
Confirm where a door leads before you commit.
One guide also reports a broadcast at 10 minutes left that warns the safe window is closing. Treat it as a cue to plan your exit.
Time is why hooks matter. A teammate we ran with used a Snap Hook to go from the bottom of a room to the top in about 5 seconds. Doing the same by parkour takes minutes.
The Grand Loot Room and the Emperor Modulator
The last room is a hangar packed with containers. Loot the floor first, because that is where we found our Emperor Modulator.
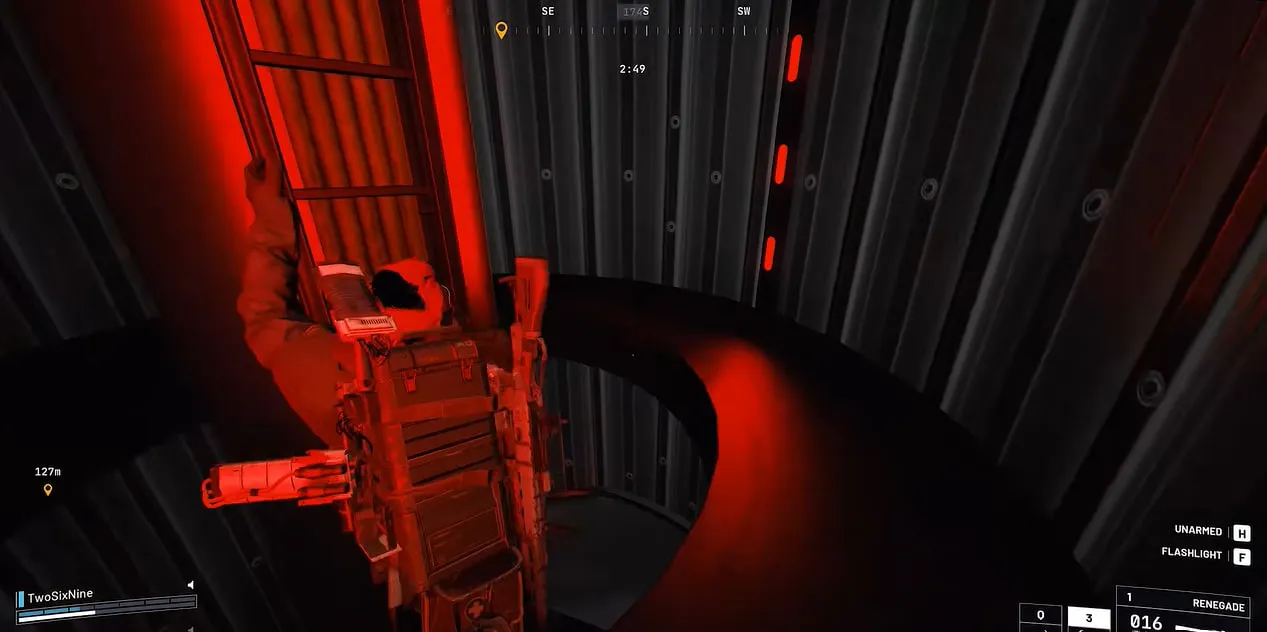
Then shoot the yellow nodes on the walls to open more containers, and be ready for ARC to pour in.
When you land in the room, the lights turn red. A big door opens, and a swarm of flying ARC comes in. Be ready to fight them.
Shoot every yellow node on the sides. Other guides count six, three on each wall. When they are all down, the room turns blue and the wall containers open for looting.
Other guides report a Vaporizer among the flyers. They suggest hiding under the collapsed container and waiting for the Vaporizer to leave before you loot. Our ARC enemies guide covers its weak points.
A grappling hook softens the drop into the room. We fumbled ours and took some fall damage.
What the Emperor Modulator Does
The Emperor Modulator upgrades your Gunsmith to Level 4. Guides report the upgrade also costs three Radial Presses and three Magnetic Accelerators.
For a step-by-step farm focused only on the Modulator, read our Emperor Modulator guide. That upgrade leads toward amplified weapons. Our amplified weapons guide covers the perk paths, and our Outpost guide covers the Research Workstation.
Put the Modulator in a safe pocket the moment you grab it. Keep your first one, because you only need a single Modulator for the Gunsmith.
If your Gunsmith is not at Level 3 yet, our Workshop upgrade guide lists what each station needs.
How to Extract After an Emperor Run
The closest extraction is the Reckless Transceiver beside the vault door. It is also the most exposed spot, because you are standing next to the biggest landmark on the map.
Leave through the big door that opens in the loot room, or take the elevator route. Move your valuables into safe pockets before you call a gondola.
If you are quick enough, the extraction beside the door works well. If the area is contested, walk to a quieter gondola instead.
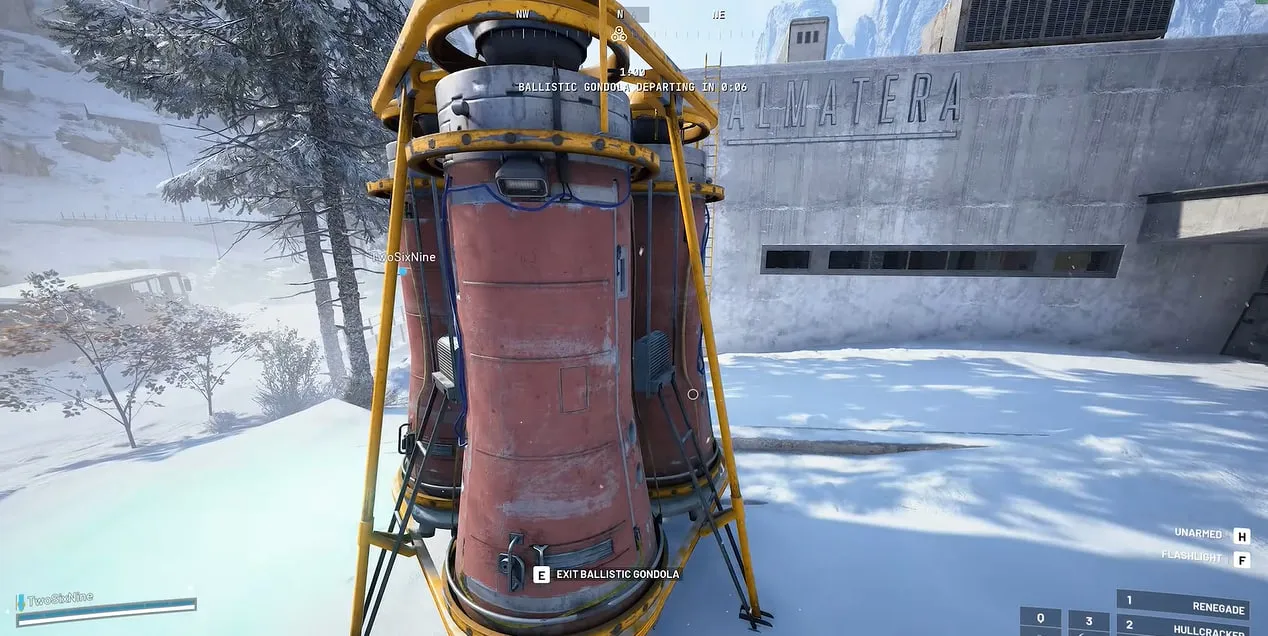
Our Ballistic Gondola guide covers where each transceiver sits and how the three-seat gondola works. Our extraction methods guide covers the rest.
Mistakes to Avoid in the Emperor
- Going in without a hook. Parkour is slow and risky, and the clock decides the run.
- Ignoring Hydras. In the dark room they shoot you while you jump.
- Panicking in the crushing room. Find a recess and hide.
- Standing in lasers. Crouch in safe spots instead.
- Looting a red pod past eight items. It will blow up and chain-react.
- Extracting with a beacon. It turns into a Ruined Emperor Beacon.
- Entering the loot room with no time left. The ARC inside will use up the rest.
- Carrying the Modulator in your backpack. Use a safe pocket.
Key Takeaways
- Craft the Emperor Gateway Conduit at Workbench I from a blueprint and three couplers.
- Farm parts during Redirection on Pendola Pass, and place beacons on defensible rooftops.
- Do not extract with an unused beacon. It turns into a Ruined Emperor Beacon.
- Bring a Hullcracker, a hook, barricade kits, and safe pockets.
- The ground floor and loot hangar are fixed. The rooms between them reshuffle.
- Shoot every yellow node, and shoot electric blocks before you land on them.
- Exit by elevator when time is short. Push to the hangar only with time to fight and leave.
- Safe-pocket the Emperor Modulator the moment you find it.
FAQ
How do you get into the Emperor in Arc Raiders?
Craft an Emperor Gateway Conduit and use it on the vault door at the base of the Fallen Emperor on Pendola Pass. The conduit needs a learned blueprint plus one ARC Plated, one ARC Conductive and one ARC Insulated Coupler, crafted at Workbench I. All of those parts drop from payloads you call in during the Redirection event. The Frozen Trail Premium Reward Pass also lists a finished conduit as its last reward.
How do you craft the Emperor Gateway Conduit?
Extract with the blueprint, learn it in Speranza, then craft the conduit at Workbench I using one of each coupler. The couplers drop easily, often several per payload, but the blueprint is the rare piece. Put the blueprint in a safe pocket the moment you find it so a death does not erase the farm.
When is Redirection active on Pendola Pass?
In our runs and in other guides, Redirection came up about three or four times a day in roughly one-hour slots. Check your Map Selection screen for the Redirection label before you queue, because the rotation can change. Embark excluded Redirection from its PvE toggle test, which has since ended, and the studio says it will share more in November. Expect to farm it in standard matchmaking.
What is the best loadout for the Emperor?
Bring a Hullcracker for the Hydras, a Renegade for the yellow nodes, a Grappling Hook or Snap Hook, shields, healing, and an augment with safe pockets. Barricade kits help in the laser room. The hook matters most because it saves the time you need to reach the loot hangar.
Do you need a Grappling Hook or Snap Hook for the Emperor?
No, but we would not go without one. Most rooms can be climbed with parkour, but the jumps are risky and slow. In our runs a hook turned multi-minute climbs into a few seconds, which left more time to loot and extract.
Are the Emperor rooms random?
Partly. The ground floor and the final loot hangar stay the same, while the rooms between them change order from run to run. Some rooms also come in more than one layout, and we saw two maze layouts and two laser room layouts. Learn each room type instead of memorizing a route.
Where do you find the Emperor Modulator?
The Emperor Modulator is a Legendary item that drops inside the Emperor, mainly in the Grand Loot Room at the end. We found ours by looting the containers on the floor of that room. Special pods earlier in the run can also hold one, so breach what you safely can along the way.
What is the Emperor Modulator used for?
It upgrades the Gunsmith to Level 4, which is a step toward amplified weapons. Guides report that the upgrade also costs three Radial Presses and three Magnetic Accelerators. You only need one Modulator for it, so keep your first one.
How do you leave the Emperor?
You have two main exits. Ride the elevator back down to the entrance floor, or push on to the loot hangar and leave through the big door that opens there. The Reckless Transceiver beside the Emperor is the closest extraction, but it is also the most exposed, so move your valuables into safe pockets before you call a gondola.
Can you do the Emperor solo?
We ran it as a duo, and that is what we can speak to. Other guides report solo clears, but without a teammate to revive you, one knockdown can end the run. If you go alone, bring extra healing and a hook, and skip optional fights.