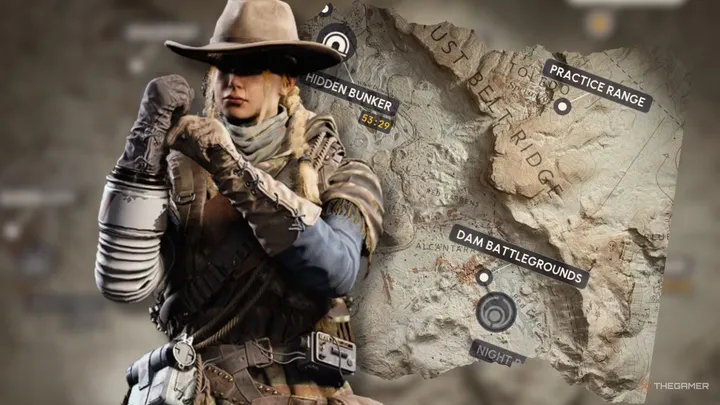
Running the same loot run every match and coming back with the same mediocre haul gets old fast. Most players cycle between two or three “known good” spots while better zones, including an entire map most guides still skip, sit untouched. This Arc Raiders loot map guide breaks down the best loot zone on every current map, including Riven Tides, plus what to farm where and how to scale your route to your group size.
Table of Contents
- How Loot Zones Actually Work
- Quick Reference: Best Loot Zone by Map
- Dam Battlegrounds
- Buried City
- Spaceport
- The Blue Gate
- Stella Montis
- Riven Tides
- Extraction Points Near Top Zones
- What to Farm Where
- Map Conditions That Boost Your Loot
- Solo vs. Squad Loot Strategy
- Key Takeaways
- Frequently Asked Questions
How Loot Zones Actually Work
Arc Raiders color-codes containers and buildings by risk and reward. Unmarked areas hold baseline materials, good for a quick top-up but not worth a detour. Yellow zones step up the loot quality and the ARC presence that guards it. Red zones hold the densest, highest-tier loot on the map, along with the heaviest ARC patrols and the most player traffic.
Above all three sits one more tier: locked rooms that need a keycard. These rooms ignore the color system entirely and consistently hold the best gear in their building, which is why every section below calls out where keys matter most.
Field Crates near Field Depots are worth a mention here too, since they sit outside the color-zone system entirely. They’re tied to specific quests like Off the Radar and Down to Earth, so a Field Crate that looks unremarkable on the map can still be worth a detour if you’re mid-quest, on top of whatever loot it drops on its own.
Quick Reference: Best Loot Zone by Map
| Map | Top Zone | Best For | Risk | Key Needed |
|---|---|---|---|---|
| Dam Battlegrounds | Control Tower | Tech, security, blueprints | Medium | Helpful, not required |
| Buried City | Space Travel + Research | Tech, medical, Old World items | Medium-High | Helpful |
| Spaceport | Launch Towers | Components, weapons | High | Helpful |
| The Blue Gate | Gate Approach | Weapons, blueprints, components | Very High | Not required |
| Stella Montis | Medical Research | Augments, Voltage Converters | High | Helpful |
| Riven Tides | Hotel Panorama Azzurro | Commercial, residential loot, gold | High | Yes, multiple rooms |
Dam Battlegrounds
Control Tower and Research and Administration
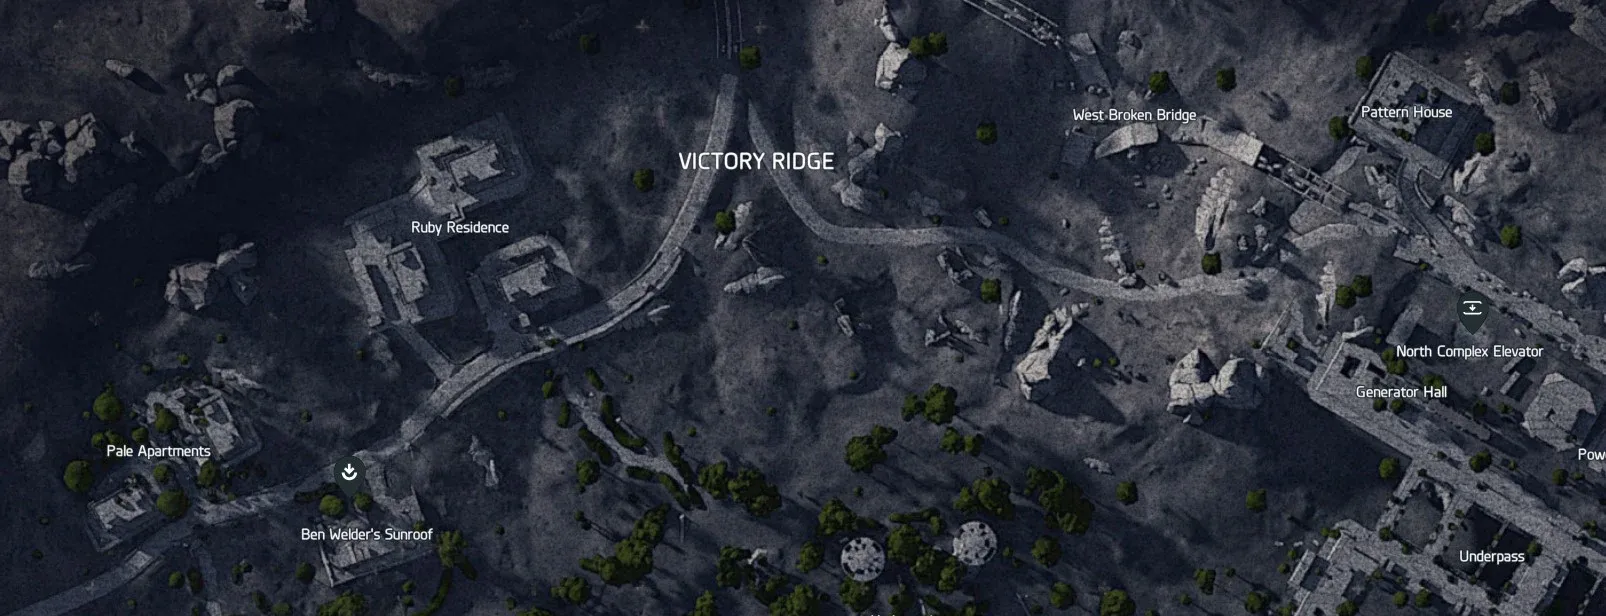
Dam Battlegrounds is the first map most Raiders learn, and its two best buildings sit close enough together to run as a single loop. If you’re still finding your footing, our beginner guide is worth a read before you start optimizing routes. The Control Tower’s vertical layout packs lockers, desks, and cabinets into a tight footprint, which makes it efficient even when other players are already inside. Research and Administration sits nearby and offers more cover from ARC patrols while still producing tech and security loot at a similar rate.
The Hydroponic Dome Complex looks tempting on the map but is worth skipping early on. It’s exposed, draws heavier ARC attention, and doesn’t reward the extra risk the way the two buildings above do. If you have a keycard, the locked rooms near the top of the Control Tower are the single best return on this map.
If Control Tower is already picked over, the South Swamp Outpost in the southwest corner and the small creek area just outside Control Tower are both solid backups, light on competition and good for a fast top-up of medical and crafting items.
For a full stop-by-stop path through this map, see our Dam Battlegrounds loot route.
Buried City
Space Travel, Research, and the Galleria
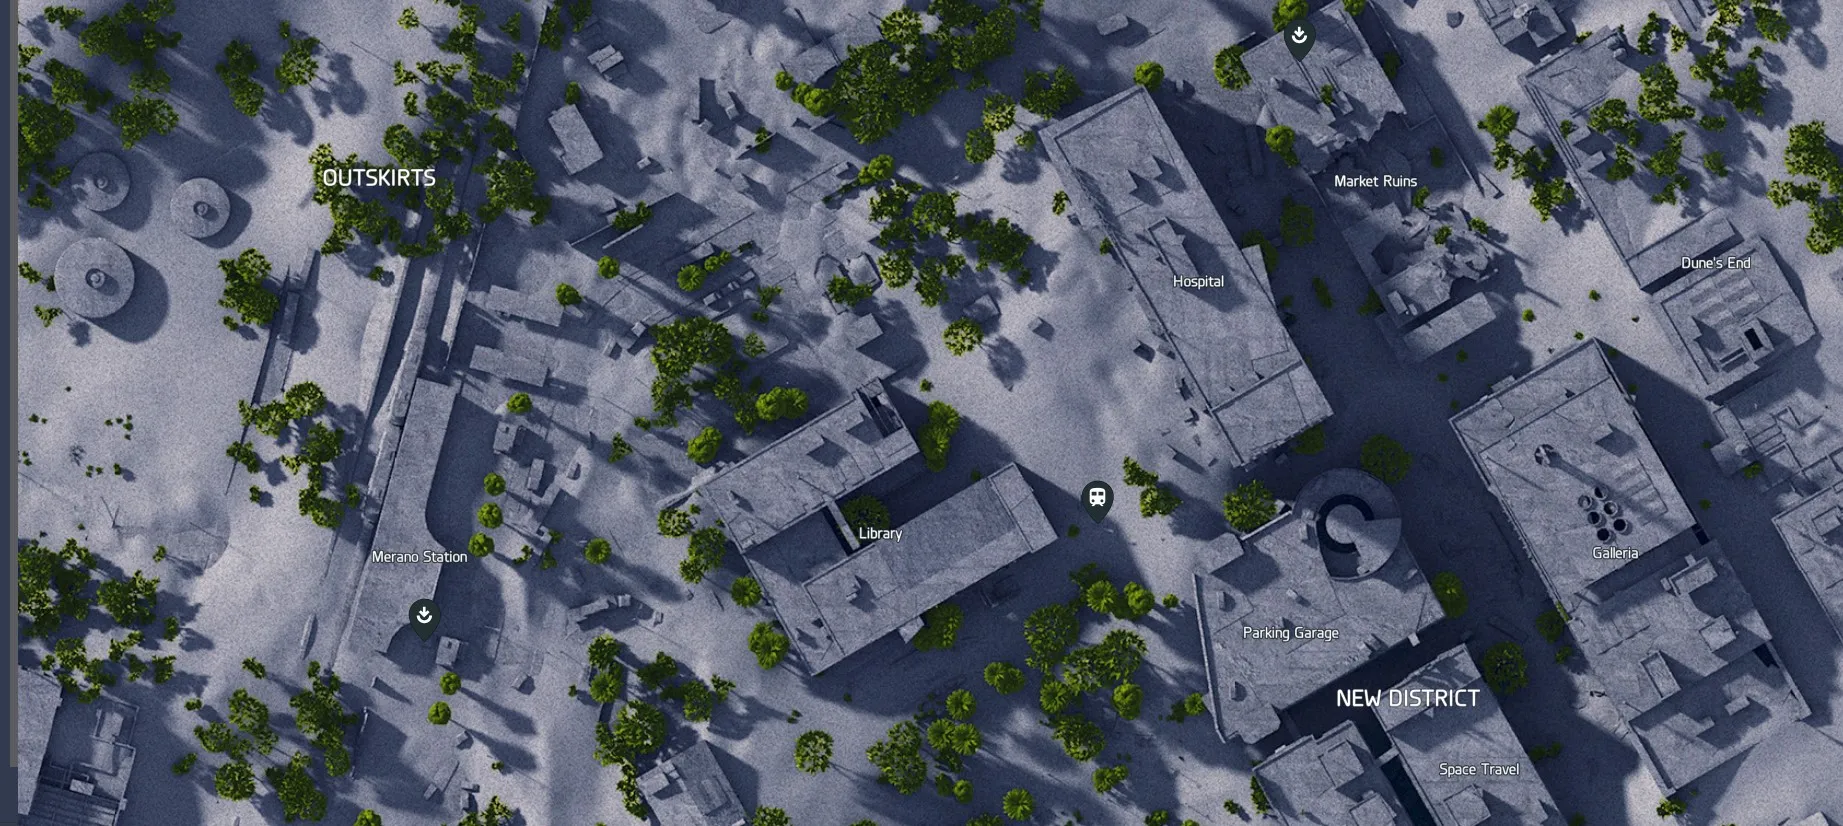
Buried City is the most centralized map, which means more early player contact but also some of the densest loot clusters in the game. The Space Travel building and the attached Research building sit next to each other near the map’s center and consistently produce tech and medical loot.
The Galleria, slightly off the main path, is worth the detour for crafting materials and a weapon case on its roof. Many players default to the Hospital for medical supplies, but it’s also one of the hottest PvP spots on the map, so treat it as a secondary stop rather than your primary target unless you’re geared for a fight.
The Library, attached to the Research building, is a quieter add-on worth checking on the way through. It’s a reliable spot for Old World items and blueprints, with far less foot traffic than the Hospital next door.
For the full nine-stop route through this map, see our Buried City loot route.
Spaceport
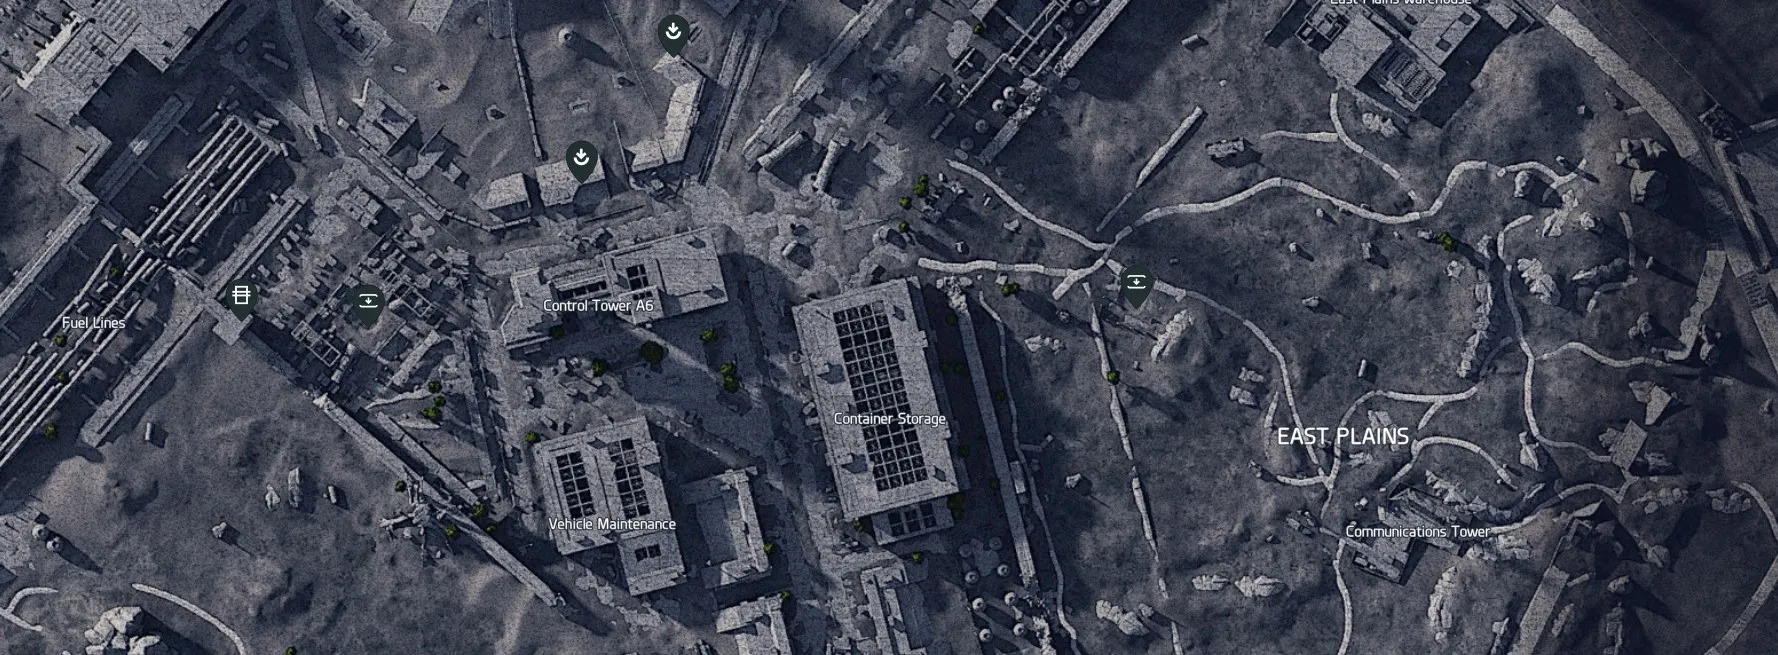
Launch Towers and Control Tower A6
Spaceport rewards players willing to take on the most contested area in the game. The top of the Launch Towers holds some of the densest, highest-tier loot on any map, but expect heavy player and ARC traffic the moment a match starts. If you’d rather not race for it, the lower tower levels are quieter and still produce decent containers.
Control Tower A6 is the safer alternative when the Launch Towers are already taken. It’s not quite as rich, but it’s diverse enough to fill out a loadout with weapons and components without the same level of risk. Cross-check anything you pull here against our weapons tier list to see what’s actually worth carrying back.
The Departure and Arrival Buildings round out the map as secondary options when both A6 and the Launch Towers are occupied. They’re not headline destinations, but they keep producing weapons and components steadily enough to be worth a pass on the way to an extraction point.
For a route built specifically around skipping the Launch Towers, see our Spaceport loot route.
The Blue Gate
Gate Approach and the Warehouse Complex
The Blue Gate is the most punishing map to approach, and that difficulty is exactly why its loot is worth the trip. Gate Approach almost always spawns a tough ARC guard, but every run through it tends to produce weapons, blueprints, and components at a rate other maps can’t match. See our best weapons breakdown if you’re not sure what’s worth fighting to keep.
If Gate Approach is too contested when you land, the Warehouse Complex is a solid fallback, especially for mechanical and industrial materials. Both areas reward a prepared loadout more than a fast one, since the danger here comes from sustained ARC pressure rather than a single ambush.
Reinforced Reception, and the tunnels running beneath it toward the Warehouse Complex, is another route worth learning. It’s less obvious than Gate Approach, which means less competition for loot that’s nearly as good once you’re underground.
For every puzzle in this area chained into one loot route, see our Blue Gate loot route.
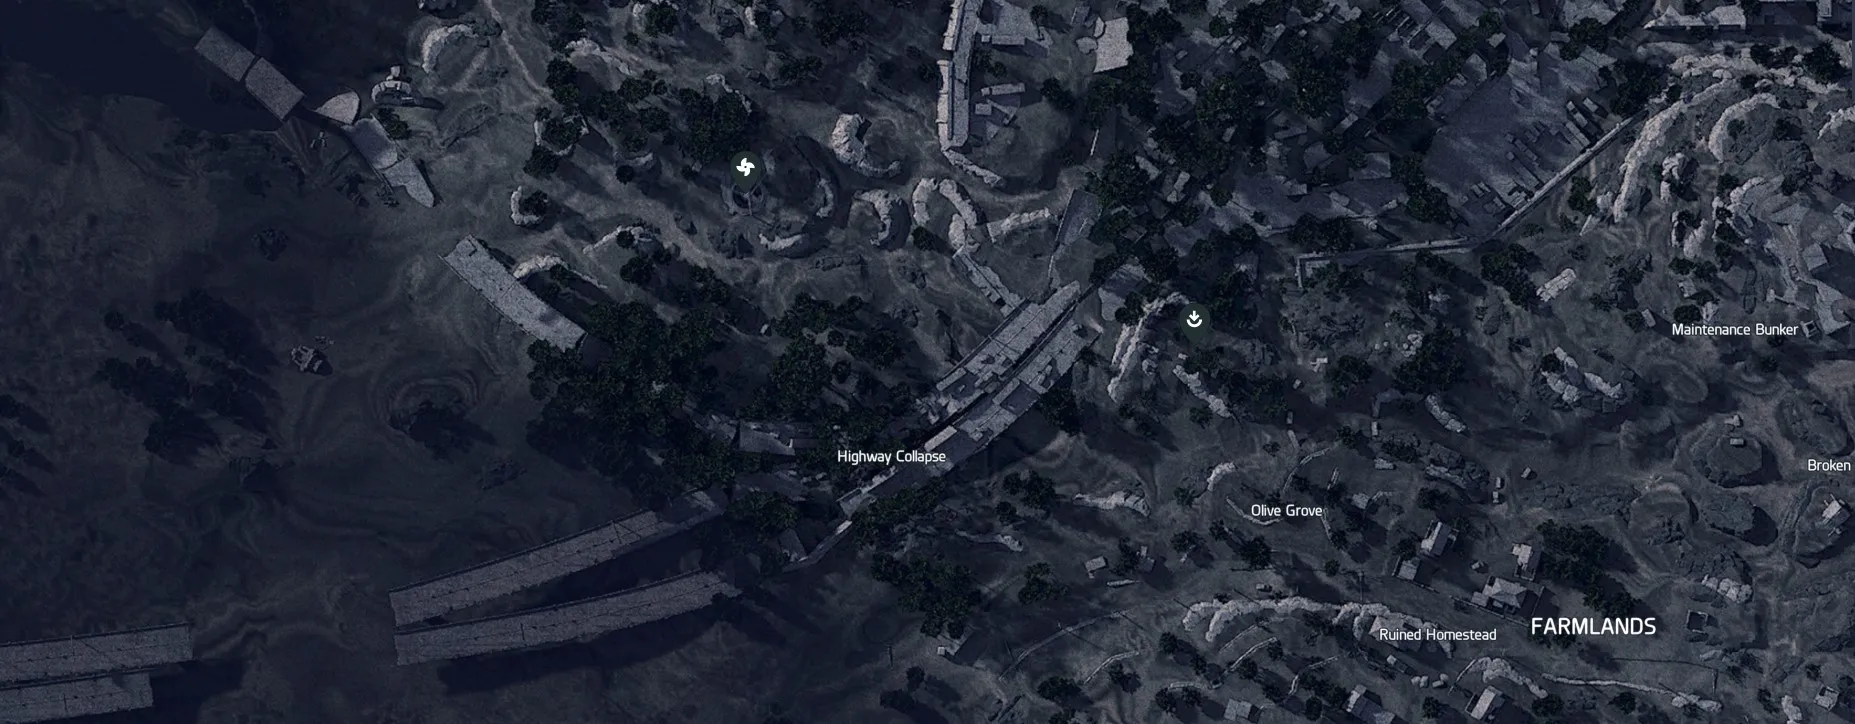
Stella Montis
Medical Research and the Assembly Workshop
Stella Montis is the newer, denser of the two maps added since launch, and it’s built around constant player contact. Medical Research, on the western side beneath the Assembly, produces a steady mix of medical items and crafting components, including Voltage Converters that are otherwise hard to farm in volume.
The Assembly Workshop’s twin rocket thrusters are breachable and tend to hold guaranteed high-tier loot once opened, making them worth the detour if your route already passes nearby. Most players rush the obvious red zones the moment they spawn, so Medical Research often stays untouched longer than its loot quality would suggest.
The Lobby is the map’s quietest worthwhile stop. It doesn’t look like much on first glance, but its containers can produce a similar spread of items to the higher-traffic zones, and most Raiders skip straight past it on their way to a red zone.
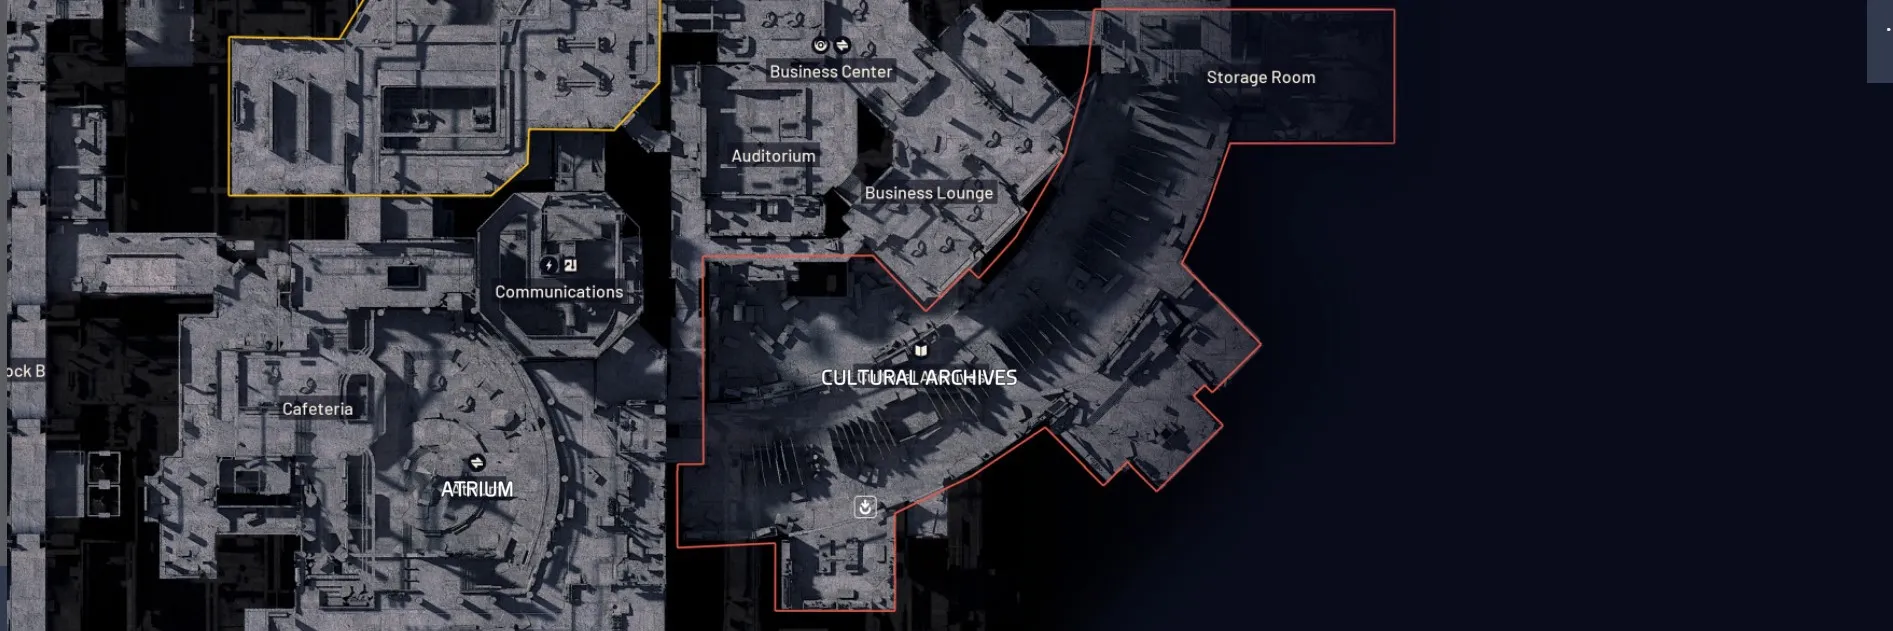
Cultural Archives and the Seed Vault round out the map’s top tier. Cultural Archives is dense with Old World loot and worth the keycard if you have one, while the Seed Vault requires fuel cells to open but consistently produces weapon crates alongside its namesake seed pods.
For a risk-tiered breakdown of every zone on this map, see our Stella Montis loot guide.
Riven Tides
Hotel Panorama Azzurro, Stacking Yard, and Port Authority
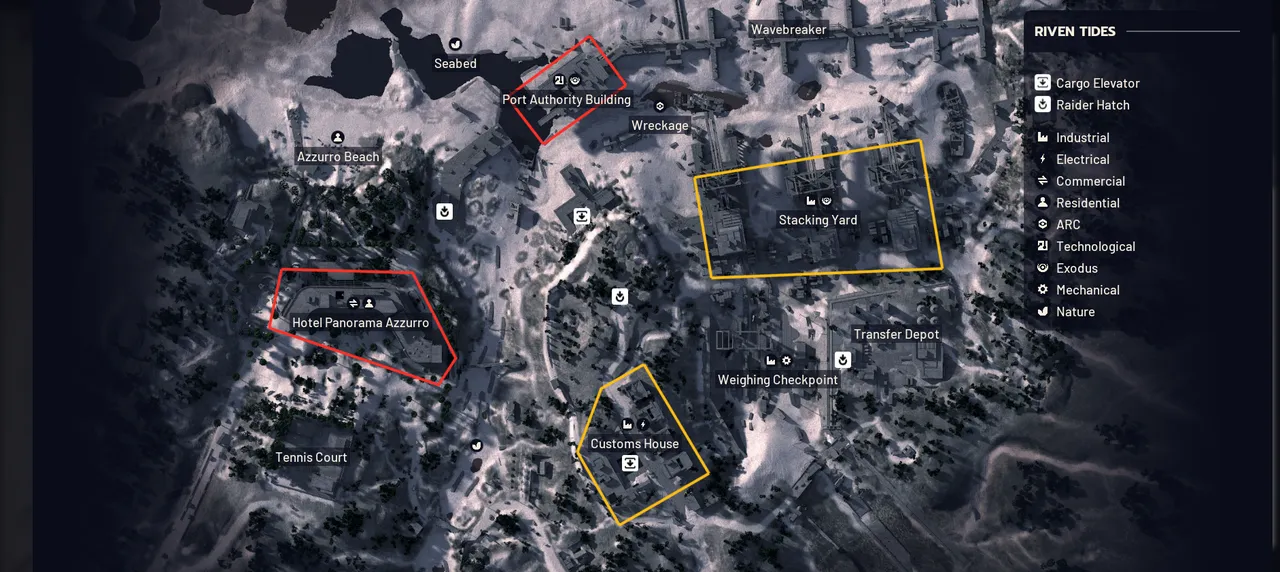
Riven Tides became the sixth playable map, the first new map since Stella Montis. The official update notes frame it as part of an ongoing expansion plan, with the next major map, Frozen Trail, not landing until October. It’s smaller than most other maps, but the compact layout means more loot per minute once you know where to go.
Hotel Panorama Azzurro is the map’s richest single building, packed with commercial and residential loot across multiple floors and several keycard rooms. It’s also the most contested spot on the map, so expect company. The Stacking Yard, the industrial dock area south of the hotel, draws less early attention and is a strong source of heavy-ammo loot and crafting materials.
Port Authority leans toward security and industrial loot but sits at the edge of the map, which makes extraction longer and more exposed. Customs House is a smaller, quieter multi-level zone with tunnel access, worth a rotation when the three bigger spots are already picked over. The Seabed, the open northern beach, is mostly a low-priority pass-through during a standard raid, but it becomes one of the best zones on the map whenever the Beachcombing condition is active, since the Dockmaster’s Detector lets you dig up buried containers along the sand. Buried loot reportedly spawns almost exclusively in the Seabed itself rather than the beaches near the hotel or the docks, so that’s the specific spot to head for once Beachcombing is up.
The Stacking Yard also hides a secret room confirmed on the ARC Raiders Wiki: activate four hidden buttons scattered around the yard, then repair a lift with a battery to access the locked room beyond it. It’s a worthwhile detour if you’re already farming the area and have a minute to spare.
For the full Stacking Yard to Port Authority route, see our Riven Tides loot route.
Extraction Points Near Top Zones
Pairing a loot route with a nearby extraction point matters as much as the loot itself, since a great haul is worthless if you can’t get it out. Control Tower on Dam Battlegrounds sits close to multiple extraction options, which is part of why it’s such a reliable solo pick. The Launch Towers on Spaceport are riskier here too, since the surrounding extraction points tend to draw the same crowd that’s fighting over the loot.
The Blue Gate’s Warehouse Complex area has extraction points on either side of the main loot zone, giving you an exit even if one side gets contested. On Riven Tides, the Stacking Yard’s extraction sits close enough to make it a faster in-and-out than the Hotel, where you’ll often need to cross more of the map to reach safety. If you haven’t run extractions much yet, it’s worth pairing this section with our extraction guide before testing any of the higher-risk zones above.
What to Farm Where
If you’re chasing a specific material instead of just “the best loot,” it’s faster to target the map that actually produces it.
| Material / Item | Best Map(s) | Why |
|---|---|---|
| Voltage Converters | Stella Montis | Medical Research has a high concentration of medical and tech containers |
| Blueprints | The Blue Gate, Riven Tides | Gate Approach and Hotel Panorama Azzurro both have dense keycard room clusters |
| Tech and security loot | Dam Battlegrounds | Control Tower and Research and Administration specialize in this category |
| Heavy-ammo weapons | Riven Tides | Stacking Yard is built around industrial and heavy-ammo containers |
| Mechanical and industrial materials | The Blue Gate, Spaceport | Warehouse Complex and Vehicle Maintenance both focus on this loot type |
| Medical supplies | Buried City, Stella Montis | Research building and Medical Research both lean heavily medical |
| Arc Alloy and other ARC components | Dam Battlegrounds, Stella Montis | Both maps put you in close, repeatable contact with ARC patrols worth farming for components |
| Exodus materials | Stella Montis, Riven Tides | The Assembly Workshop thrusters and Stacking Yard containers both skew toward Exodus-tagged loot |
| Weapon attachments | Riven Tides, The Blue Gate | Stacking Yard’s industrial crates and Gate Approach’s keycard rooms both produce attachments at a steady rate |
Map Conditions That Boost Your Loot
Static POIs aren’t the only lever here. Arc Raiders periodically runs map conditions that change the risk and reward on a given map, and a couple of them are worth planning around. The developers confirmed in the Patch 1.33.0 notes that loadout restrictions are being tested specifically on Night Raid and Close Scrutiny because both conditions carry better loot than a standard raid, which is about as direct a confirmation as you’ll get that these are worth queuing for.
Beachcombing, covered above in the Riven Tides section, turns the map’s coastline from a low-priority pass-through into one of its best zones, provided you bring a Dockmaster’s Detector. Other conditions like Hurricane and Flashpoint have appeared on rotation too, generally adding extra hazards in exchange for additional caches or an elevated ARC threat. None of these change which buildings hold the best loot, but they do change how much risk you’re taking on to get it, so it’s worth checking the match type before you commit to a route.
Patch 1.33.0 also kicked off a time-limited event worth knowing about if you’re reading this anytime before late July: Forgotten Relics. Relics now spawn as loose loot inside the same lockers, drawers, and crates covered throughout this guide, on every map, and they’re worth Merits toward a separate reward track. They don’t change which zones are best, but they’re one more reason to actually open containers you’d normally skip on your way to the next POI.
Solo vs. Squad Loot Strategy
Playing solo changes which zones are actually worth the risk. A solo Raider should lean toward Control Tower on Dam Battlegrounds, the Stacking Yard on Riven Tides, or the lower Launch Tower levels on Spaceport, since all three offer strong loot without forcing a fight to claim it.
In a duo or trio, you can afford to contest the riskier red zones, Gate Approach on the Blue Gate, the top of the Launch Towers, or Hotel Panorama Azzurro, since you have backup if another squad shows up. Build a loadout suited to contested zones before you commit to one of these as a group. The general rule holds across every map: more bodies means more firepower to hold a contested zone, but it also means more noise and a bigger target on your group the moment you start looting.
Key Takeaways
- Riven Tides is now the sixth map in the loot rotation, and Hotel Panorama Azzurro is its richest single building.
- Locked, keycard-only rooms consistently beat color-zone loot regardless of which map you’re on.
- Solo Raiders get the best risk-to-reward ratio from Control Tower, the Stacking Yard, or lower Launch Tower levels.
- Target a specific map when you need a specific material instead of just running the same generic loop every match.
- Beachcombing turns Riven Tides’ coastline from a pass-through into one of the best zones on the map.
Frequently Asked Questions
What is the best loot map in Arc Raiders?
There isn’t one single best map since it depends on what you’re farming. Spaceport and The Blue Gate produce the highest-tier loot overall, but Stella Montis and Riven Tides both rival them once you know their top zones.
Is Riven Tides good for loot?
Yes. Hotel Panorama Azzurro and the Stacking Yard both produce dense, high-quality loot, and the map’s smaller size means less travel time between zones than on larger maps like Dam Battlegrounds.
Do you need a key to get the best loot in Arc Raiders?
Not always, but keycard rooms consistently outperform the surrounding color-zone loot in the same building. Treat keys as a multiplier on a zone you’d already be visiting rather than a requirement for a good run.
What is the safest map to loot solo in Arc Raiders?
Dam Battlegrounds is the most beginner-friendly map for solo play, with Control Tower offering strong loot without the constant player contact you’ll find on Buried City or Riven Tides.
What color zones have the best loot in Arc Raiders?
Red zones hold the densest, highest-tier loot, followed by yellow zones, with unmarked areas reserved for baseline materials. Locked keycard rooms sit above all three and aren’t tied to the color system at all.
Where can you find Voltage Converters in Arc Raiders?
Medical Research on Stella Montis is the most consistent source, thanks to its concentration of medical and tech containers. The Research building in Buried City is a solid secondary option.
What is the riskiest loot zone in Arc Raiders?
Gate Approach on The Blue Gate and the top of the Launch Towers on Spaceport are generally considered the most dangerous, combining tough ARC guards with heavy player traffic.
How does the Dockmaster’s Detector work on Riven Tides?
The Dockmaster’s Detector lets you locate buried containers along Riven Tides’ coastline during the Beachcombing condition. Outside of that condition, the coastline produces far less loot, so check the match type before planning a beach-focused route.
Is Stella Montis worth looting?
Yes, particularly around Medical Research and the Assembly Workshop, which both produce high-tier loot. The tradeoff is that Stella Montis has some of the heaviest PvP contact in the game, so go in prepared to fight.
What’s the best loot route for a duo or trio?
Squads can afford to contest higher-risk red zones like Gate Approach or Hotel Panorama Azzurro, since extra firepower makes it easier to hold a contested area. Solo Raiders are generally better off avoiding these same zones in favor of quieter alternatives.
How often do loot locations change in Arc Raiders?
Named POIs and their general loot type stay consistent, but specific item spawns inside containers are randomized per raid. Major loot changes typically come from balance patches rather than match to match.