We’ve run this Riven Tides route enough times to say it plainly: if you’re farming Processors, Exodus materials, or keycard loot on this map, Stacking Yard into Port Authority is the stop that pays off.
Most Riven Tides loot complaints trace back to one thing: players never fully clear either zone.
This is the route, stop by stop, plus what it actually returns across three separate runs. For how Riven Tides stacks up against the rest of the map roster, see our Arc Raiders loot map guide.
Quick Answer
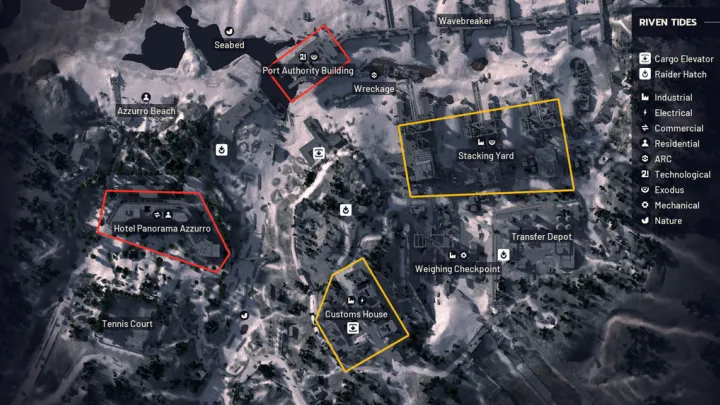
The strongest Riven Tides loot route runs through the shipping container clusters in the middle of Stacking Yard, then continues north into Port Authority Building for its keycard rooms and Security Breach locker.
It consistently produces springs, Broken Guidance Systems, explosive compound, and attachments like silencers and kinetic converters, without needing the map’s multiplayer secret-room puzzle.
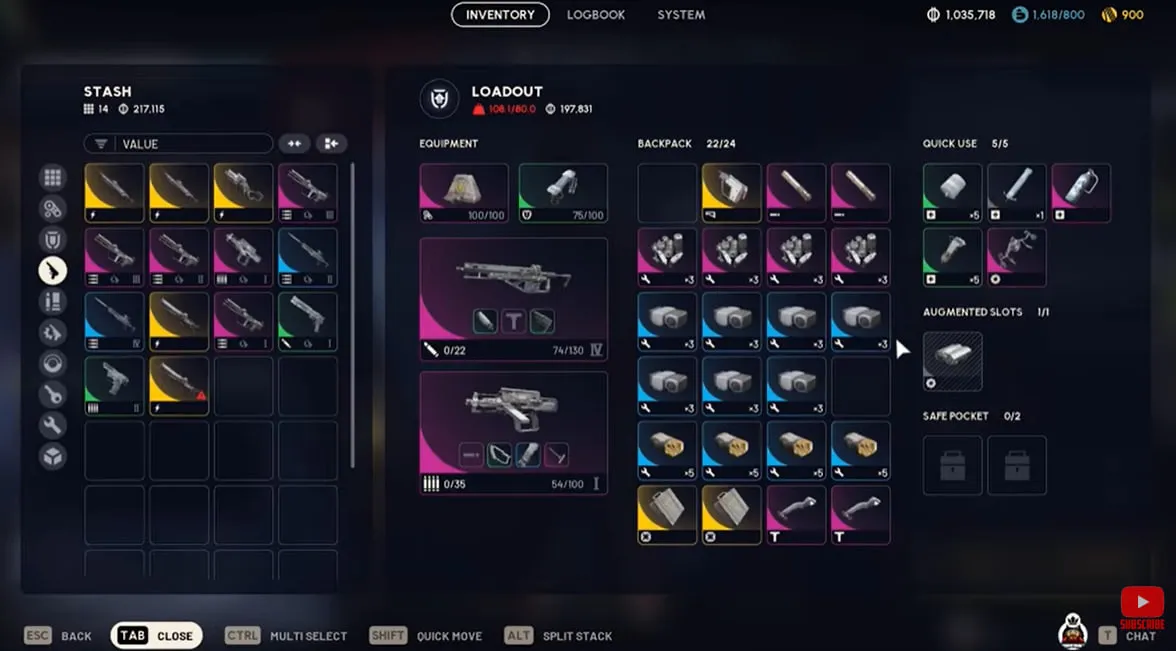
Table of Contents
- The Processor Payoff: Why This Route Is Worth Running
- The Tidal Cycle: How It Changes This Route
- Stacking Yard: Entry to Full Clear
- Port Authority Building
- ARC Turbine: What to Expect Near Port Authority
- Three Runs, Three Different Hauls
- Beachcombing Timing
- Optional Detour: The Stacking Yard Puzzle
- Key Takeaways
- Frequently Asked Questions
The Processor Payoff: Why This Route Is Worth Running
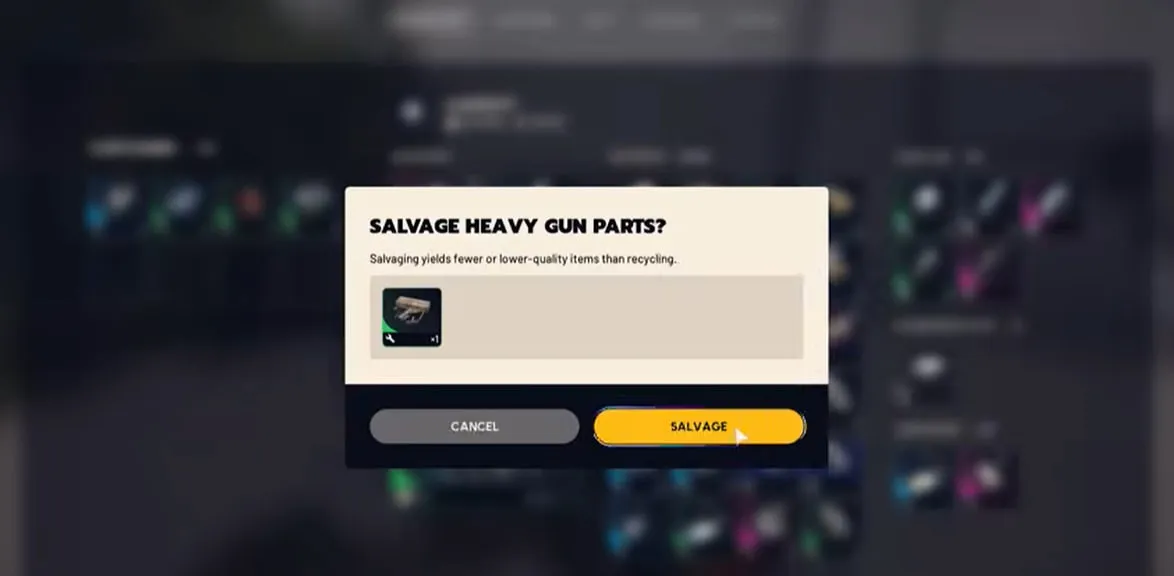
A Broken Guidance System looks like junk at a glance, but recycling it yields 4 Processors, a crafting material that feeds into Mark III augment recipes and higher-tier equipment.
Since Processors stack in groups of 3, one inventory slot holding a full stack represents the output of three separate Broken Guidance Systems, or 12 Processors worth of value in the space a single item would normally take.
Stacking Yard produces Broken Guidance Systems reliably enough that this route treats them as a near-automatic pickup over lower-value junk competing for the same bag space, even before counting anything else they’re worth.
That’s the payoff. Everything below is how to actually collect it.
The Tidal Cycle: How It Changes This Route
Riven Tides runs on a mechanic no other Arc Raiders map has: the water level actually changes mid-raid, on a fixed timer visible on your HUD, opening and closing routes as it moves.
During low tide, coastal paths and submerged shortcuts between zones open up, including routes that can cut travel time toward Stacking Yard.
During high tide, those coastal shortcuts flood, and Raiders get pushed toward the elevated dockyard compounds instead - which is exactly where this route runs.
That’s a practical advantage, not just trivia: at high tide, this Stacking Yard to Port Authority route becomes one of the more reliable paths on the map, since the alternative beach routes are underwater. At low tide, you have the option to cut across the coast instead if a faster rotation matters more than container volume.
One rule worth burning into memory: never start an extraction during a tidal transition. The movement penalty and flooding risk can cancel an extract outright, leaving you standing still in the open while other Raiders rotate in.
Stacking Yard: Entry to Full Clear
Entry Priorities
Land or rotate into the middle Stacking Yard area as fast as possible.
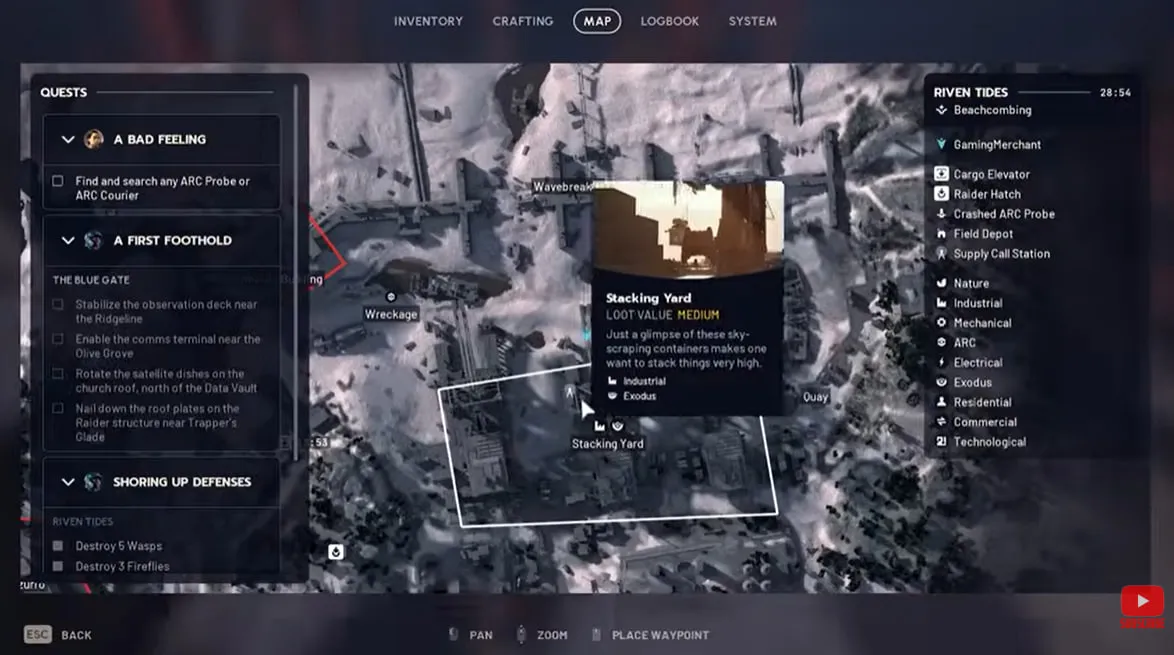
Other Raiders will be looting the same zone, but most of them miss a large share of the containers because the spawns are spread across crane platforms, ground-level stacks, and building corners that aren’t obvious from a glance.
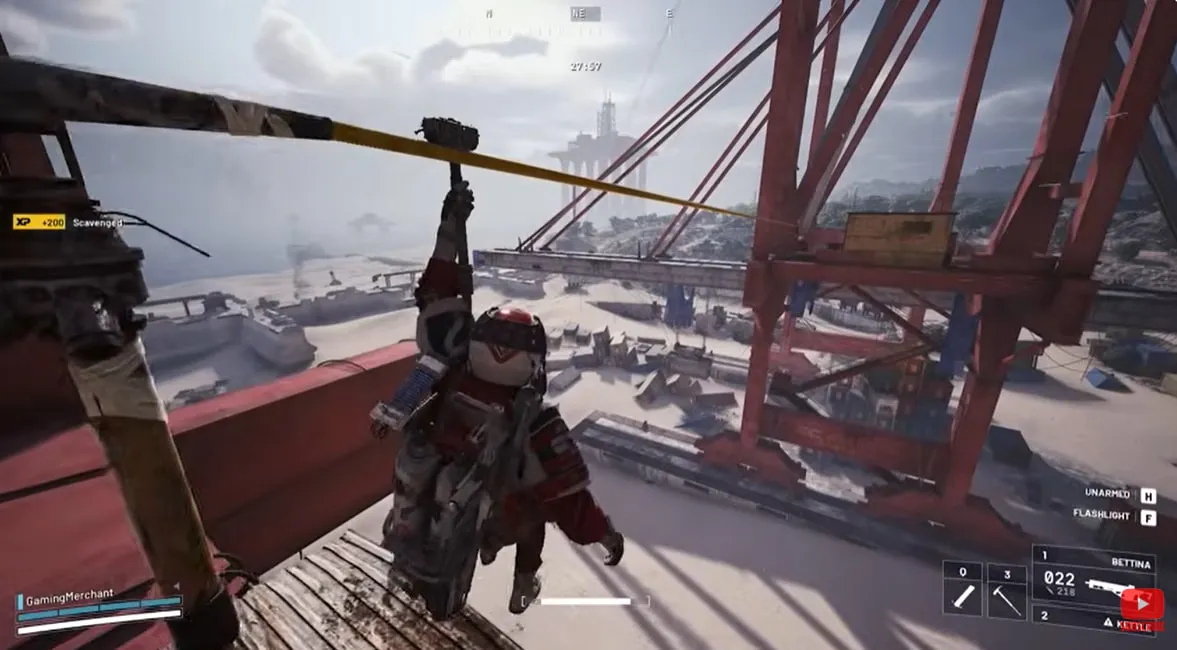
Four things are worth prioritizing here:
- Weapon parts - needed constantly to keep gear repaired. If durability is dropping fast, our weapons durability guide covers when it’s actually worth repairing versus recycling.
- Springs - a core mod component for higher-level attachments, and Stacking Yard is one of the most consistent springs sources on the current map roster.
- Broken Guidance Systems - the Processor math above makes these worth grabbing over almost anything else competing for the same inventory space.
- Explosive compound - used to craft Wolfpack and Deadline-type ordnance, produced reliably enough here to treat as its own farming stop.
The container clusters also produce a broad mix of attachments (kinetic converters, silencers, anvil splitters, shotgun chokes) plus grenades and general crafting stock.
Because the roll is random per container, the value is in clearing volume rather than chasing one specific item.
The Container Circuit
Start with the central cluster of stacks, checking both the obvious open containers and the ones tucked behind them that other Raiders tend to walk past.
This alone produces a steady flow of springs, Broken Guidance Systems, and Exodus modules, along with magnetic accelerators for crafting.
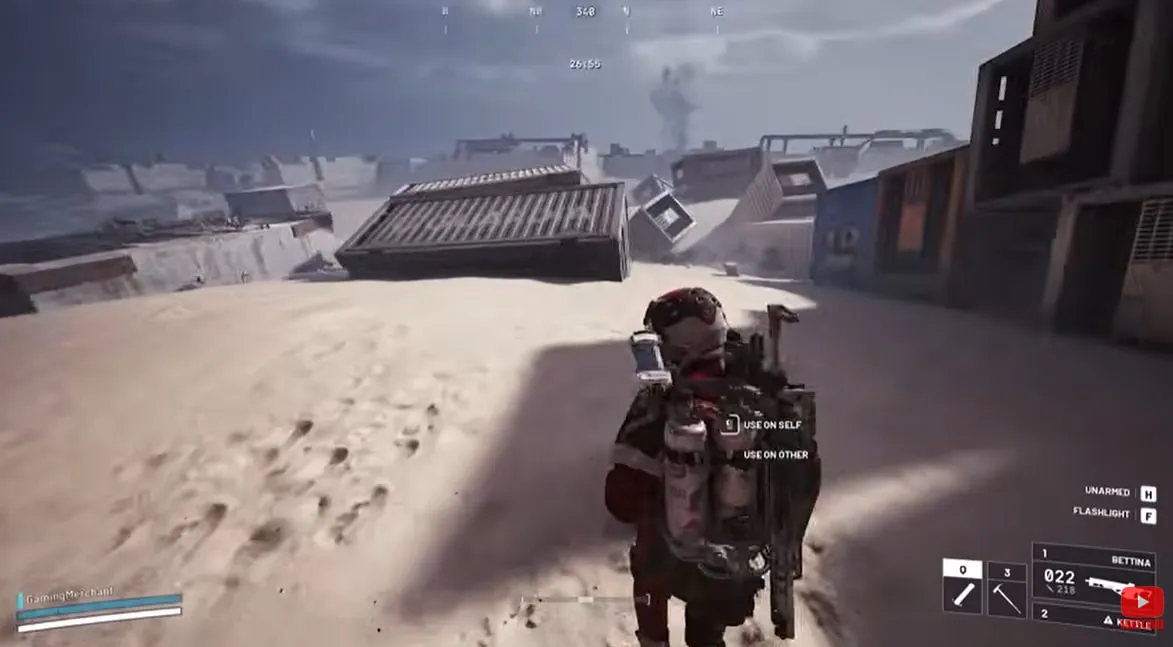
Continue toward the shipwreck, which has several breachable boxes worth checking, then work the two tower structures nearby.
One tower can spawn a Security Breach locker, a reliable source of high-durability weapons and gun parts, even though standalone weapon cases on this map tend to roll low-end gear.
The other can spawn a grenade case.
Neither is guaranteed every raid, so don’t burn excessive time waiting on them.
From there, continue methodically through the remaining stacking clusters, cross-referencing the map so you don’t double back on containers you’ve already cleared.
This stretch is where most of the volume comes from: more springs, more Broken Guidance Systems, and a mix of medical supplies (herbal bandages, shield recharges, adrenaline shots) sharing containers with the crafting materials.
Riven Tides drops several keycard types in these clusters, including Hotel Panorama suite keycards and the Crane House Keycard. Our full keys guide breaks down every locked door on this map and which ones are actually worth using a key on.
While you’re in this area, check for a surveyor. Riven Tides tends to spawn two surveyors per map based on our runs, and interacting with one gives an extra shot at a blueprint. This specific count isn’t independently confirmed elsewhere, so treat it as a helpful rule of thumb rather than a guaranteed number.
Bag Management
The recurring problem on this route isn’t finding loot, it’s running out of room for it.
A few priorities worth leaning on when a bag fills fast:
- Keep Broken Guidance Systems and springs over heavy ammo you’re not actively using. The Processor math above makes the trade worth it in most cases.
- Drop rusted tools once springs are flowing. With this many springs available, rusted tools stop being worth the inventory weight.
- Grenades usually aren’t worth carrying out unless you have specific room for them.
- Prioritize stims and meds you’ll actually use rather than hoarding every medical item a container produces; this route tends to overproduce them.
Port Authority Building
Port Authority sits close enough to Stacking Yard to fold into the same loop.
It’s the map’s main keycard-room cluster and one of its denser PvP hotspots, so move with intent rather than lingering.
Inside, look for:
- A Security Breach locker, typically along one wall, along with an advanced electrical component on a nearby table.
- The Classified Records Keycard door, which leads to a room containing an even smaller locked box: Secure Storage. You need the Classified Records Keycard for the outer door before the Secure Storage Keycard does anything - finding one does not hand you the other.
- A grenade box, usually reachable by mantling up through a side platform.
- A weapon case, which tends to produce more gun parts than a usable weapon.
- Raider-style containers scattered through the building, worth a pass for processors and general crafting stock.
This section is more vertical than Stacking Yard, with jumps and mantles between platforms, so move carefully rather than rushing the traversal.
If you’re looking for the smaller, quieter POI with its own extraction point instead, that’s Customs House - a separate, lower-traffic location nearby with more varied but less specialized loot. It’s a reasonable fallback if Port Authority is already contested, but it’s not part of this specific route.
ARC Turbine: What to Expect Near Port Authority
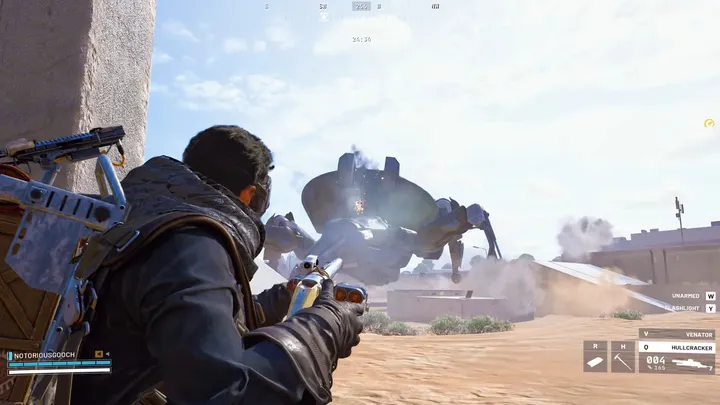
Riven Tides introduced its own large ARC threat, the ARC Turbine, and it’s worth knowing about specifically on this route: it commonly touches down near Port Authority Building and Customs House.
Per Embark’s own guidance, the Turbine’s electrically charged attacks specifically seek out anyone using the environment as cover, and it lays motion-detection mines that punish a rushed close-range approach. Sometimes two Turbines can spawn on the map at the same time.
It doesn’t show up immediately - expect it later in the raid rather than at the start, so it’s less of a factor if you’re running this route early.
Fighting it isn’t required to get value out of this route. Treating it as optional is the right call solo. If you do want the Turbine Compressor material it drops (used for the Avian Alarm project and Powered Descender crafting), the practical approach is to spot it first, decide as a group whether to commit, and back off if it’s already relocating - it retreats to safer ground quickly once threatened.
Three Runs, Three Different Hauls
Loot in Riven Tides is RNG-driven, so no single run is a guarantee.
Running this same route three times, under different conditions, shows the real range of outcomes rather than a best-case highlight reel.
| Run Condition | Keys | Blueprints | Broken Guidance Systems | Attachments | Notable Extras |
|---|---|---|---|---|---|
| Beachcombing event | 4-5 | 2 | 2 (with a larger existing stockpile from prior runs) | 6 | Heavier medical supply drops than usual |
| Night raid | Fewer keys | Not specified | More springs than daytime run | Fewer | More ship collectibles |
| Standard day raid | Not specified | 6 | Not specified | Not specified | A Leviathan-tier ship and assorted extras |
The exact numbers move around between runs, but the pattern holds: this route consistently returns enough crafting materials and attachments that the real challenge becomes deciding what to leave behind, not finding enough to fill a bag.
One note on the Beachcombing run specifically: the heavier medical loot during that run is more likely ordinary variance than a Beachcombing effect.
Buried treasure from the Beachcombing condition spawns exclusively in the Seabed area to the north, not inside Stacking Yard or Port Authority, so it shouldn’t be changing what these containers produce.
Beachcombing Timing
Beachcombing is a minor map condition exclusive to Riven Tides, and it isn’t active on every raid.
It rotates in on the map’s regular condition schedule rather than running as a separate matchmaking option you select directly.
Check the matchmaking screen before queuing.
If the Beachcombing tag isn’t showing, buried treasure won’t spawn and a Dockmaster’s Detector won’t find anything that match.
When it’s not active, this route works exactly the same as any other raid, since the condition’s effects are confined to the Seabed area rather than Stacking Yard or Port Authority.
Optional Detour: The Stacking Yard Puzzle
Stacking Yard also has a separate two-stage puzzle that unlocks two additional loot rooms. It isn’t part of the core route above, but it’s worth knowing about.
The first stage requires finding and pressing four hidden buttons scattered around the yard’s buildings and cranes, with locations that change every raid.
The second stage requires finding a Fuel Cell, repairing a broken lift with a separate, randomized repair item (often a common material like wires or duct tape), then riding the lift up with the Fuel Cell and depositing it at the top to open the second room.
This is realistically a two-plus player job. Coordinating the lift, the button hunt, and watching for other Raiders solo is slow enough that it competes directly with just running the container route instead.
If you’re solo or short on time, skip it. If you’ve got a full squad and want the extra rooms, treat it as an add-on after the main route, not a replacement for it.
Key Takeaways
- Stacking Yard’s shipping container clusters are the strongest loot zone on Riven Tides, and Port Authority Building works well as a second stop on the same loop.
- At high tide, this route becomes one of the more reliable paths on the map since coastal shortcuts flood. Never extract during a tidal transition.
- Prioritize weapon parts, springs, Broken Guidance Systems, and explosive compound over lower-value junk competing for the same bag space.
- A Broken Guidance System recycles into 4 Processors, and a full stack of 3 holds 12 Processors worth of value in one inventory slot.
- Port Authority’s Classified Records and Secure Storage keycards work in sequence - you need the outer door key first.
- The ARC Turbine commonly spawns near Port Authority. It’s optional to fight and shows up later in the raid, not immediately.
- Beachcombing’s buried treasure only spawns in the Seabed area, so it doesn’t change what this route’s containers produce.
- The Stacking Yard secret-room puzzle is a two-plus-player detour, not part of this core route. Skip it solo.
- Across three different runs, the route consistently overfills a bag. The real decision is what to leave behind, not whether there’s enough loot.
Frequently Asked Questions
Is Riven Tides actually good for loot?
Yes, if you run a plan instead of freelancing it.
Riven Tides gets a reputation for feeling thin because most players never fully clear Stacking Yard or Port Authority.
Running a fixed route through both areas consistently returns springs, explosive compound, attachments, and Exodus materials.
What is the best loot spot in Riven Tides?
Stacking Yard is the strongest single loot zone on the map, offering a dense mix of industrial and Exodus-category materials across its shipping container clusters.
Port Authority Building, just north of it, is worth a second stop on the same loop for its keycard rooms.
How many Processors does a Broken Guidance System give?
Recycling a Broken Guidance System yields 4 Processors.
Since Processors stack in groups of 3, one inventory slot can hold the equivalent of three Broken Guidance Systems, or 12 Processors worth of crafting value - enough for a Mark III augment’s Processor cost on its own.
Is the Stacking Yard secret-room puzzle worth doing?
It depends on your group.
The puzzle needs at least two players working together and takes several minutes to solve, so it’s a detour from a straight loot run rather than part of it.
Solo Raiders are usually better off sticking to the container route and skipping the puzzle entirely.
Does Beachcombing affect loot inside Stacking Yard?
Not directly.
Buried treasure from the Beachcombing condition spawns exclusively in the Seabed area to the north, not inside Stacking Yard or Port Authority.
Any difference in container loot during a Beachcombing run is normal run-to-run variance, not a mechanical effect of the condition itself.
How do I know if Beachcombing is active before I queue?
Check the matchmaking screen before you queue into Riven Tides.
Map conditions rotate roughly every hour, and if the Beachcombing tag isn’t showing, a Dockmaster’s Detector won’t find anything that match.
Where are the Classified Records and Secure Storage keycards used?
Both are inside Port Authority Building.
The Classified Records Keycard opens the outer door, and the Secure Storage Keycard opens a smaller locked box inside that same room.
You need the outer keycard first - finding one does not hand you the other.
Where do explosive compounds spawn on Riven Tides?
Explosive compound shows up consistently in the same shipping container clusters that produce springs and Broken Guidance Systems inside Stacking Yard, making it one of the more reliable farming spots for Wolfpack and Deadline-type ordnance on this map.
Does the tide affect this Riven Tides loot route?
Yes, indirectly.
High tide floods the coastal shortcuts and funnels more players toward the elevated dockyard compounds this route already covers, while low tide opens faster beach routes as an alternative.
Either way, avoid starting an extraction during a tidal transition.
Will I run into the ARC Turbine on this route?
It’s possible, since the Turbine commonly touches down near Port Authority Building.
It doesn’t spawn immediately, and engaging it is optional - solo Raiders are better off spotting it, deciding whether to commit, and backing off rather than forcing a fight.
Can you solo the Riven Tides loot route?
Yes.
The container walkthrough through Stacking Yard and Port Authority doesn’t require a squad.
The only part of the map that benefits from a group is the Stacking Yard secret-room puzzle, which is a separate, optional detour.
What’s the difference between a night raid and a day raid on Riven Tides for loot?
Container spawns don’t change based on time of day, but night raids tend to see fewer contesting players and better visual cover for movement, while day raids make it easier to spot ARC patrols and other Raiders from a distance.
Which trade-off matters more depends on whether ARC or PvP is your bigger concern on a given run.