Blue Gate has three solvable puzzles, and most players who’ve run the map a hundred times have only ever touched one of them.
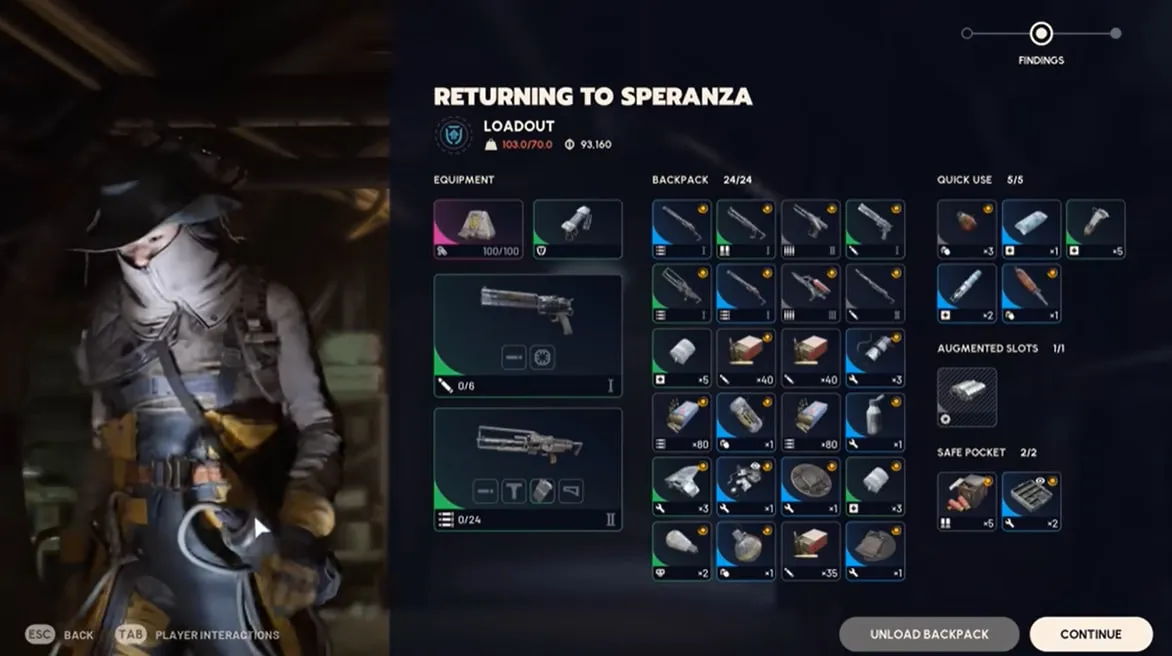
We chained all three into a single loop, added the weapon crates that cluster around them, and walked out with close to 100,000 in loot in about 25 minutes - joining the raid five minutes late, with zero pink weapons, and with two gray-rarity items still dead-weighting our safe pocket the whole time.
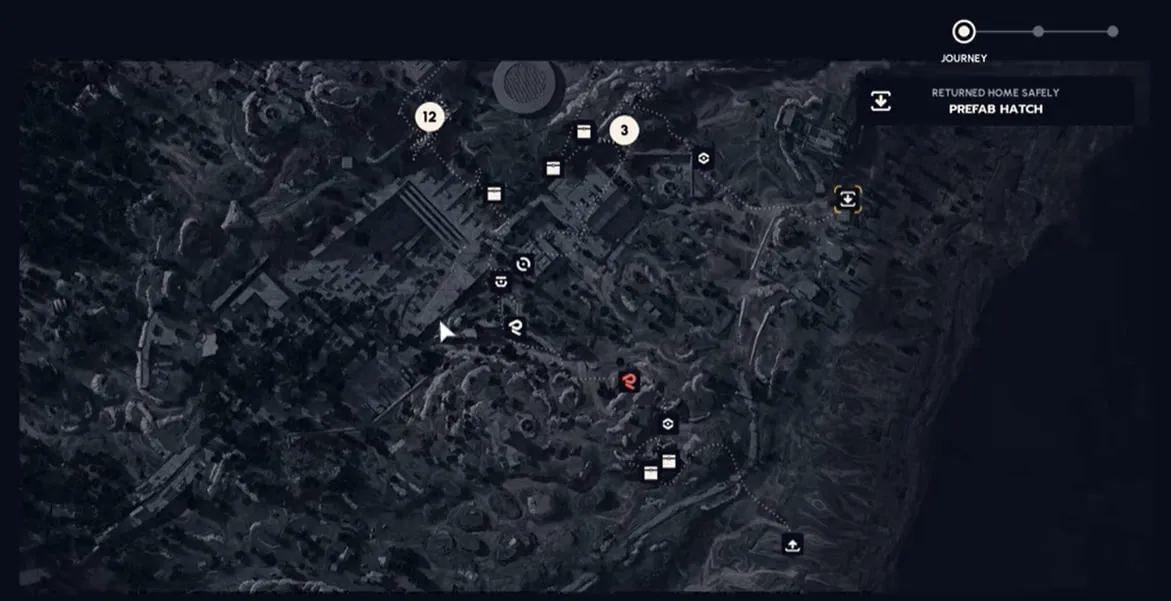
This guide covers every puzzle solution first, then the route that connects them into one repeatable run. For how Blue Gate stacks up against the game’s other maps, see our Arc Raiders loot map guide.
Table of Contents
Blue Gate’s Puzzle Loot: Three Rooms Worth Solving
None of these require a key card, including the pink Blue Gate key card that opens a separate room near Reinforced Reception.
All three are solved with items you’ll find on the way, and all three are worth the noise they make.
The Deforester Husk (Power Cells)
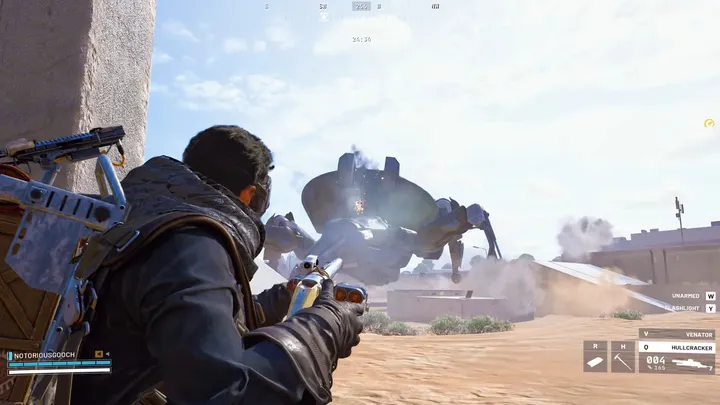
The Deforester Husk is a wrecked ARC machine, and the one we use sits in the Adorned Wreckage area.
Blue Gate actually has more than one of these husks, with additional sites near the Maintenance Bunker, so if the Adorned Wreckage one isn’t there or is already looted, check nearby.
It’s a two-stage puzzle and one of the noisier ones on the map, so expect it to draw attention if anyone’s close.
Start by collecting two ARC power cells from smaller broken ARC units scattered around the husk.
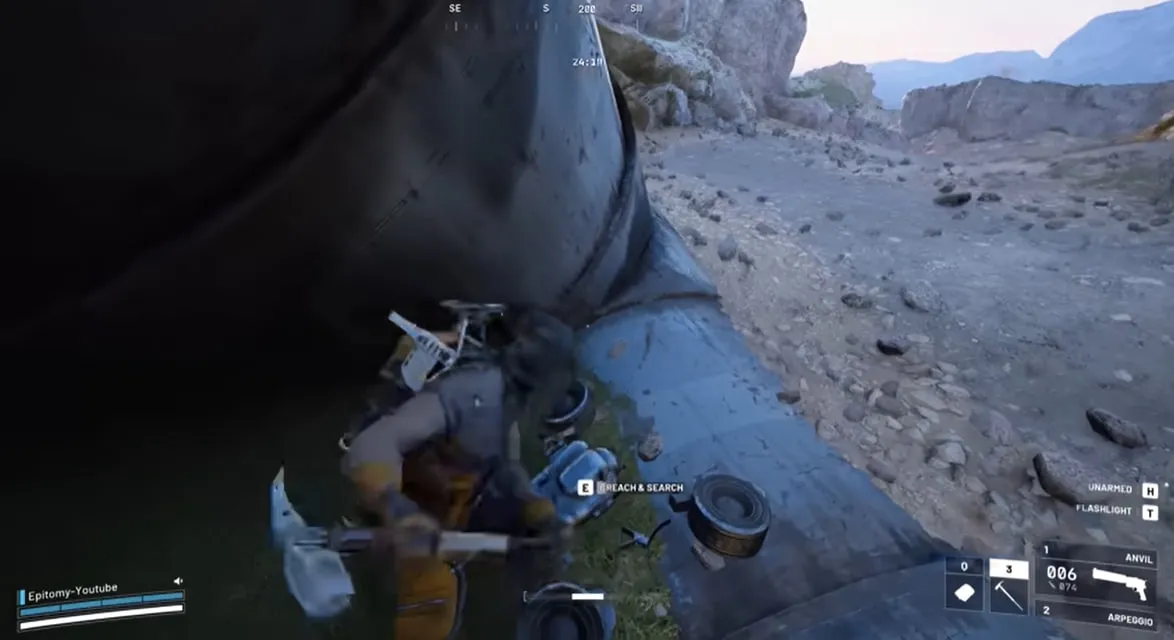
Insert the first into the sparking panel near the entrance. This ignites a short stretch of fire inside the husk.
Walk through it carefully, avoiding direct contact, and insert the second power cell into a panel deeper in.
With both cells placed, climb to the upper corridor using the husk’s vaultable sides and interact with the final panel to open the loot.
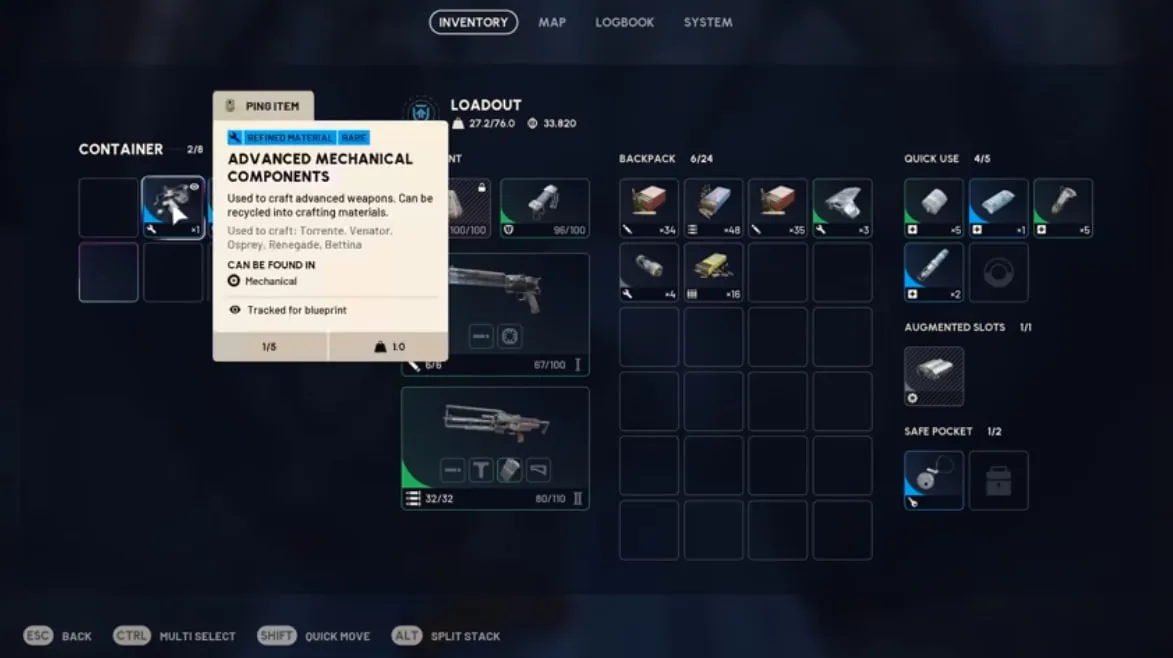
The reward isn’t the biggest on the map, but it’s a reliable stop, and the components it drops are useful for crafting even on a quiet loot day.
Reinforced Reception’s Color Terminal
Reinforced Reception is one of the busier points of interest on Blue Gate, and it’s also one of the best rooms on the entire map for augment blueprint drops, which is part of why it anchors this whole route.
Inside, a wall terminal flashes one of three colors: red, blue, or yellow.
Whichever color it shows, follow the matching painted line on the floor and walls. The path leads to a small loot room that unlocks once you reach the end of the correct line.
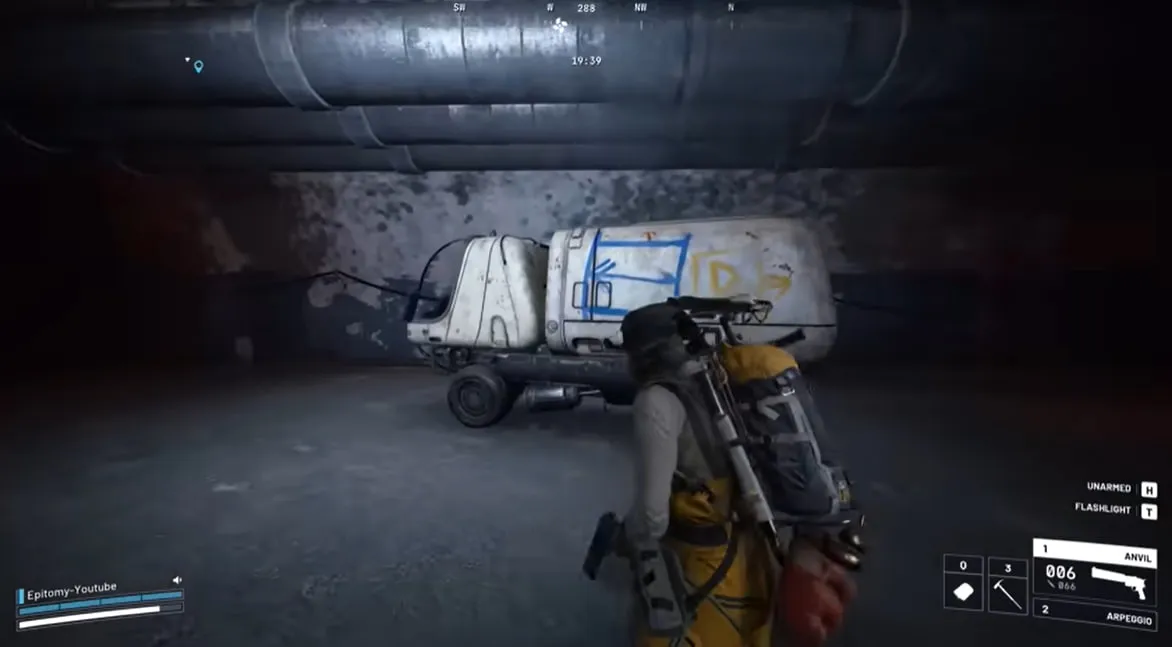
It’s a fast puzzle, but a loud one. The terminal keeps making noise until it’s solved.
Our run pulled a blue-rarity weapon from this puzzle, which isn’t guaranteed every time, but the puzzle resets and can be attempted again if you’re willing to risk the noise a second time.
The Red Room Fuze Door
Following the blue line further leads to a large locked door with a panel on its side, what players commonly call the Red Room.
This is the puzzle most likely to go wrong.
You’ll need three items, sometimes called fuzes and sometimes called batteries depending on who you ask, scattered inside Reinforced Reception itself, typically under stairs, in side rooms along the blue line path, or near doorways on the upper floor.
Carry each one individually to the panel beside the locked door and slot them in.
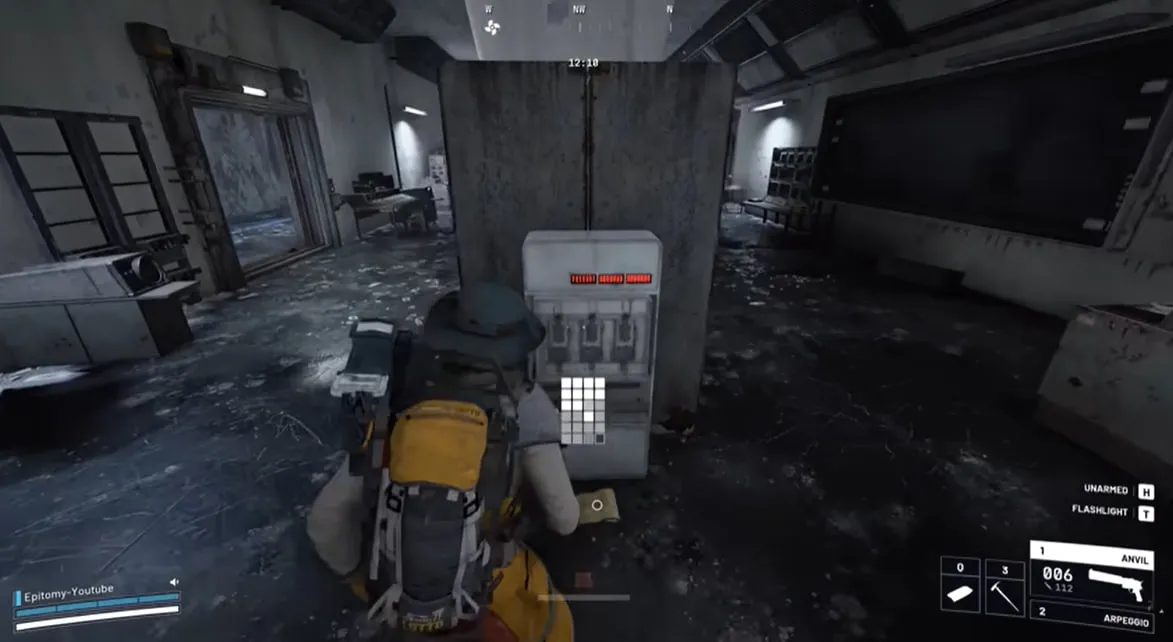
On our run, the final panel refused to register the interaction even with all three items in hand. This looked like an intermittent bug rather than a mistake in the steps, so if it happens to you, it’s worth trying again on a later raid rather than assuming you did something wrong.
When it works, the room behind the door holds a weapon crate and several other loot containers.
Why We Skip Ancient Fort and Raider’s Refuge
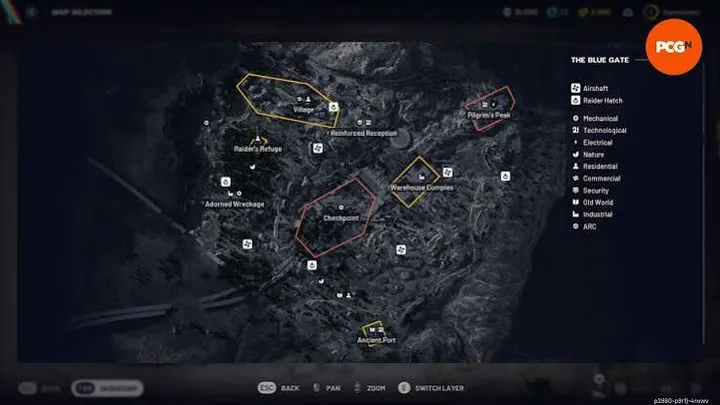
Blue Gate has two other well-documented puzzles, Ancient Fort in the southeast corner and Raider’s Refuge to the west. Neither is part of this route.
Both involve their own fuze or switch hunts and are worth knowing about if you want to fully clear the map.
We leave them out here on purpose. The goal is speed and a repeatable circuit, not a full-map clear, and adding either location would roughly double the time investment for loot that’s less dense than what’s already covered above.
Connecting the Puzzles: The Full Loot Route
Getting from the Deforester Husk to Reinforced Reception runs through Blue Gate’s tunnel network, which can feel disorienting the first few times through.
Stick to the larger corridors and avoid the smaller passage with the zip line branching off it.
If you find yourself in a tight, narrow tunnel, you’ve likely taken a wrong turn. The wider path leads more directly toward Reception and is also where most of the loot along this stretch sits.
Expect to hear other players in these tunnels even when you can’t see them. On our run, one player was avoided entirely by closing a door and taking a different route rather than engaging.
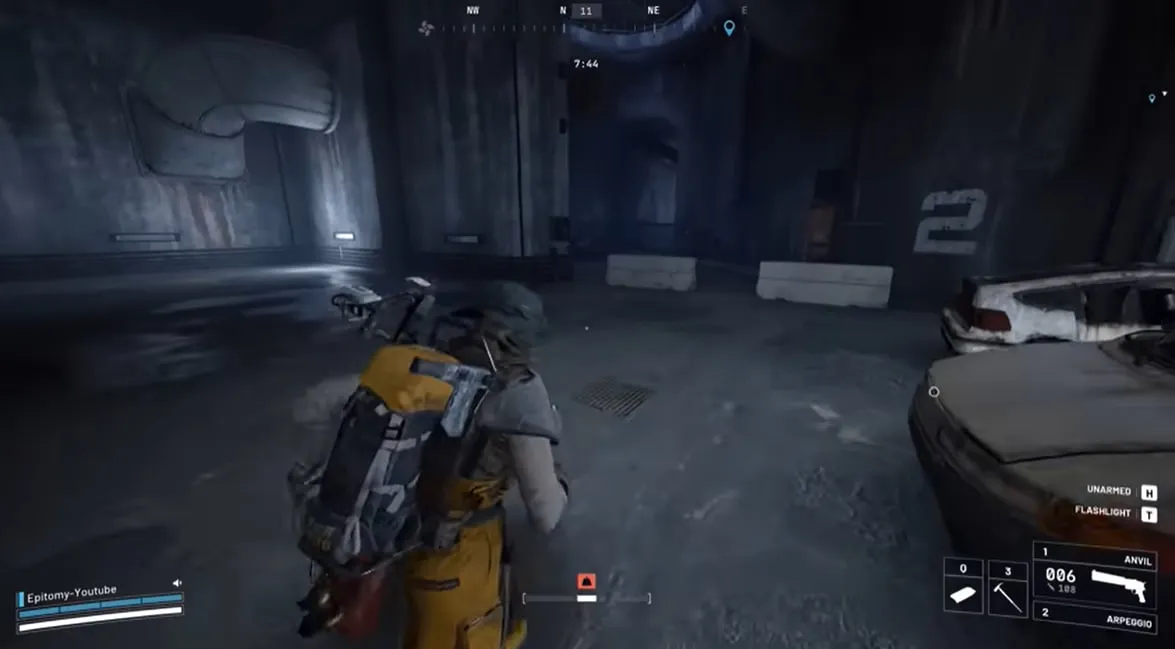
This is also where the real value of the route shows up. The weapon crates clustered around Reinforced Reception matter more than any single puzzle reward.
On our run, three separate weapon crates turned up within roughly 30 seconds of each other, on top of a couple of grenade and ammo boxes nearby.
Crates produced a green shotgun, a blue Renegade, and an Anvil, among other pulls. If you’re building toward a specific loadout, it’s worth cross-checking those drops against our PvP weapons tier list before deciding what to keep.
Not every crate hits. One crate in an already-looted room turned up empty aside from a weapon another player had dropped. That’s normal - the density of crates in this stretch is what makes the detour worth it, not any single guaranteed drop.
Check ammo and grenade boxes along the same stretch too. They occasionally spawn a Wolf Pack blueprint or extra ammo for weapons you’re already carrying.
Extracting With Everything You Found
The one purchase worth making before you start is a Raider Hatch Key. It runs about 9,000 from Shani, with typically one available to buy per day - our full keys guide covers where else to spend one if you’d rather save it.
It guarantees a controlled extraction point instead of scrambling to find one with a bag full of loot, which matters more on a run like this than on a lighter one.
Head back toward that hatch rather than the standard exits once you’re done looting. On our run, the default extract to the west was avoided specifically because a leaper and a rocketeer were both stationed nearby, and a leaper in particular is difficult to escape once it’s aware of you. For a full breakdown of every extraction type and how the timing works, see our extraction guide.
Stay in the tunnels as long as possible rather than crossing open surface ground. Surface routes on Blue Gate expose you to snipers and roaming ARC patrols that the underground path avoids almost entirely.
When you do have to surface near the extraction point, move deliberately and clear nearby threats like ticks before pressing the button.
What We Walked Away With
Our run behind this guide ended close to 100,000 in loot value, in about 25 minutes, after joining the raid 5 minutes late. That total came without a single pink-rarity weapon drop.
Two mistakes kept the total lower than it could have been. Two gray-rarity items sat unused in the safe pocket and quick-use slots for the entire run, taking up space that could have gone toward higher-value loot. Neither was swapped out or sold before extraction.
This route is strong enough to hit six figures in loot value even when it isn’t played perfectly. Manage your inventory more carefully than we did on this run, and you should be able to beat it.
Key Takeaways
- No key cards are required for this Blue Gate route, including the pink Blue Gate key card
- The Deforester Husk puzzle needs two ARC power cells and rewards crafting components rather than top-tier loot
- The Reinforced Reception color terminal is fast but noisy, and the color it shows determines which line to follow
- Weapon crates cluster near Reinforced Reception, and that density is the real value of this route
- The Red Room puzzle uses items called both fuzes and batteries, and can occasionally bug out on the final interaction
- This route skips Ancient Fort and Raider’s Refuge on purpose to stay fast
- A Raider Hatch Key, roughly 9,000 from Shani and limited to one per day, is worth the cost for a controlled extraction
- Our run hit close to 100,000 in loot despite two unsold gray items and zero pink drops
Frequently Asked Questions
Do you need a key card for the Blue Gate puzzle route?
No. We run this whole route without any key cards, including the pink Blue Gate key card that unlocks a separate room near Reinforced Reception. Every puzzle here is solved on foot with items found along the way.
What is the Deforester Husk puzzle in Blue Gate?
It’s a two-stage puzzle on a wrecked ARC machine in the Adorned Wreckage area. You collect two ARC power cells from nearby broken ARC units, insert them into two separate panels on the husk, then climb to an upper corridor to open the final loot panel.
How many ARC power cells does the Deforester Husk puzzle need?
Two. One goes into the sparking panel near the entrance, and the second goes into a panel deeper inside the husk, past a section where fire ignites briefly.
What is the Reinforced Reception lights puzzle?
A wall terminal inside Reinforced Reception flashes red, blue, or yellow. Whichever color it shows, you follow the matching painted line on the floor or wall to a small loot room. It resets each time you interact with it.
Are the Reinforced Reception Red Room items called batteries or fuzes?
Both terms are used by the community. In-game and in most guides they’re referred to as fuzes, but plenty of players call them batteries since they’re carried and slotted the same way. We use both here so it’s searchable either way.
How much does a Raider Hatch Key cost and where do you buy it?
A Raider Hatch Key can be bought from Shani for roughly 9,000 in-game currency, and typically only one can be purchased per day. It guarantees a safe extraction point, which is worth the cost on a loot-heavy run like this one.
Is Blue Gate good for solo players?
Yes, especially the tunnel network. The underground sections of Blue Gate have less open sightline PvP than the surface, and we completed this route solo with only two brief player encounters, neither of which escalated into a fight.
How much loot can you realistically get from one Blue Gate run?
Our run behind this guide pulled close to 100,000 in about 25 minutes, and that was after joining 5 minutes late and leaving two gray-rarity items sitting unsold in inventory. A clean run on the same route could reasonably do better.
Does this route include the Ancient Fort or Raider’s Refuge puzzles?
No. We intentionally skip both to keep the run fast. They’re separate points of interest elsewhere on the Blue Gate map and aren’t part of the path covered here.
What if the Red Room fuze puzzle won’t let you interact with the panel?
This can happen. On our run, the final panel refused to register the interaction even with all three fuzes in hand, which appears to be an intermittent bug rather than a mistake in the puzzle steps. If it happens to you, it isn’t necessarily something you did wrong.