We took a single Buried City raid from spawn to extraction and walked out with roughly 150,000 in loot, five pink-tier pulls, and two weapon blueprints in 26 minutes. No fights. No PvP engagements. Just a route.
Buried City has a reputation as one of Arc Raiders’ most PvP-heavy maps, and that reputation isn’t wrong. But it’s also one of the most loot-dense maps in the game, and a good chunk of that density sits in interior rooms most raiders skip past on their way toward the center of the map.
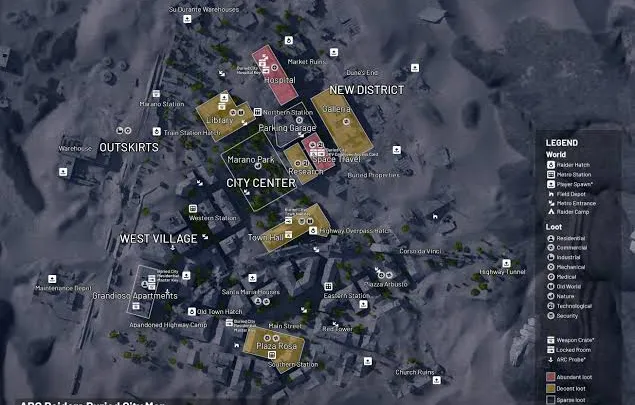
This is our exact route: nine stops, every weapon case and backpack spawn we hit, and what came out of each one. For how Buried City compares to the game’s other maps, see our Arc Raiders loot map guide.
Table of Contents
Weapon Case and Backpack Spawn Quick Reference
Here’s every spawn point on our route before we walk through it stop by stop.
| Location | Spawn Type | Notes |
|---|---|---|
| Grandioso Apartments area | Backpack | Just outside, ground level |
| First hidden loot room | Weapon crate | Reliable early-game hit |
| Santa Maria Houses (upper) | Weapon blueprint, security breach | Strongest single stop on the route |
| Santa Maria Houses (lower) | Weapon crate, grenade tube, backpack | Multiple spawn points in one building |
| Red Tower | Security breach, weapon case | Two separate spawn points |
| Tower near Red Tower | Weapon case | Consistent spawn, didn’t hit this run |
| Highway truck bed | Weapon crate | Reliable across most runs |
| Building overlooking highway | Weapon crate | Kitchen table spawn |
| Final building (zipline) | Weapon case | Top of the zip |
| Train cars near map edge | Backpack | Final stop before extraction |
Spawns are randomized and not guaranteed every raid. Treat this as a route of high-probability checkpoints, not a guaranteed loot list.
If you’re chasing keys instead of general loot, Grandioso Apartments and the Space Travel building also hold two of Buried City’s four unique keys - see our Arc Raiders keys guide for what each one unlocks.
The Full Route, Stop by Stop
1. Grandioso Apartments (Start)
Loot the bottom floor only. The upper floors eat time for loot that doesn’t match the payoff, so skip them entirely and head straight for the cupboards on the ground level.
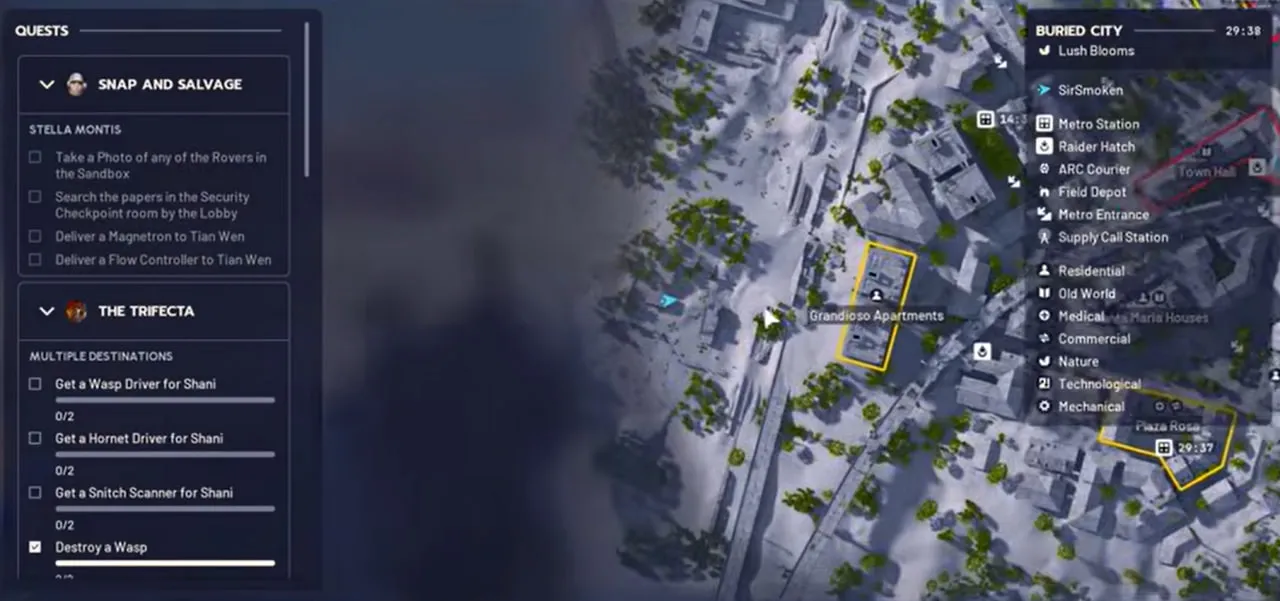
From here, drop outside and head to the first hidden room.
2. First Hidden Loot Room + Rare Loot Room
Just outside Grandioso, there’s a hidden room accessible by heading up an interior stairwell and jumping across into a window. This is one of the best early stops on the whole route.
This single room produced a rusted gear, multiple rare trinkets, our first pink-tier item of the run, and a weapon crate that dropped an Osprey. A medical bag and a second stash of trinkets round out the room.
Skip: wine bottles and expired food items unless your bags are otherwise empty. They show up constantly on this route and aren’t worth prioritizing.
3. Second Building, Rooftop Breach Room
Cross the road into the next building and head to the top of the stairwell. There’s a breachable door here that leads into another strong loot room.
Inside: a defib, a fried motherboard (useful for bench upgrades), multiple backpacks, another medical bag, and a second pink-tier item - an Exodus Module. Cat beds and extra wine bottles show up again here; leave them unless you’re stacking cat beds specifically for sale value.
4. Santa Maria Houses (Roof Hatch Entry)
This is the strongest single stop on the whole route. Approach from the side with the backpack spawn first, then head up to the roof hatch.
There are two hatch entries here - take the one that leads to the better loot room. This room opened with a weapon blueprint straight away, followed by another pink-tier ring cushion, a security breach containing a Venator, and more rare trinkets scattered on the floor throughout the building.
Note: rare trinkets spawning directly on the floor (not in containers) is a recurring pattern in this building. It’s worth a slow, deliberate sweep rather than a quick pass.
A weapon crate and grenade tube also spawn on the lower floor of this building, along with a second backpack spawn point.
5. Red Tower
Cross to Red Tower, checking the ammo box on the way up. Inside, a security breach produced a second Venator, and a weapon case spawned nearby with additional gear.
Rooftop loot here included a rubber ducky, another cat bed, and a fine wristwatch alongside a rare trinket - minor items, but worth a quick check since they’re on the way regardless.
6. Pharmacy Near Plaza Rosa (First Visit)
Climb onto the roof of the building near Plaza Rosa and drop into the pharmacy from a ledge. This bypasses the front entrance entirely, which is exactly why this pharmacy is such a well-known loot spot.
Pulls here included a vertical grip, an angled grip, a film reel trinket, and multiple containers with adrenaline shots and an extended light mag. A dartboard and a shotgun silencer also turned up - the silencer became useful later in the run once a shotgun was picked up.
7. Second Pharmacy + Nearby Tower
A second pharmacy building nearby requires a front breach rather than a rooftop drop. Expect other raiders to have visited already - we found evidence of a prior visitor (a placed mine) but no direct contact.
Standard container loot here, plus a weapon case spawn point at a nearby tower just beside Red Tower. It didn’t produce anything on our run, but it’s a consistent enough spawn to check every time.
8. Highway Loop and Final Backpack
From the second pharmacy, loop back toward Santa Maria Houses through a different entry point, then continue to the truck parked on the highway. The back of the truck is a known weapon crate spawn - it didn’t hit this run, but it’s reliable enough across other runs to be worth the detour every time.
From here, cross into the building overlooking the highway for another weapon crate spawn on a kitchen table, plus general container loot.
The final leg is a building reached via a zipline, with another weapon case spawn at the top. That one came up empty on our run, but an Osprey 2 and an extended medium mag came from container loot on the same floor.
From there, head for the last backpack spawn near the trains at the map’s edge before calling the extraction hatch.
What We Pulled: Run Totals
| Metric | Result |
|---|---|
| Total loot value | ~150,000-160,000 |
| Run time | 26 minutes |
| XP earned | 22,500 |
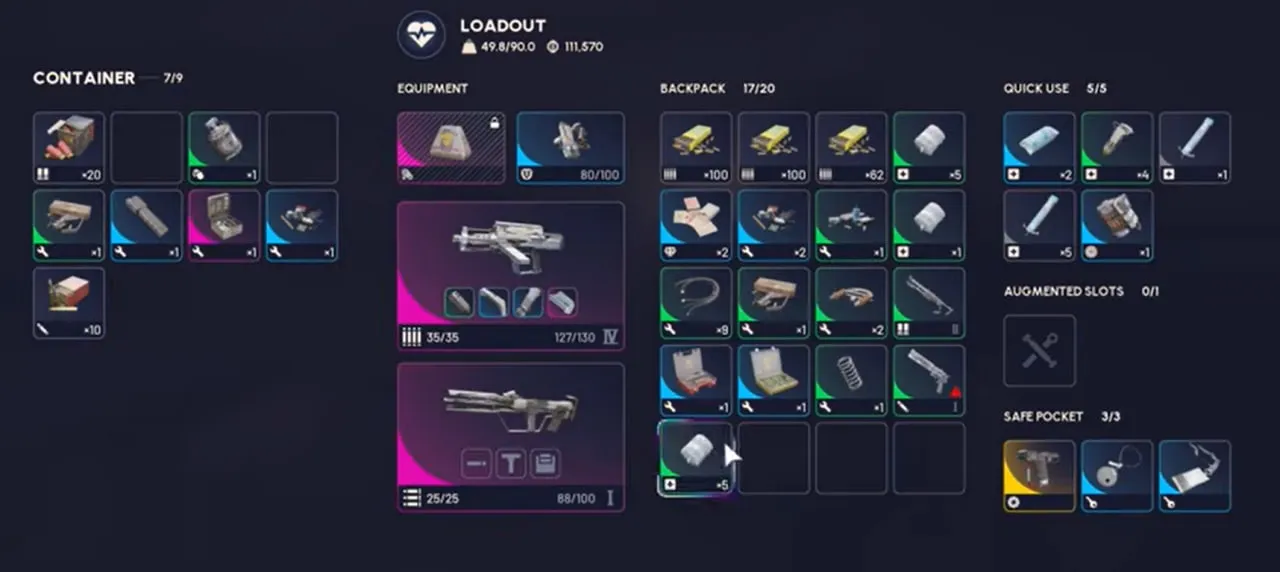
| Notable weapon pulls | 2x Venator, 1x Tempest, 1x Osprey, 1x Osprey 2 |
| Pink-tier items | 5 |
| Weapon blueprints found | 2 |
The value spike here comes almost entirely from weapon case and security breach pulls, not from raw container looting. Every building on this route has at least one weapon case or security breach spawn point, which is the actual reason the totals run this high.
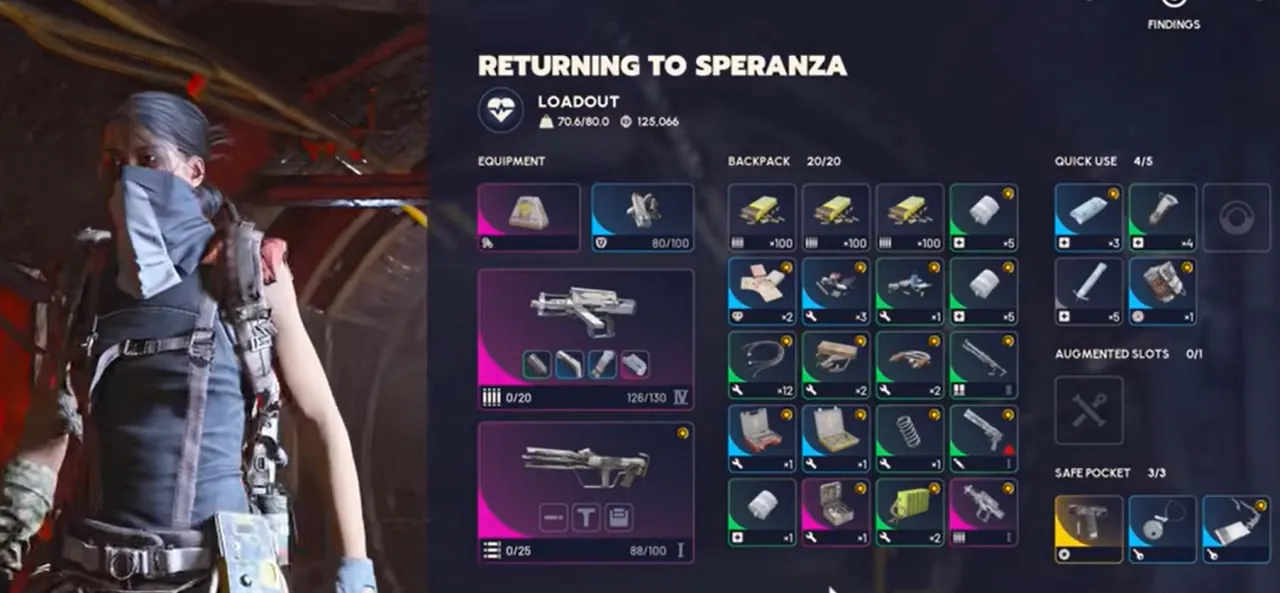
If you want to see how the Venator, Tempest, and Osprey stack up against the rest of the roster, check our Arc Raiders PvP weapons tier list.
Why This Works on a PvP-Heavy Map
Buried City earns its PvP-heavy reputation honestly. It’s got verticality, long sightlines across the New District, and enough elevation changes that camping a rooftop is a real strategy for other raiders.
But most of that danger concentrates around the map’s biggest, most obvious buildings: Town Hall, Space Travel, the open plazas. This route avoids almost all of it. It sticks to residential interiors, side-street buildings, and hidden rooms that don’t show up on the obvious loot markers.
The only hostile contact across the full 26 minutes was a couple of roller balls and a sentry gun, both trivial to deal with, plus a handful of other raiders who all turned out to be uninterested in a fight once a friendly callout landed. We ran this solo, with no squad support, and the route held up the whole way through. A few things helped:
- Interior-first pathing. Almost every stop on this route is accessed through a building interior, hatch, or breach rather than an open street, which limits exposure to other raiders significantly.
- De-escalation over engagement. We ran into several other raiders directly at close range during this run. In every case, a quick friendly callout was enough to avoid a fight - nobody on this route was looking for trouble.
- Skipping optional high-value rooms. We opened but deliberately didn’t loot a couple of security breaches, specifically to show the route holds up even without them. Looting them fully would push totals even higher for a squad willing to hold the room longer.
The result: PvE-style looting on a map most guides treat as PvP-only.
Extraction Options for This Route
This route naturally ends near the map’s edge close to the train cars, which puts you within range of the nearest Metro entrance rather than forcing a run back toward the center of the map.
Cutting back through the center to reach a different station isn’t worth the risk once your bags are full. The whole point of this route is avoiding the high-traffic zones you’d have to cross to get there. If you’re running heavy by the final stop, prioritize the closest safe Metro entrance over a “better” one further away.
For a full breakdown of how Metro extraction compares to the game’s other extraction types, see our Arc Raiders extraction guide.
Key Takeaways
- A full Buried City loot route can pull 150,000+ in value in about 26 minutes without engaging in PvP.
- The route’s value comes from stacking weapon case and security breach spawns across nine stops, not from raw container looting.
- Interior-first pathing (hatches, breaches, rooftop drops) keeps exposure to other raiders low.
- Low-value clutter items (wine bottles, cat beds, painted boxes) show up constantly - don’t let them eat inventory space.
- Weapon case spawns are RNG-based; treat every listed location as a high-probability checkpoint, not a guarantee.
- This route is fully solo-viable, and de-escalation works more often than combat is necessary.
FAQ
Is Buried City good for PvE in Arc Raiders?
Yes, despite its PvP reputation. Buried City has dense, spread-out loot with plenty of interior routes that let you avoid open sightlines. We stuck to a patient, route-based approach and cleared most of a run without engaging another raider.
What’s the best loot route in Buried City?
Our route starts at Grandioso Apartments, works through Santa Maria Houses and Red Tower, hits both pharmacy buildings near Plaza Rosa, and finishes near the highway and Metro before extracting. It covers the map’s densest interior loot without much backtracking.
How much loot can you realistically get from a Buried City run?
A focused route hitting 8-9 major buildings can pull 100,000 to 160,000 in loot value in around 25-30 minutes, including multiple rare and epic weapon pulls if weapon case and blueprint spawns land in your favor.
Where do weapon cases spawn in Buried City?
Weapon cases are scattered across multiple buildings rather than concentrated in one spot. Santa Maria Houses, Red Tower, the truck on the highway, and the buildings near Plaza Rosa all have known weapon case spawn points, though none are guaranteed every raid.
Is Buried City a PvP map or a PvE map?
Buried City is generally considered one of Arc Raiders’ more PvP-heavy maps due to its verticality and sightlines. It’s still very playable for PvE-focused loot runs if you stick to interior routes and avoid open rooftops and streets.
What should I skip looting in Buried City to save inventory space?
Low-value decorative items like wine bottles, cat beds, and painted boxes show up constantly and aren’t worth carrying multiples of. Prioritize weapon blueprints, rare trinkets, gun parts, and anything from a weapon case or security breach instead.
Can you solo a full loot run in Buried City?
Yes. We ran this route solo with no squad support. Sticking to interiors, using de-escalation with other players when encountered, and avoiding contested rooftop zones makes solo runs viable even on a map known for PvP.
Where’s the best place to extract after looting Buried City?
Extraction depends on where your route ends, but the map’s Metro stations are the most reliable exits. If your run finishes near the highway or Santa Maria area, the nearest Metro entrance is usually faster and safer than crossing back toward the center of the map.
How long does a full Buried City loot route take?
A thorough route covering 8-9 buildings without rushing typically runs 20-30 minutes. Our run took 26 minutes and still left several minutes of safe window before extraction closed.
What’s the most valuable single find on a Buried City loot run?
Weapon blueprints and rare/epic weapon pulls from weapon cases are typically the biggest single-item value spikes. A Tempest, Venator, or weapon blueprint pull can be worth more than everything else picked up in a building combined.