Control Tower and Research & Administration get all the attention on Dam Battlegrounds, and that’s exactly the problem.
Every other Raider on the server has the same idea.
That means those buildings are usually a fight before they’re a loot run.
We wanted a path that avoids both entirely without giving up on decent loot.
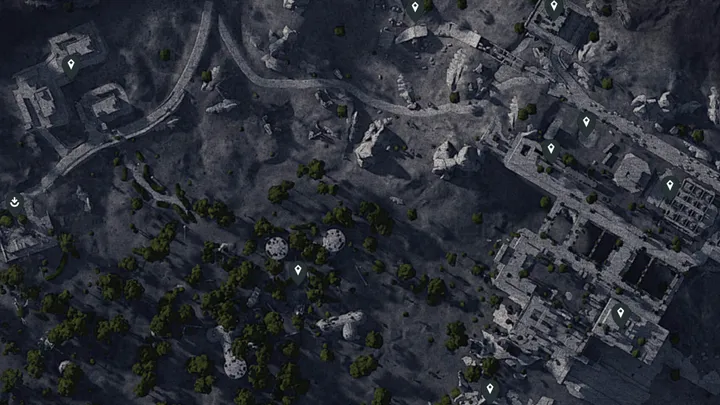
This is that route: Pipeline Tower to Test Extraction, hitting a dozen-plus possible crate spawns, several Raider Caches, and the single best blueprint building on the map along the way. For how this map’s loot stacks up against the rest of the roster, see our Arc Raiders loot map guide.
Table of Contents
- What You’ll Need
- The Route at a Glance
- Pipeline Tower to the Bridge Breach
- Domes, Old Battlegrounds, and the Swamp Outpost Crate Cluster
- Water Towers to Formicai Hills
- Testing Annex: The Blueprint Stop
- The Dam Climb Shortcut
- What’s Changed Since We Ran This
- Best Times to Run This Route
- Key Takeaways
- FAQ
What You’ll Need
Four zip lines is the minimum to run this route start to finish.
Bring six if you’d rather not double back to reuse one.
Load up on heavy ammo before you drop in - several of the crate spawns on this route favor it, and our PvP weapons tier list is worth a look if you’re rethinking your loadout entirely.
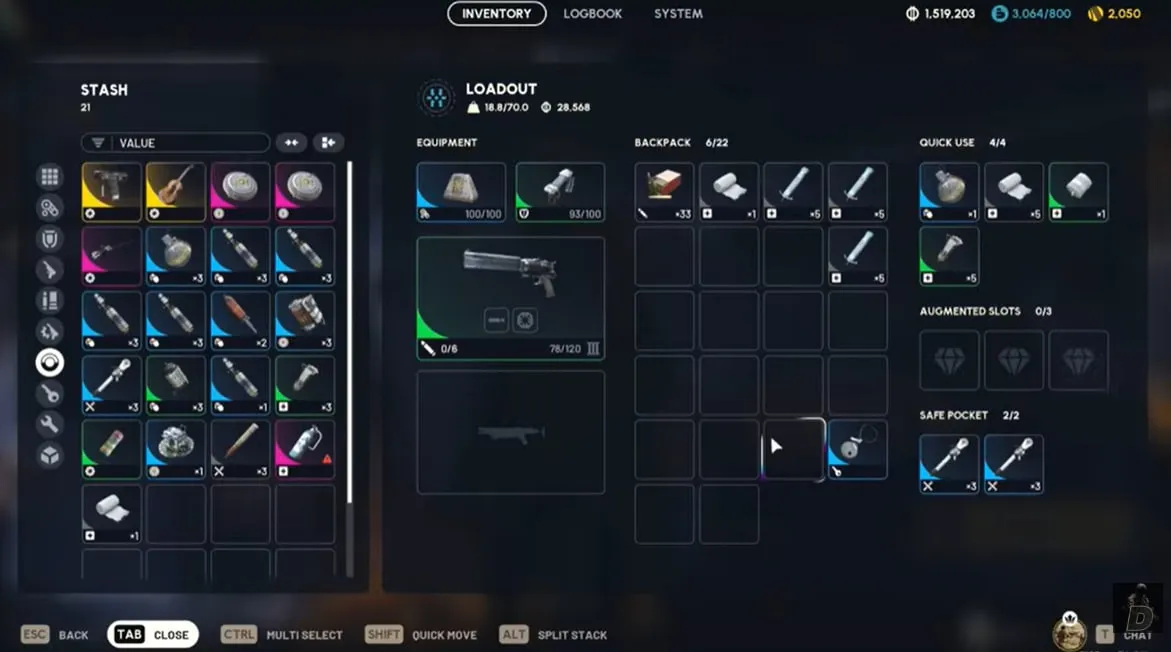
Pack at least two stims. One specific climb later in this route eats stamina fast, and running dry halfway up costs real time.
If you’re planning to walk out with a blueprint, a Safe Pocket augment is worth considering too - see our augments guide for how capacity actually breaks down by tier.
The Route at a Glance
Spawn at Pipeline Tower as Celeste.
End at Test Extraction near Testing Annex.
Worth a mention since you’re spawning in as her anyway: Celeste is also the one who sends you on the Keeping the Memory quest, which has you find a helmet at an old wreckage site and return it to a nearby memorial.
The wreckage sits between Formicai Hills and Testing Annex - both stops already on this route - so if you haven’t run it yet, it costs you nothing extra to knock it out along the way.
In between: the bridge breach area, the domes, Old Battlegrounds, Swamp Outpost, the water towers, Formicai Hills, and Testing Annex itself.
The entire path is built to avoid crossing the map’s PvP hotspots. That’s the whole appeal - run this any time the server feels crowded or you spawned into a staggered raid.
Pipeline Tower to the Bridge Breach
Head out the bottom of Pipeline Tower and sprint for the nearby corner.
Watch for a Leaper on the way.
A weapon crate can spawn just past that corner, next to an ammo crate.
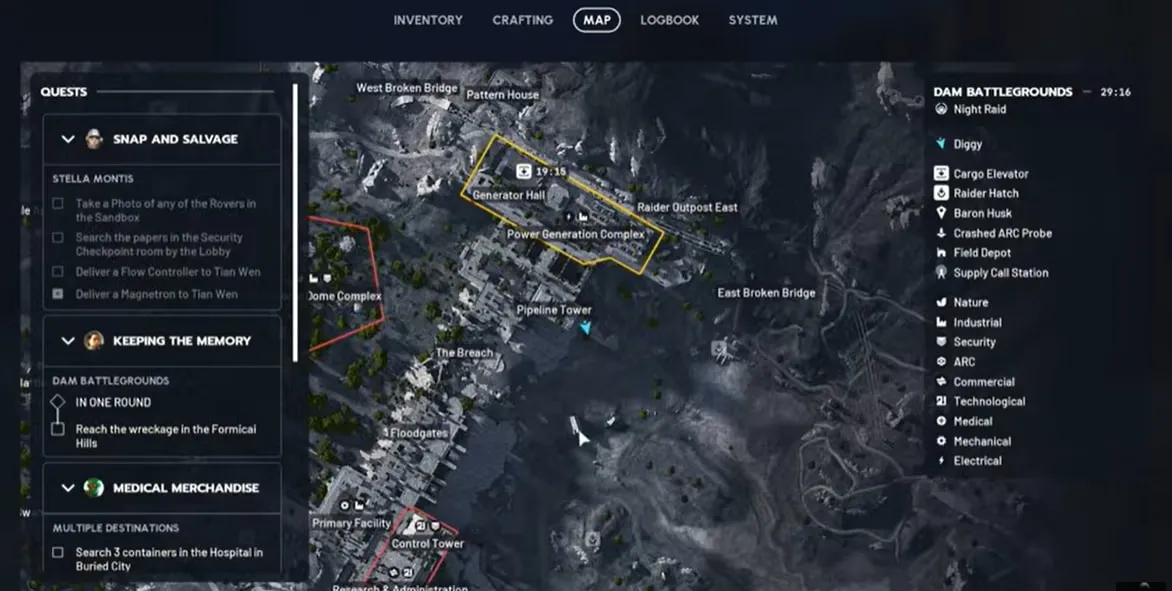
A Raider Cache spawns close by too, easy to miss if you’re not listening for the audio cue.
It’s worth the pause - sort it for heavy ammo specifically and skip the light stuff if your loadout doesn’t use it.
From here, head up the hill toward the bridge.
Expect a bit of player activity around the bridge itself, so scan before committing to the climb.
Underneath the small bridge, another weapon crate can spawn. This is where your first zip line comes in, crossing toward higher ground near the domes.
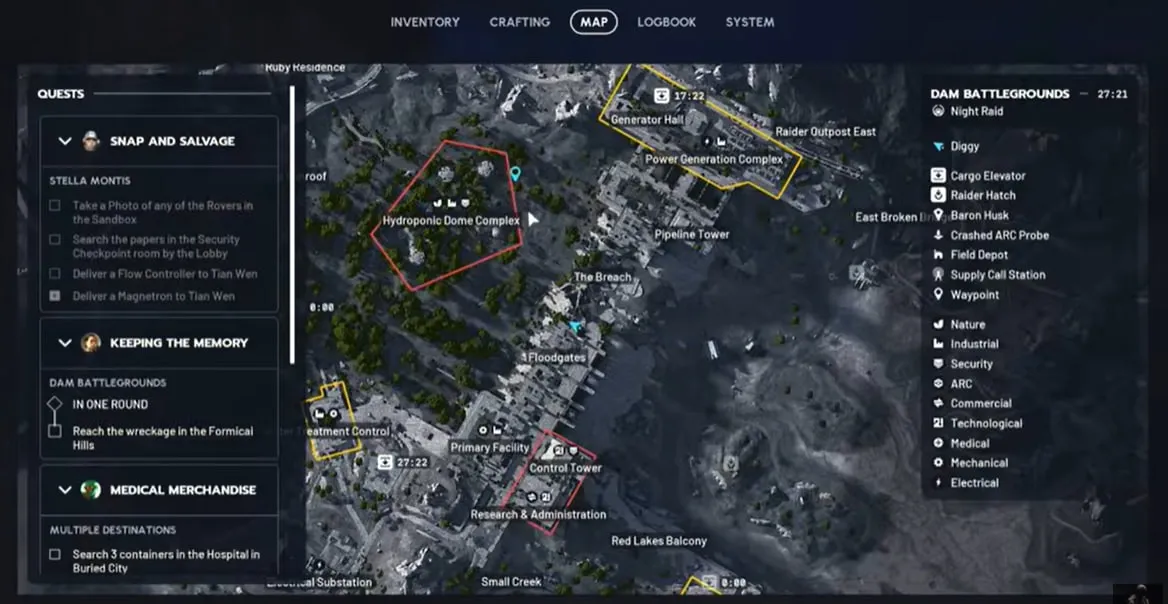
Let another player or ARC unit get ahead of you before you move. Timing this crossing quietly matters more than the exact path you take.
Domes, Old Battlegrounds, and the Swamp Outpost Crate Cluster
Once you’re up near the domes, a Raider Cache spawns close by along with a mix of ammo, heals, and grenades.
This whole stretch plays especially well during cold snap or night raid conditions, since visibility and player density both drop.
From the domes, head down toward Old Battlegrounds.
A small dome structure along the way is worth a quick check for an ammo box spawn.
Continue toward Swamp Outpost, sticking to the outer edge rather than cutting through the middle.
It’s quieter, and there’s no real reason to expose yourself crossing the open ground.
Swamp Outpost is the single densest stop on this route. Up to three separate weapon crate spawns can appear here - one on the front or back step, one on the roof, and one inside.
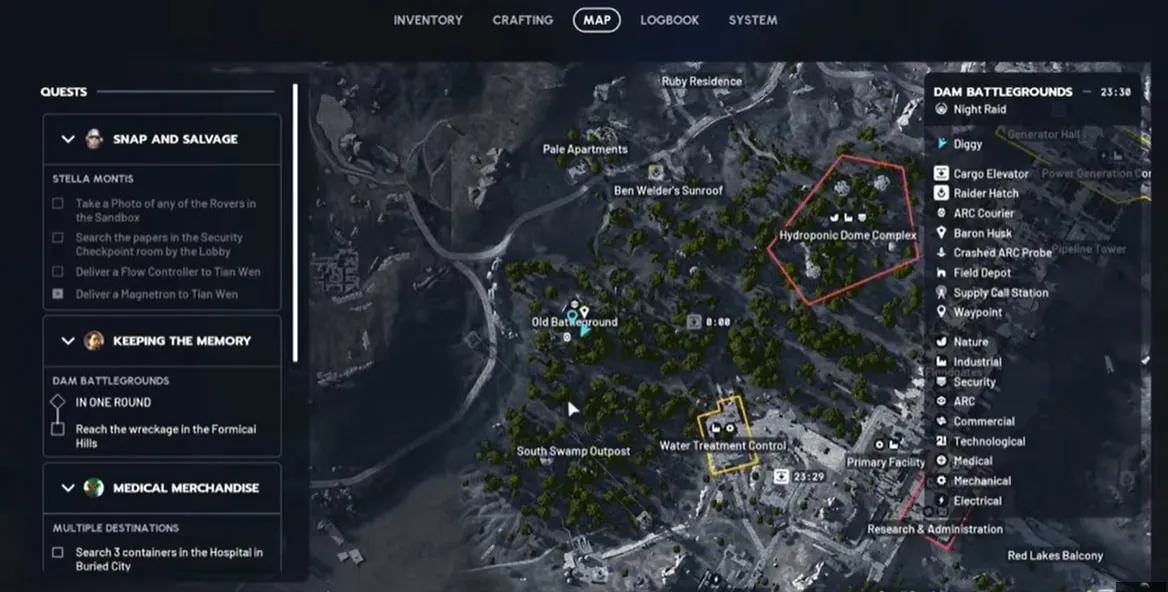
Not all three spawn every raid. Check all of them anyway. A miss on one doesn’t mean the building’s empty.
Water Towers to Formicai Hills
Push on toward the water towers, using zip lines along the way.
A small building along this stretch is worth checking for containers, though it’s a common early-loot spot for other players.
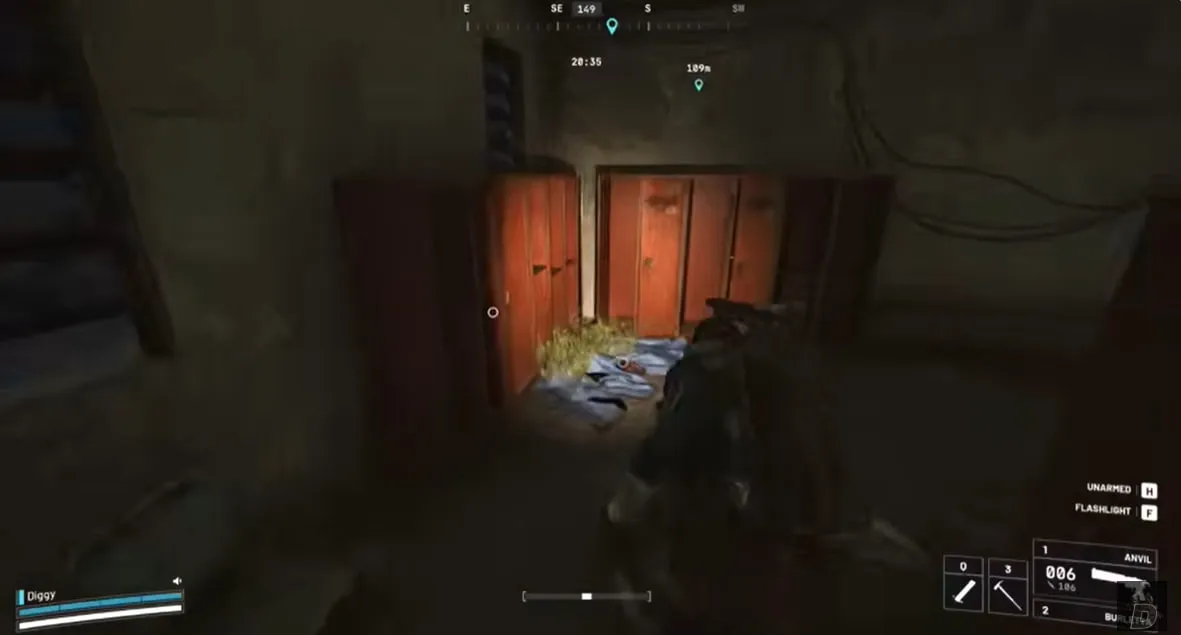
A Raider Cache spawns somewhere in this stretch as well.
If you’re carrying a Dam Surveillance Key, the nearby Water Treatment Control building is worth the detour too - we cover that key and the rest of Dam’s key rooms in our keys guide.
Weapon crates can spawn on top of either water tower, and a third possible crate sits at ground level in the surrounding perimeter - up to three chances here, not two.
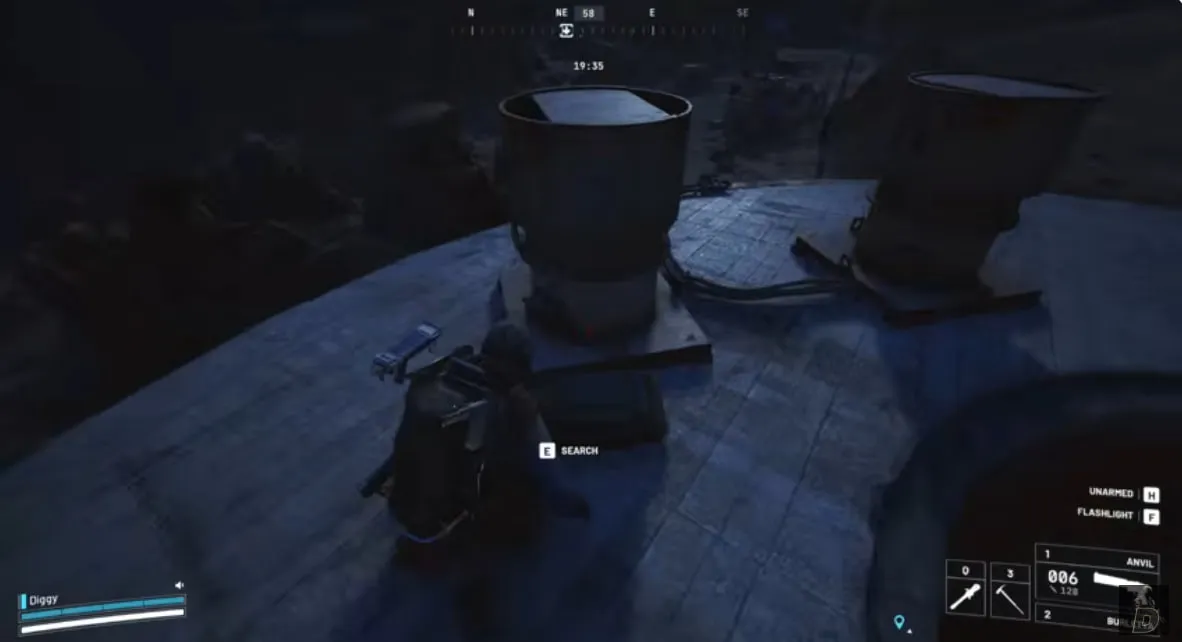
Climb both towers and compare rather than committing to the first one you reach - only one may have a crate live on a given run.
If you’re carrying binoculars, scan the towers from a distance before climbing. It’s a free way to check for a crate without spending a zip line to find out.
A zip line down from the towers lands you near another Raider Cache, setting up the push toward Formicai Hills.
An Arc Probe sits along this stretch and is worth a quick loot, mainly for crafting materials.
Results here vary more than the fixed crate spawns elsewhere on the route, so treat it as a bonus stop, not a core objective.
Formicai Outpost, the small building at the top of the hill, is worth the short detour even if it’s slightly off your direct line. It holds two separate weapon crate spawns - one in the round chamber near the entrance, and a second on an upper level reachable with a bit of parkour or a Snap Hook.
It’s also the objective location for the Symbol of Unification side quest, if you haven’t run that one yet.
Since you’re passing right by it, it costs nothing to grab the flag while you’re there.
Testing Annex: The Blueprint Stop
This is where the route earns its reputation.
On our run, Testing Annex alone produced two separate blueprints, on top of standard container loot on the ground floor and a rooftop section reached by a technical climb.
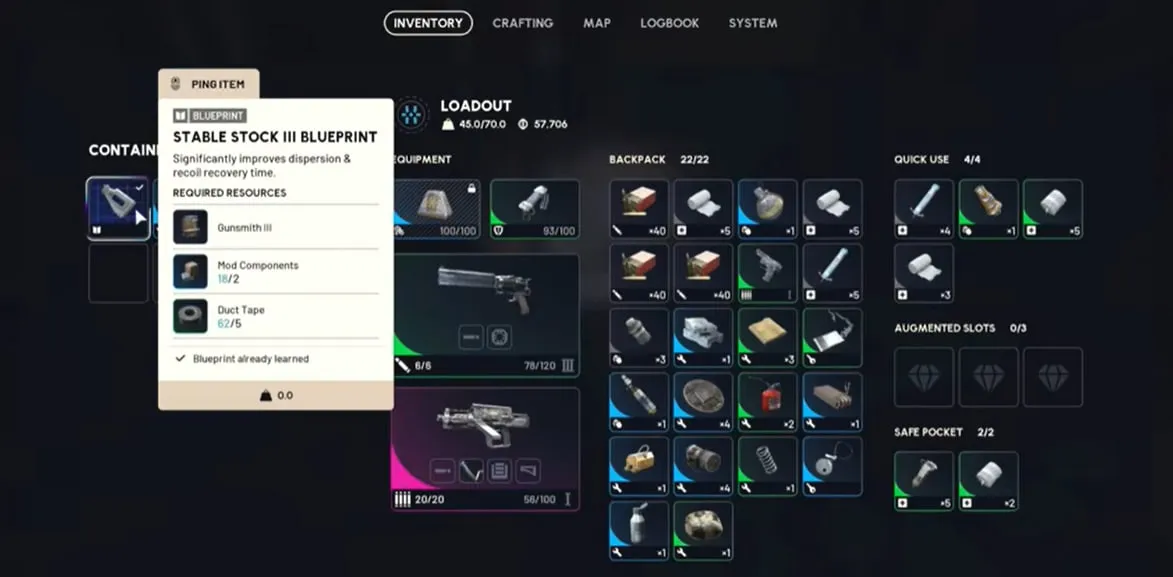
Worth setting expectations here: Embark has lowered blueprint drop rates more than once since we ran this route, so pulling two blueprints from one building in a single pass is less likely today than it was for us.
Testing Annex is still a strong stop for standard loot and a real shot at a blueprint - just don’t plan your whole run around guaranteeing that result.
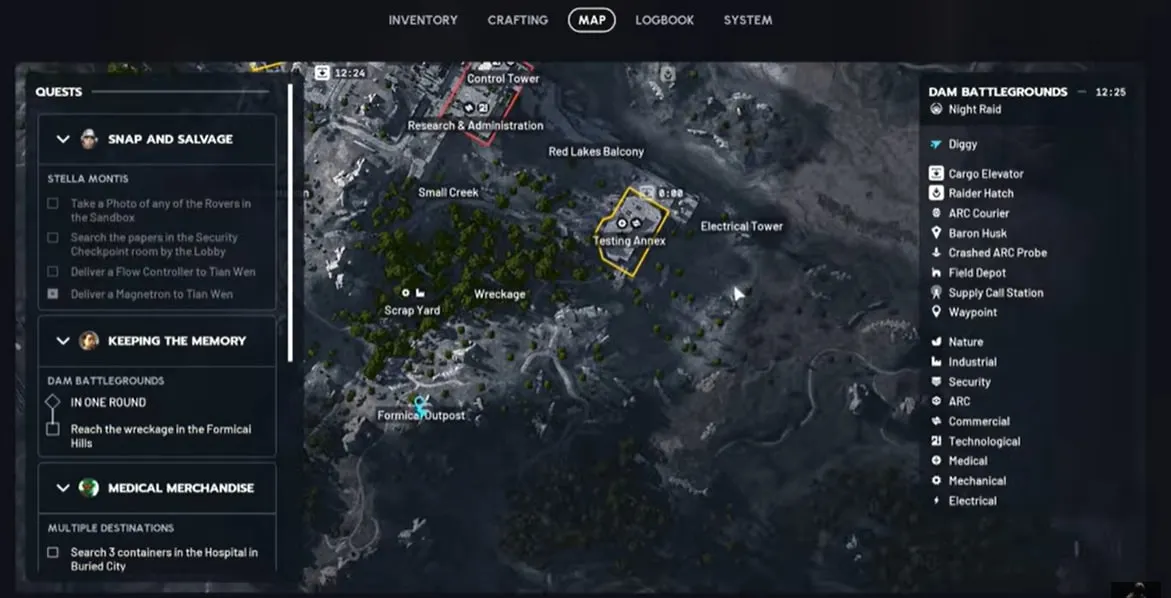
The roof climb takes practice.
It’s a jump-and-mount motion that trips up most players on the first few tries.
Move slightly forward into the jump instead of straight up. It’s far more consistent that way.
Once you’re up top, expect sensors, grenades, and a possible weapon crate.
Loot the ground floor fully before heading up - it’s easy to miss a corner rushing for the roof.
The Dam Climb Shortcut
This is the route’s signature move.
There’s a direct climb straight up the face of the dam from one specific spot at the bottom, instead of taking the long way around.
Pop a stim before you attempt it. Look straight down, not at the top of the dam, and sprint up from that exact position.
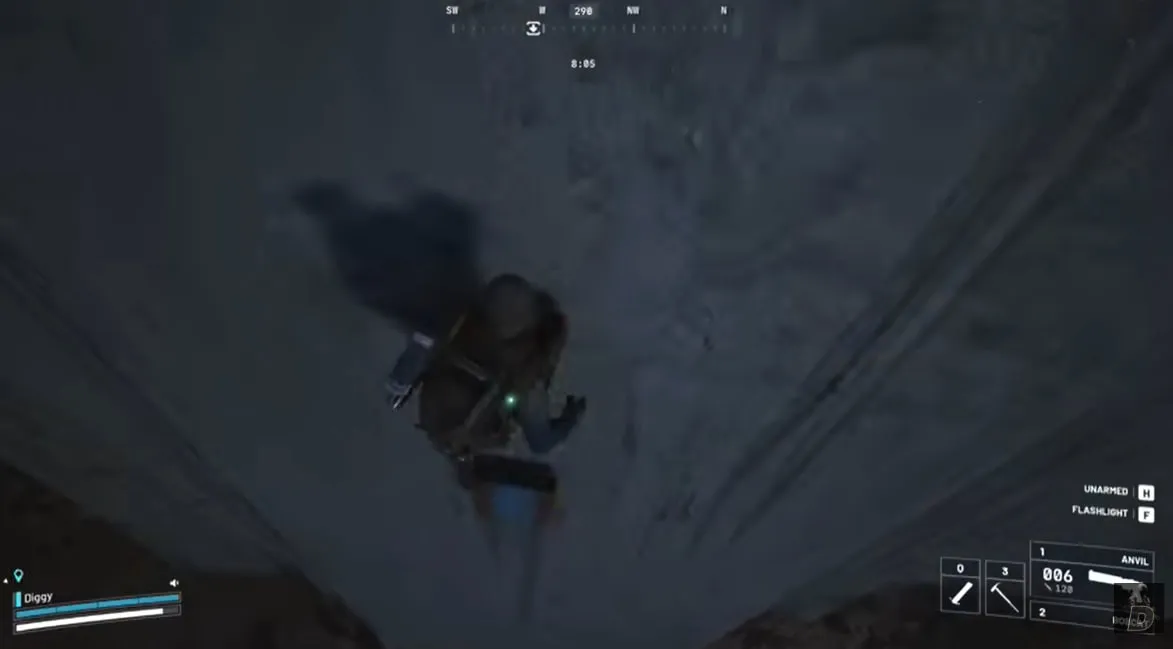
This technique comes from our own testing and hasn’t been independently confirmed against official patch notes or the community wiki.
Treat it as a community-known trick rather than a guaranteed mechanic - it may feel inconsistent between patches.
At the top, roll off to the side and head for the ladder.
A room near the top of this climb holds a weapon crate, two security breach containers, and a couple of additional containers worth checking - the detour is worth it even without the shortcut’s time savings.
What’s Changed Since We Ran This
Dam Battlegrounds picked up a new interior area, the Controlled Access Zone, near the Power Generation Complex as part of the Shrouded Sky update, reached by a ladder near the north side of the map.
This route never crosses that area, so nothing above is affected by it.
It’s worth knowing about if you want to extend the run instead of heading straight to extraction, since it sits just outside the route’s northern edge.
The same update also made hurricanes a permanent rotating weather condition on Dam Battlegrounds, along with two new enemy types that can now show up mid-raid: Fireflies, aerial units that attack with a flamethrower, and Comets, which chase you down and self-destruct.
Worth knowing specifically for this route: Fireflies spawn frequently around open areas like the domes and swamp zones, which overlaps directly with the domes and Swamp Outpost stops earlier in this route.
Neither enemy appears in the original run this route is based on, so treat any encounter with either as a genuinely new threat rather than something the route was built to account for.
Blueprint drop rates have also been lowered more than once since we ran this, most notably a rare-blueprint nerf that landed in early 2026.
Every crate, cache, and container location in this guide is unaffected.
The blueprint pulls specifically are the one piece that’s less consistent to reproduce today.
For the extraction point itself, or any of the alternatives if Test Extraction looks busy, our extraction guide covers every extraction type on Dam Battlegrounds and beyond.
If you’re carrying a Raider Hatch Key, it’s worth saving for exactly that kind of situation.
Raider Hatches skip the alarm a standard extraction triggers and open in about 15 seconds instead of the 60-90 second wait at a cargo elevator, which makes them a strong fallback when the main point is camped.
One catch worth knowing given the hurricane conditions above: storms disable Raider Hatches entirely. Don’t count on one as your out during a hurricane raid specifically - fall back to a standard extraction point instead.
Best Times to Run This Route
This route is built for the moments when the obvious loot is already gone.
Staggered spawns are the clearest case. A normal spawn at the 17-minute mark usually means everything worth grabbing has already been picked over, leaving PvP as the only real option elsewhere on the map.
Night raids and cold snap events both thin out visibility and player density, which plays directly into this route’s strength - a path built around avoiding the map’s PvP hotspots in the first place.
Key Takeaways
- Starts at Pipeline Tower, ends at Test Extraction near Testing Annex
- Deliberately skips Control Tower and Research & Administration
- Swamp Outpost holds up to three weapon crate spawns in one stop
- Formicai Outpost adds two more crate spawns and doubles as the Symbol of Unification quest site
- Testing Annex produced two blueprints on our run, though blueprint rates have since been nerfed
- The dam climb shortcut needs a stim and exact positioning to pull off
- Works best during staggered spawns, night raids, and cold snap events
- Dam Battlegrounds now runs permanent hurricanes and two new enemy types since Shrouded Sky, and storms disable Raider Hatches specifically
FAQ
Where does this Dam Battlegrounds loot route start?
We start at Pipeline Tower, spawning in as Celeste, and work through the bridge breach area, up to the domes, down through Old Battlegrounds and Swamp Outpost, out to the water towers, over to Formicai Hills, into Testing Annex, and finally out through the dam to Test Extraction.
Do I need zip lines for this route?
Four zip lines gets you through the whole route. Six is more comfortable since you won’t need to double back for a used line. A couple of stops, including the swamp crate cluster and Old Battlegrounds, need no zip lines at all.
How many weapon crates does this route pass?
Roughly a dozen potential weapon crate spawns, including a three-crate cluster at Swamp Outpost and two separate spawns at the water towers. Crate spawns are randomized, so not all of them will be live on any given run.
Is this route good for solo players?
Yes. It skips Control Tower and Research & Administration on purpose, sticking to quieter buildings, domes, and outposts instead. That makes it a safer solo pick than routes that push straight through the map’s PvP hotspots.
What’s the best time to run this Dam Battlegrounds route?
Staggered spawns, night raids, and cold snap events. All three thin out player traffic, which makes the already-quiet stops on this route even less contested.
Are the weapon crate spawns on this route guaranteed?
No. Every spawn point in this guide is a known possible location, not a guaranteed one. Our own run found some crates empty and others full, which is normal for Arc Raiders loot.
Can I find blueprints on this route?
Testing Annex is the best blueprint stop on this route. We pulled two separate blueprints from containers there in one pass, though blueprint drop rates have been lowered more than once since, so a double pull is harder to repeat today.
Where does this route extract?
Test Extraction, near Testing Annex. If that point looks contested when you arrive, check your map for a closer extraction, or fall back on a Raider Hatch Key if you’re carrying one, since hatches skip the alarm and open faster - just not during a hurricane, since storms disable them.
What changed on Dam Battlegrounds since we ran this route?
The Shrouded Sky update added a new Controlled Access Zone near the Power Generation Complex, made hurricanes a permanent weather condition on the map, and introduced two new enemy types, Fireflies and Comets. Blueprint drop rates have also been lowered more than once, so the two-blueprint result at Testing Annex is less consistent to reproduce today.
What loadout works best for this route?
Extra heavy ammo, four to six zip lines, and at least a couple of stims. The stims matter most for the dam climb specifically, since running dry partway up costs time and leaves you exposed.