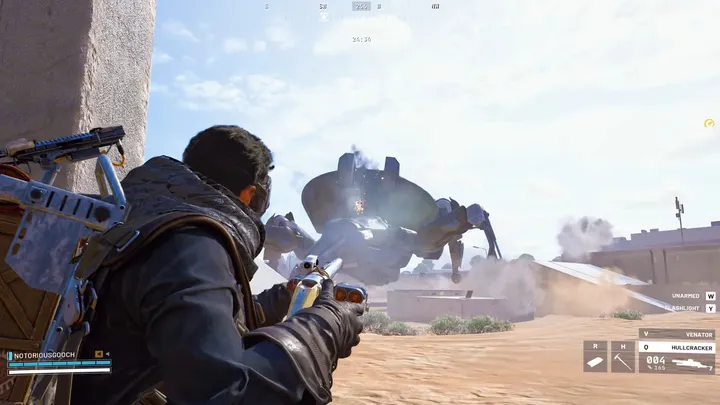
Stella Montis punishes players who wander in without a plan.
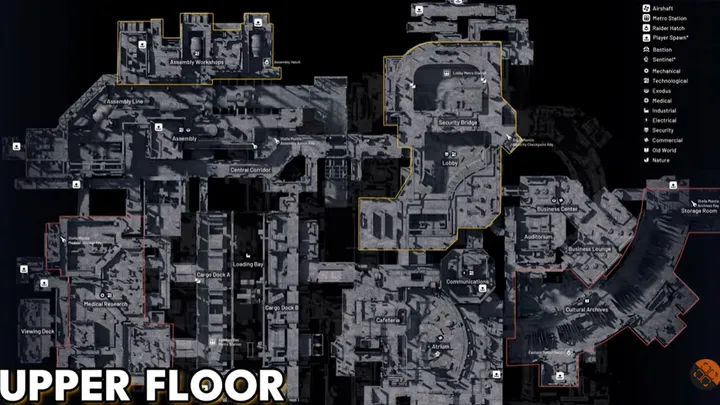
The map is a maze of interconnecting halls, and it runs hotter with PvP than almost anything else in the game.
We don’t think that means you need a mental map of every room before you land. It means you need to know exactly how much risk each part of the map is asking you to take on, and whether that risk is worth it.
This guide ranks every loot zone on Stella Montis by risk tier - a safe core loop worth 100K to 150K, a medium-risk expansion tier, and the highest-reward rooms on the map, which come with real PvP exposure attached.
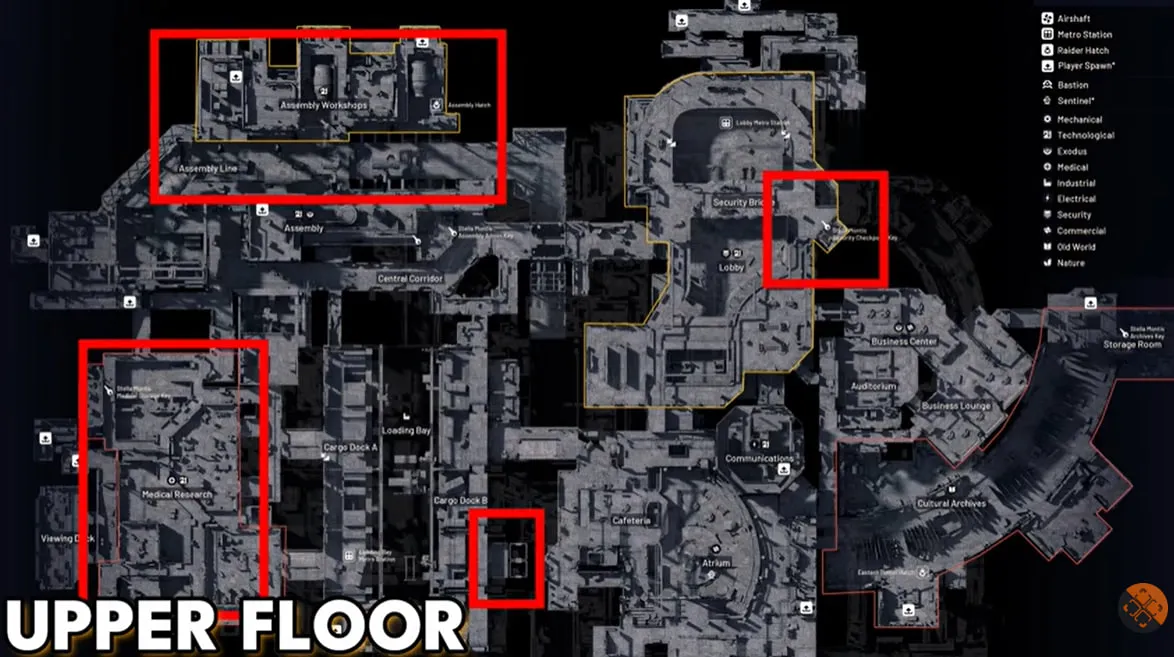
Table of Contents
Why Stash Value on Stella Montis Matters
Stash value matters every time an Expedition window opens.
Departing takes a strong Caravan built up beforehand, no matter what the specific reward structure looks like that cycle - and Embark has changed that structure more than once.
Stella Montis happens to be one of the faster maps on the roster for building that value, if you’re farming the right rooms instead of the whole map. If you’re not sure where your stash actually stands right now, our guide to checking your stash value fast walks through the quickest way to total it up.
Low-Risk Tier: The Core Loop
Two rooms make up the entire low-risk tier: the Staff Room in Loading Bay, and Assembly / Assembly Workshop.
We run these back to back on nearly every Stella Montis raid. Together they’re good for 100K to 150K in about 10 to 15 minutes, with essentially no PvP exposure if you keep moving.
Staff Room (Loading Bay). It’s locked behind a breach. Open it anyway - it’s dense with red lockers, which consistently outperform the mixed-value loot sitting in the map’s open areas. If Security Breach is unlocked, there’s usually a bonus panel in the same room, so you’re not spending any extra time to grab it.
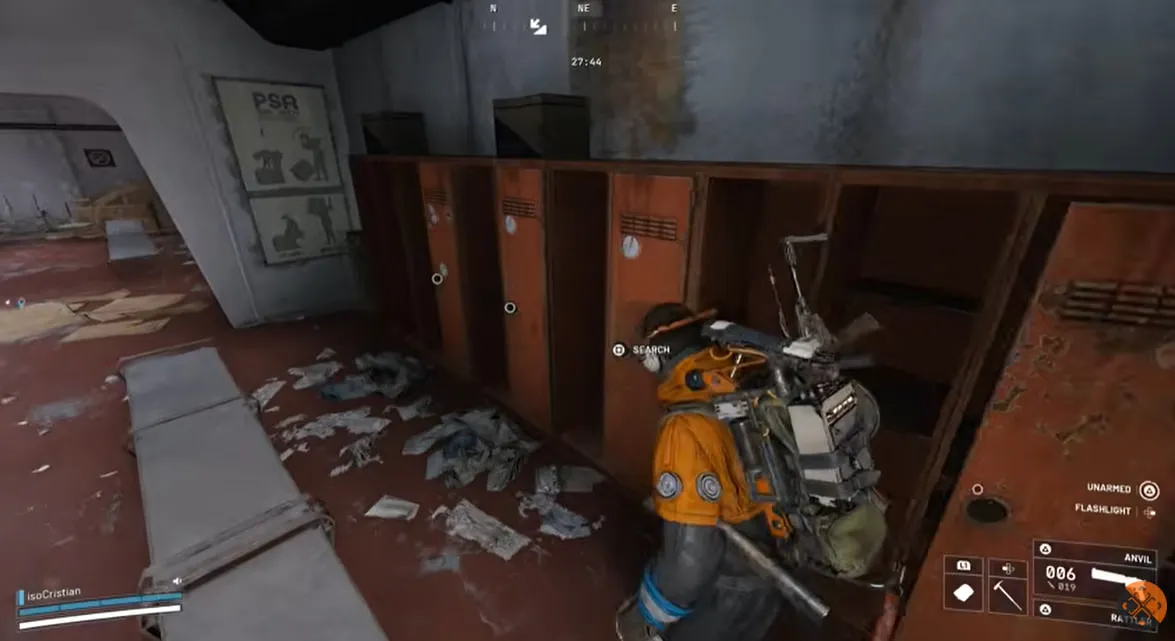
Assembly / Assembly Workshop. This stop is about one specific material: Exodus. Spawn rates run high here, and Exodus material is worth grabbing twice over - it sells for a strong base price, and it also feeds crafting for Mach 2 and Mach 3 augments, weapon attachments, and surge shield rechargers.
Work the yellow drawers and blue cabinets downstairs, the white drawers between rooms, and the server cabinets (breach required). Then head upstairs to Assembly Workshop for the white cabinets and drawers on the top floor.
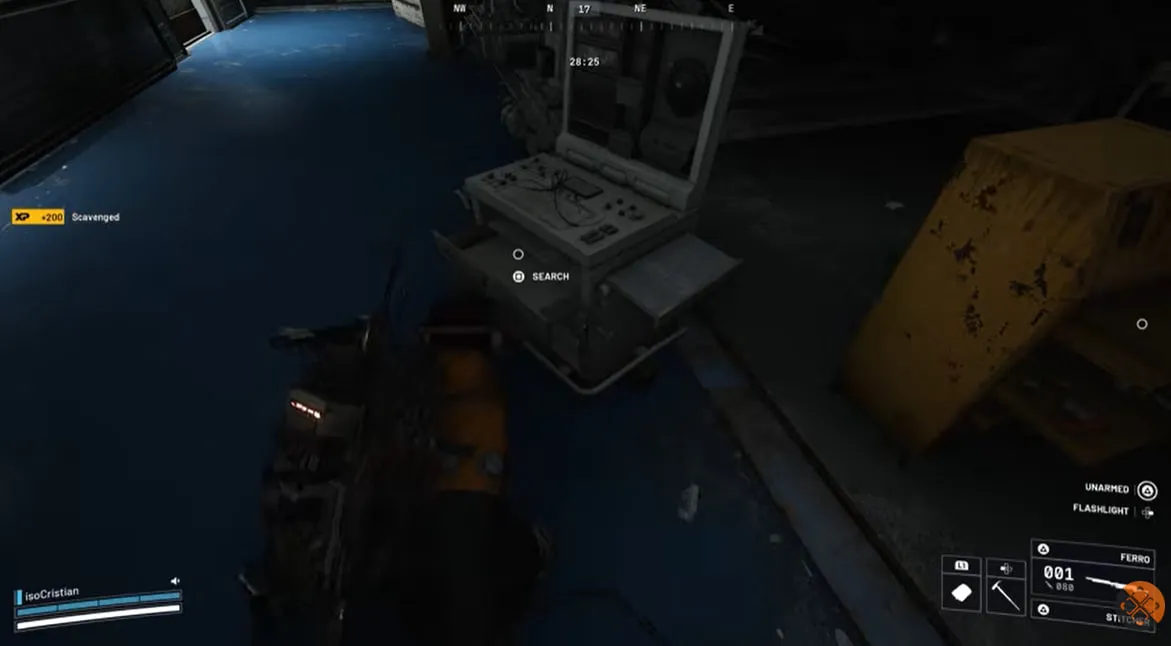
Weapon crates along the way. Six sit close enough to this loop to grab without a real detour - treat them as free value, not planned stops:
- The crate in the Assembly tube
- Below the security bridge above Lobby Metro
- The pipes near Robotics Control Room
- Either Robotics Sandbox
- The security bridge’s top floor
- The Atrium
If one’s on your path, take it. If it means backtracking, skip it - the core loop’s value comes from speed, and a detour breaks that.
Medium-Risk Tier: The Expansion Zones
Once the core loop feels routine, three areas are worth adding when you want more than 150K without jumping straight to the map’s hottest PvP rooms.
Cultural Archives sits on the upper level and is dense with old-world commercial loot - strong if you’re prioritizing resale value over crafting materials. It’s gated behind the Stella Montis Archives Key, one of the strongest loot keys in the game according to our keys guide, so it’s worth prioritizing if you’re already holding one.
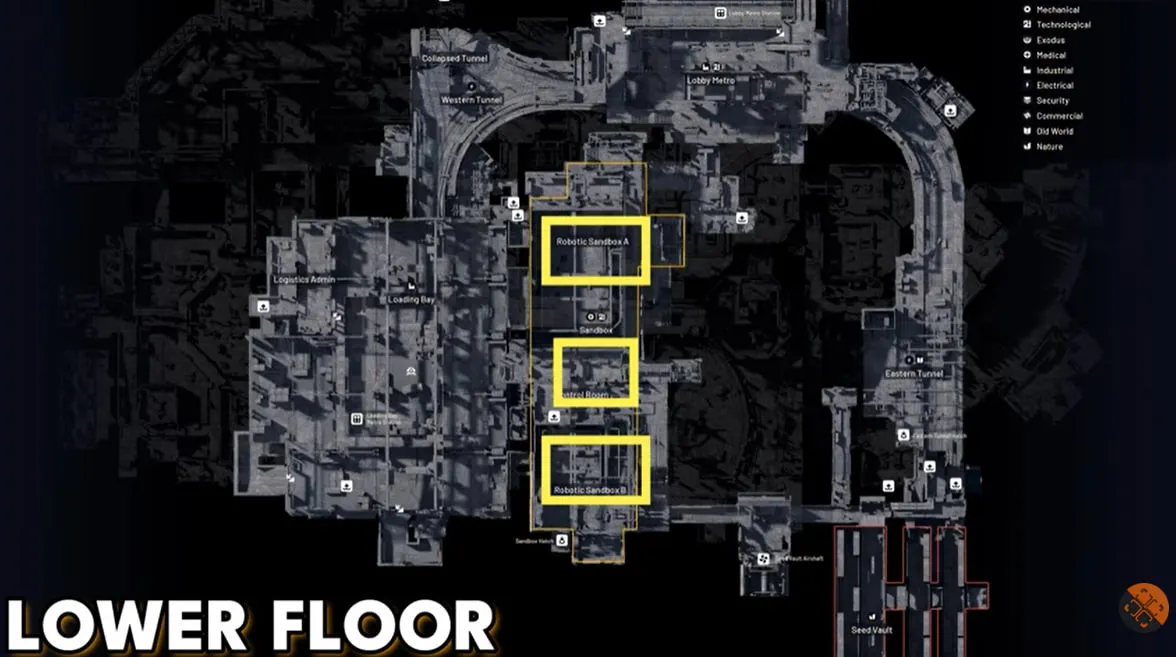
Seed Vault and Sandbox sit on the lower level and see noticeably less traffic than the upper floor. Both are a solid fallback if Loading Bay or Assembly feel unusually contested on a given raid.
Several rooms across this tier are gated behind fuel cells, and some need as many as three or four. Check common fuel cell spawns in Lobby or Sandbox even when you’re not planning to use them that raid - a spare one can open up options later.
High-Risk Tier: The 200K-Plus Rooms
Two rooms can push a Stella Montis run past 200K. Both come with real PvP risk attached, so we treat them as add-ons, not default stops.
Lobby’s security floors are heavily contested. It’s safer to hit this area later in a raid rather than early - by then you’re more likely to find loot other players already fought over, or run into squads that have already taken damage, instead of walking into a fresh firefight.
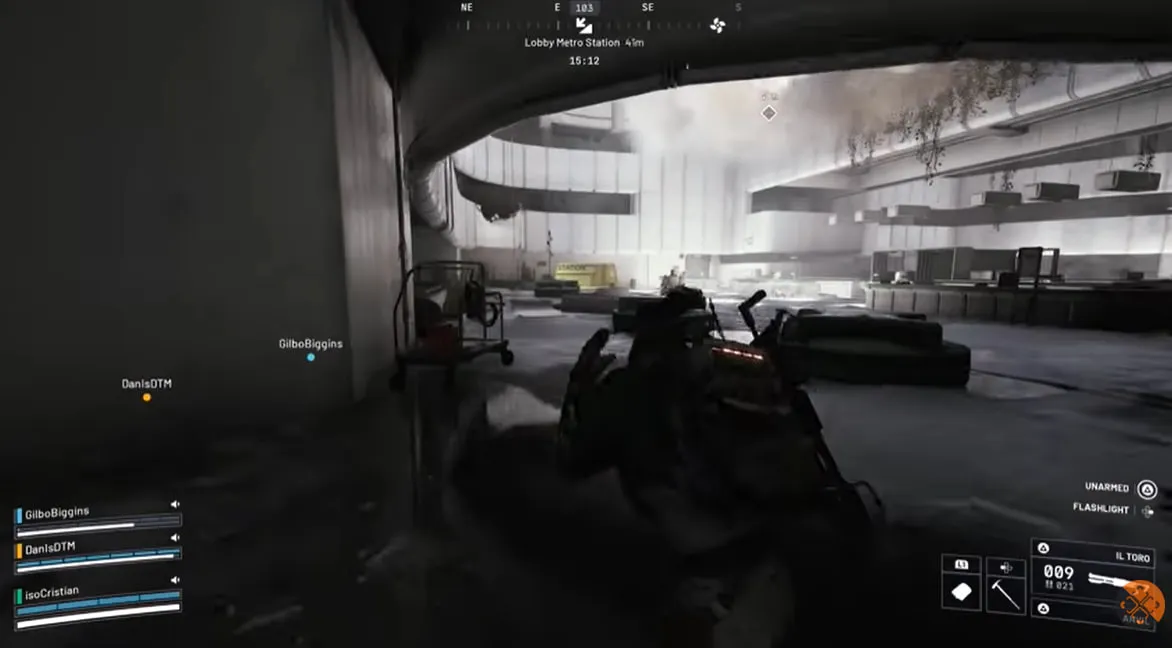
Medical Research holds some of the best loot on the map, and it’s arguably the single hottest PvP zone on Stella Montis. Expect two or three Shredders patrolling on top of the player traffic. Both Lobby and Medical Research also have multiple augment-eligible containers worth clearing if you’re specifically chasing gear upgrades - our augments guide breaks down which tier is worth the detour.
Go in geared for a fight, and be ready to disengage the moment either room is already contested when you arrive.
Enemies and Locked Rooms
Stella Montis skips the game’s larger ARC enemies, but it has its own mix worth knowing.
Pops and Fireballs go down fast to light ammo and aren’t much of a threat solo. Shredders are considerably tankier - avoid them or lock them behind a door rather than committing ammo you’ll want for looting instead.
Some rooms are gated behind Security Breach panels rather than fuel cells, rewarding players who’ve invested skill points into that tree. One thing worth flagging for anyone cross-referencing older guides: Security Breach reward value was adjusted not long after Stella Montis launched, so treat pre-patch numbers with some caution.
Key Takeaways
- Low-risk tier: Staff Room + Assembly/Assembly Workshop nets 100K-150K in 10-15 minutes, with six bonus weapon crates along the way.
- Medium-risk tier: Cultural Archives (Archives Key required), Seed Vault, and Sandbox add value without heavy PvP exposure.
- High-risk tier: Lobby’s security floors and Medical Research can push a run past 200K, but both carry real PvP and Shredder risk.
- Stash value matters most right before an Expedition departure window, regardless of the specific reward structure that cycle.
- Pops and Fireballs are minor threats; Shredders are worth avoiding or locking away instead of fighting.
FAQ
What’s the safest loot route on Stella Montis?
The Staff Room in Loading Bay and Assembly/Assembly Workshop, run together. We consistently walk away with 100K to 150K in stash value in 10 to 15 minutes without touching any of the map’s contested zones.
How much stash value can you get from Stella Montis?
The low-risk core loop nets 100K to 150K. Adding the medium-risk expansion zones pushes that higher, and the high-risk rooms - Lobby’s security floors and Medical Research - can take a run past 200K if you’re willing to fight for it.
Do you need to breach the Staff Room?
Yes. It’s locked and requires a breach to open. It’s worth it - the room is dense with red lockers, and if you’ve got Security Breach unlocked, there’s usually a bonus panel in there too.
What should you prioritize in Assembly and Assembly Workshop?
Exodus material first. It sells high and feeds crafting for Mach 2 and Mach 3 augments, weapon attachments, and surge shield rechargers. Hit the yellow drawers and blue cabinets downstairs, then the white cabinets and drawers upstairs in Assembly Workshop.
Is Cultural Archives worth looting on Stella Montis?
Yes, if you’re willing to step up a risk tier. It’s dense with old-world commercial loot and sits behind the Stella Montis Archives Key, which is one of the strongest loot keys in the game.
Is Medical Research worth the risk on Stella Montis?
It holds some of the best loot on the map, but it’s also the single hottest PvP zone on Stella Montis and usually has two or three Shredders patrolling it. Treat it as a late-raid, well-equipped push, not a default stop.
What enemies are on Stella Montis?
Pops and Fireballs, which drop fast to light ammo, and Shredders, which are considerably tankier and worth avoiding or locking behind a door instead of fighting head-on.
How do fuel cell locked rooms work on Stella Montis?
Several storage rooms need fuel cells to open, some as many as three or four. We keep an eye out for fuel cells in Lobby and Sandbox even on runs where we’re not planning to use them immediately.
Are there weapon crates worth grabbing on the core loop?
Six sit close enough to the Staff Room and Assembly route to grab without a real detour: the Assembly tube, below the security bridge above Lobby Metro, the pipes near Robotics Control Room, either Robotics Sandbox, the security bridge’s top floor, and the Atrium.
Do you need to memorize the whole Stella Montis map to farm it well?
No. The core loop covers the safest, most repeatable value with just two rooms. Everything above that is an optional risk tier you can add once you know the map better.