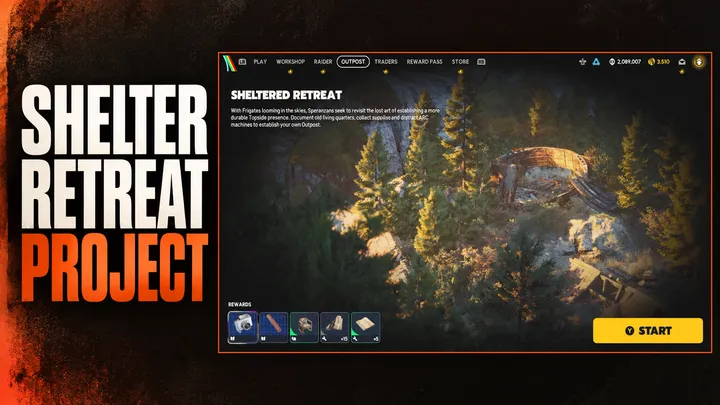
The Outpost tab is locked, and the Sheltered Retreat project is the only way in.
Recycle the wrong materials and you are back in extra raids for no reason.
We break down all three stages, the exact items, and a two-raid route that gets you through the project and into your Outpost.
Table of Contents
- What Is the Sheltered Retreat Project?
- Requirements Before You Start
- Sheltered Retreat Stages at a Glance
- Stage 1: Research Topside Living Conditions
- Stage 2: Gather Building Materials
- Stage 3: Safeguard the Building Site
- The Two-Raid Plan to Finish Sheltered Retreat
- What You Unlock After the Project
- Sheltered Retreat Not Working? Common Fixes
- Key Takeaways
- FAQ
What Is the Sheltered Retreat Project?
The Sheltered Retreat project is the three-stage questline that unlocks your Outpost, the surface base added in the Frozen Trail 2.0 update.
Embark’s 2.0 patch notes say the Outpost unlocks by completing a project.
The ARC Raiders Wiki names that project Sheltered Retreat and says you find it in the Outpost tab at the top of the menu screen.
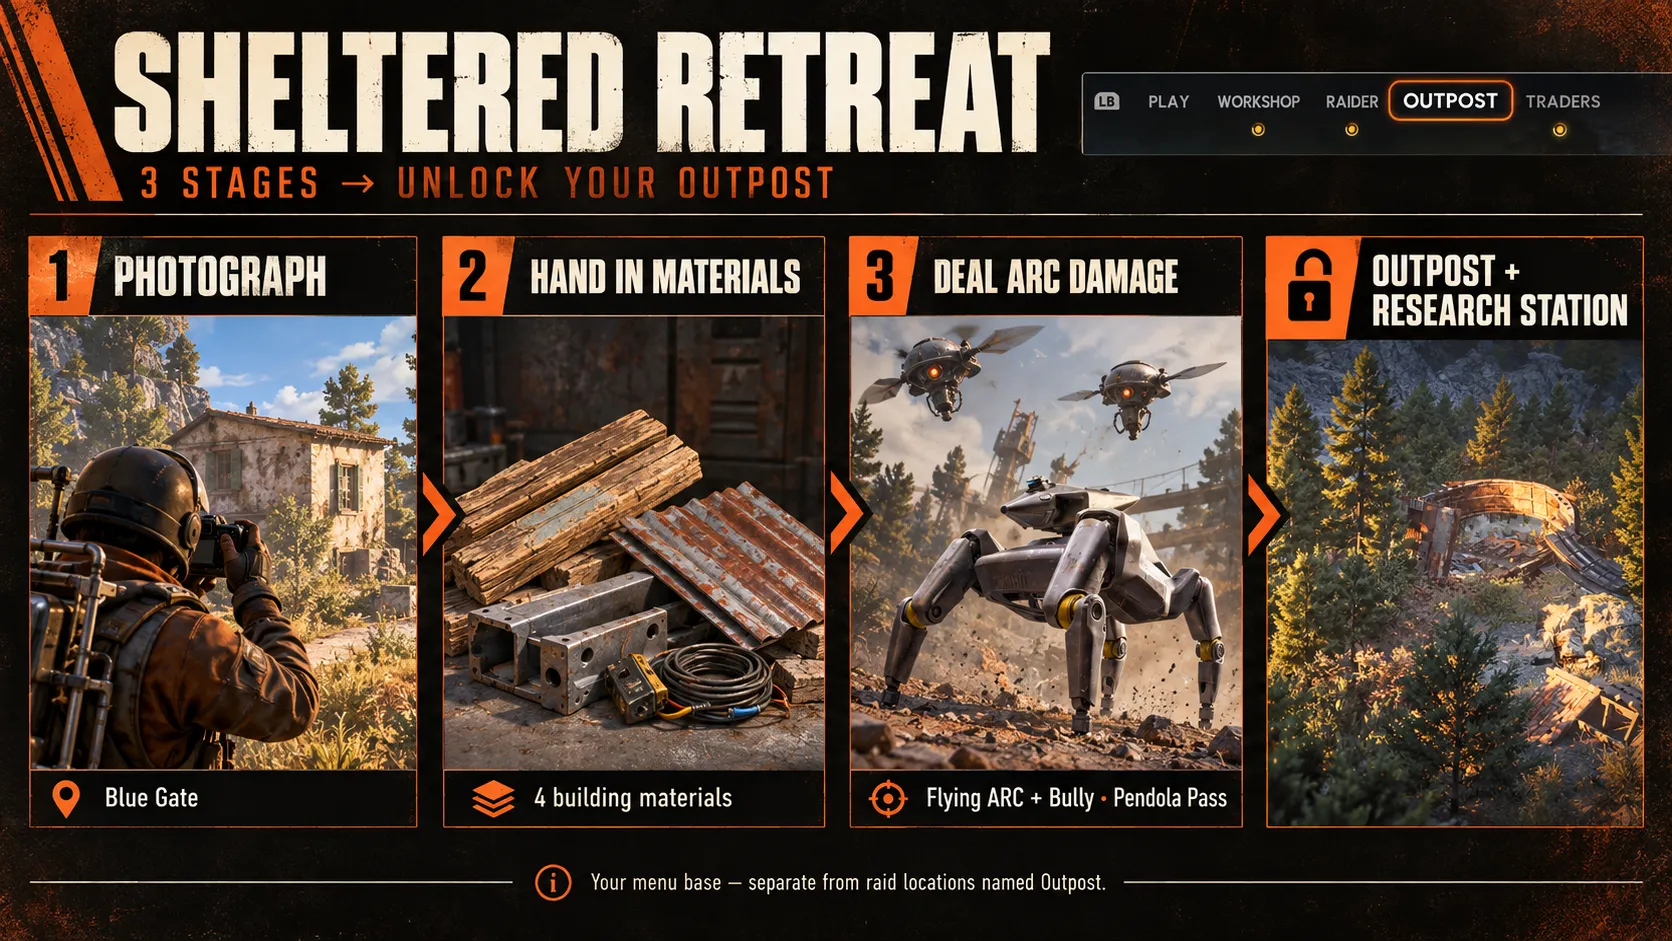
The short version: photograph a farmland house on Blue Gate, hand in four building materials, then deal damage to flying ARC and the Bully on Pendola Pass.
Finishing it also unlocks the Research Station, which Embark’s notes list as part of the Outpost. For what the base does after that, see our Outpost guide.
Not the Same as Map Outposts
Some raid locations, such as the South Swamp Outpost, share the name.
This guide covers the base you unlock from the menu, not a place you loot inside a raid.
Requirements Before You Start
Tick these off before you deploy:
- Level 18. Launch-week guides consistently report that the project appears at Level 18. Embark’s patch notes do not state a level, so check your level first if the Outpost tab shows nothing.
- A camera. Embark’s notes say to remember to accept the quest and bring your camera.
- Blue Gate. Stage 1 is set on this map, so it has to be available to you.
- Pendola Pass. Launch guides report the Bully only appears here, so you need access to the new map. The ARC Raiders Wiki says Pendola Pass unlocks after completing 25 rounds. Our Pendola Pass guide covers the map itself.
- The project accepted before you deploy. Accept it in the Outpost tab, then queue.
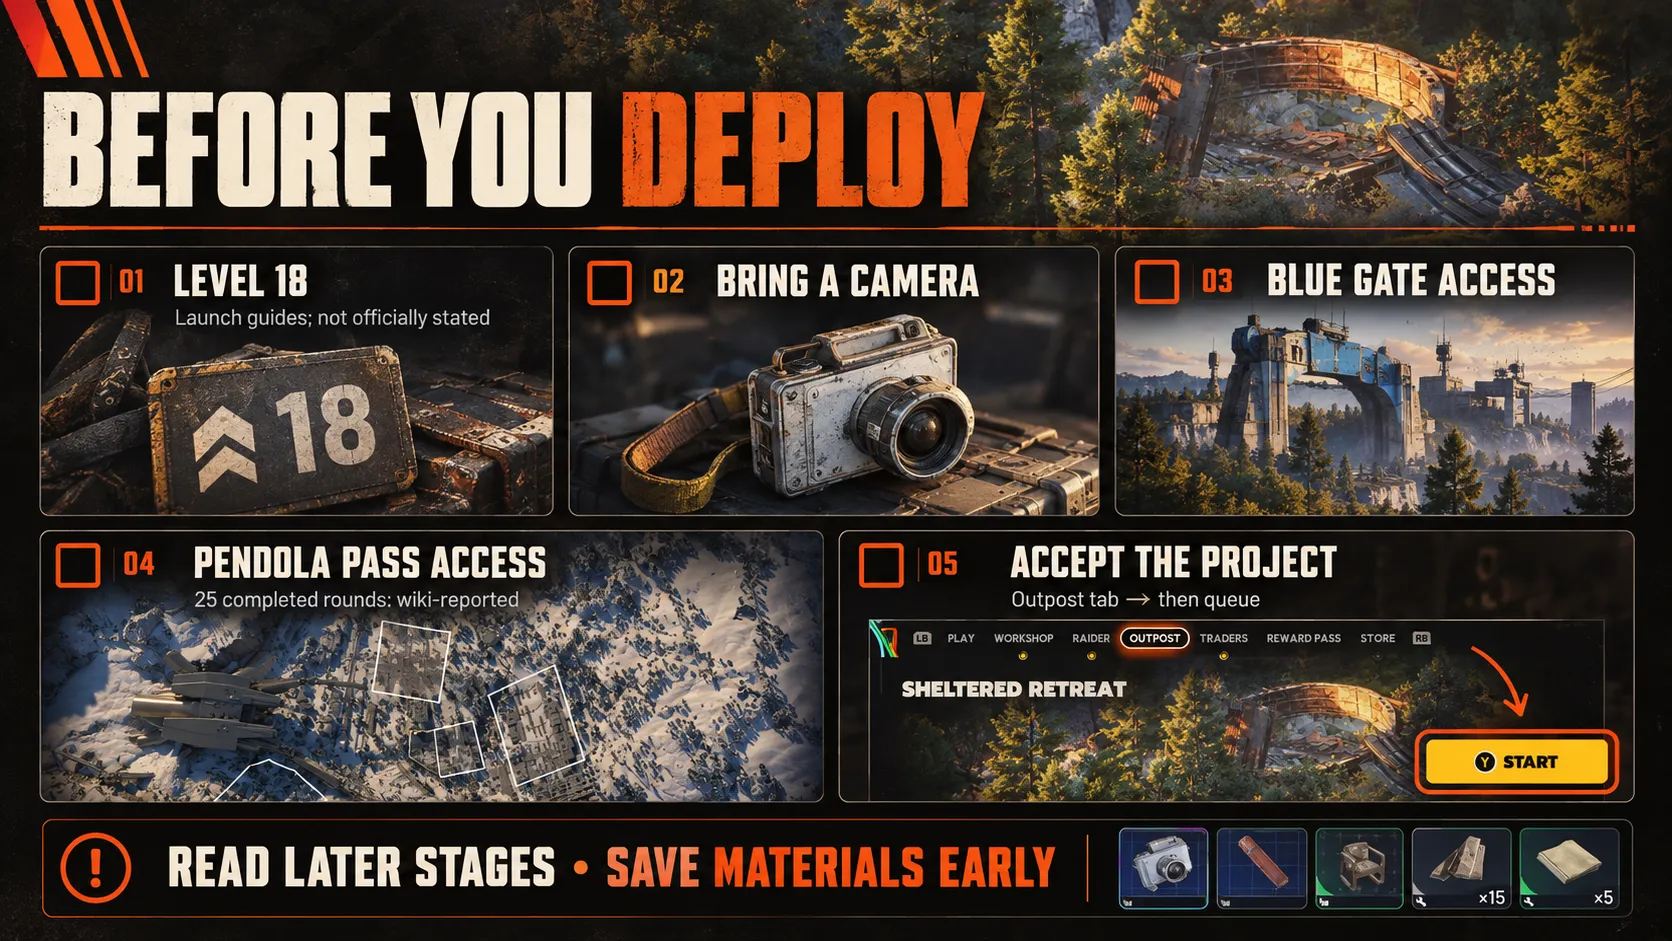
You can read the later stages before you reach them.
Use that to plan your materials from your very first raid.
Sheltered Retreat Stages at a Glance
| Stage | Objective | Requirements | Reward |
|---|---|---|---|
| 1. Research Topside Living Conditions | Photograph a farmland house near Ruined Homestead on Blue Gate | A camera | Advanced Camera Blueprint |
| 2. Gather Building Materials | Hand in building materials | 3 Planks, 5 Sheet Metal, 10 ARC Alloy, 3 Advanced Electrical Components | Red Light Stick Blueprint |
| 3. Safeguard the Building Site | Distract and destroy ARC | 800 damage to flying ARC, 300 damage to Bullies | Chair Design, 15 Planks, 5 Durable Cloth, Outpost access |
These numbers come from the wiki’s Outpost page.
Stage 1: Research Topside Living Conditions
Stage 1 asks you to take a photo of any farmland house around Ruined Homestead on Blue Gate.
Get a Camera
Frozen Trail adds Basic and Advanced Cameras.
Embark says you can buy one from Shani, craft one at the Workbench, or find one Topside.
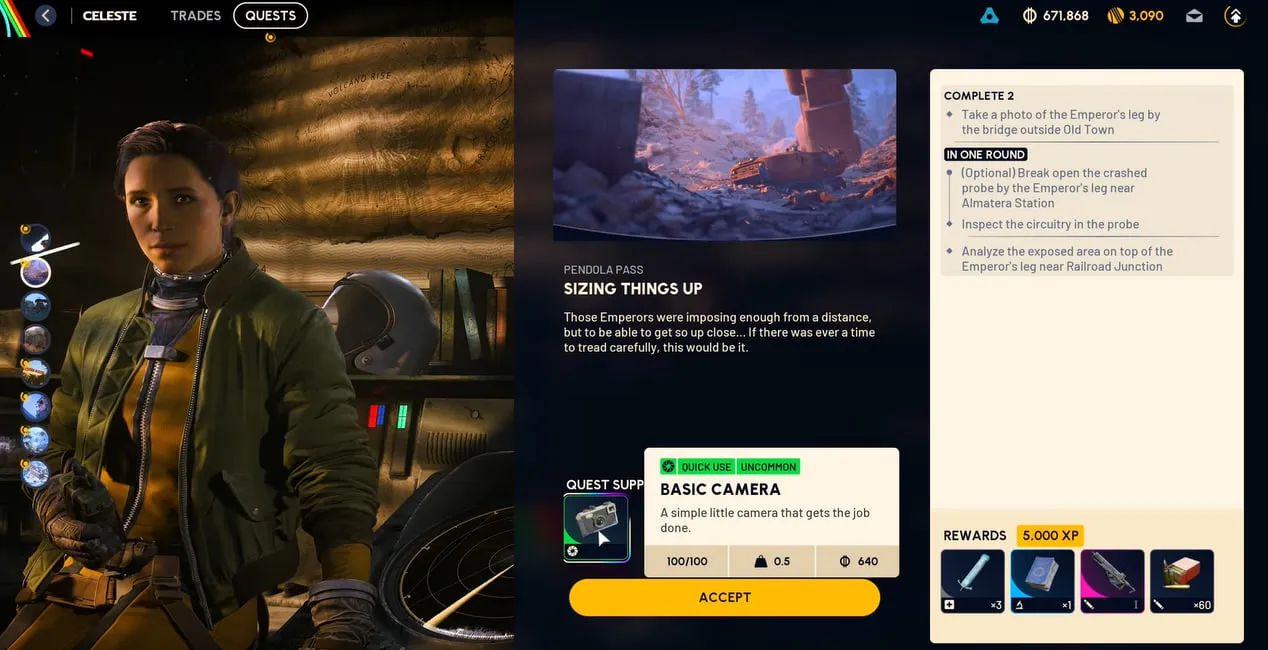
Shani’s offers are now Coin based and include Cameras.
Launch guides also report that the Sizing Things Up quest can hand you one.
Some guides name Celeste as the camera vendor. Embark’s known-issues list says the camera can be purchased at Shani’s, so check Shani first.
Bring the camera into the raid. Walking past the house does nothing without it.
Take the Photo at Ruined Homestead
Ruined Homestead sits on the south side of Blue Gate.
Head to the farm buildings, equip your camera, frame a whole house and shoot. Any farmland house in the area counts.
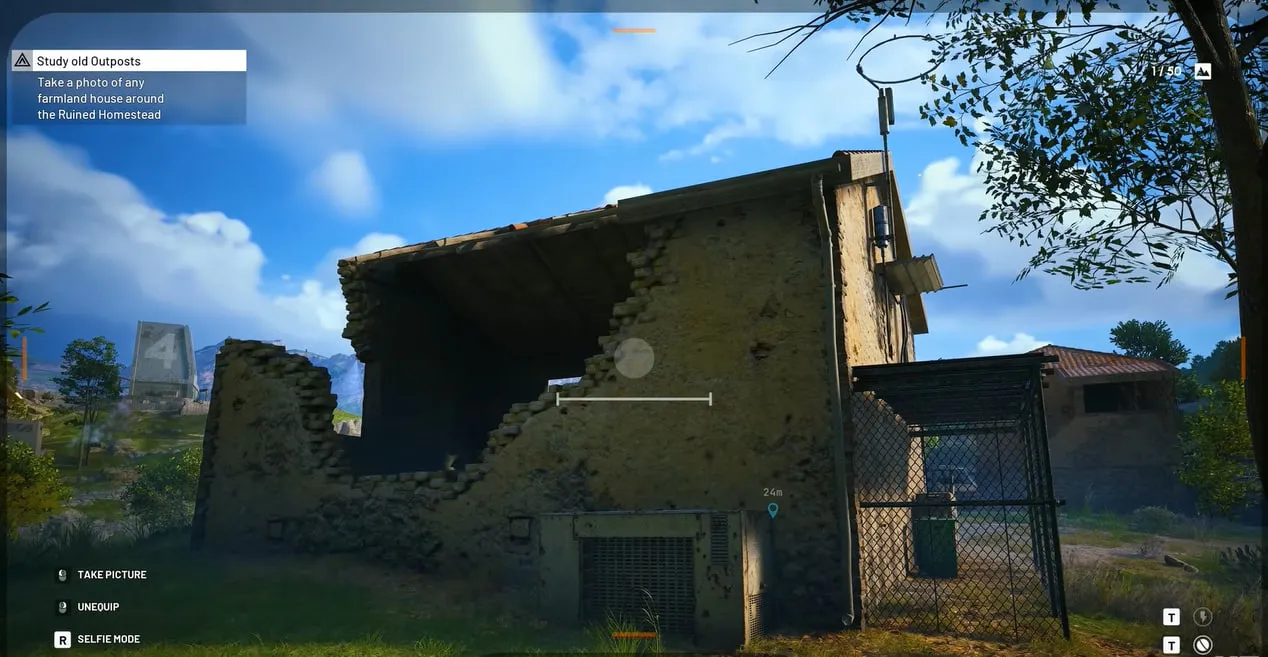
One launch guide reports a Bombardier patrols the area, so watch for Spotters before you stop to line up the shot.
Extract, then claim the stage in the Outpost tab.
Stage 2: Gather Building Materials
Stage 2 is a hand-in: 3 Planks, 5 Sheet Metal, 10 ARC Alloy and 3 Advanced Electrical Components.
Launch guides confirm items already in your Stash count toward the project.
| Material | Amount | Where to get it |
|---|---|---|
| Planks | 3 | Buy from Celeste (one guide reports 3 Assorted Seeds each) or loot containers, especially in industrial areas |
| Sheet Metal | 5 | Industrial areas on any map. Guides name the Railyard on Pendola Pass and the Stacking Yard and Customs House on Riven Tides. Celeste also sells it |
| ARC Alloy | 10 | Dropped by ARC. Wasps and Hornets, both airborne, drop it on any map |
| Advanced Electrical Components | 3 | Rare loot in Electrical areas. One guide also reports you can craft them at the Refinery from Wires and Electrical Components, so check your recipe list |
Advanced Electrical Components are the hardest to find, so they are the item most likely to slow you down. Dot Esports lists them as a Rare item, and KeenGamer tells players to save them first.
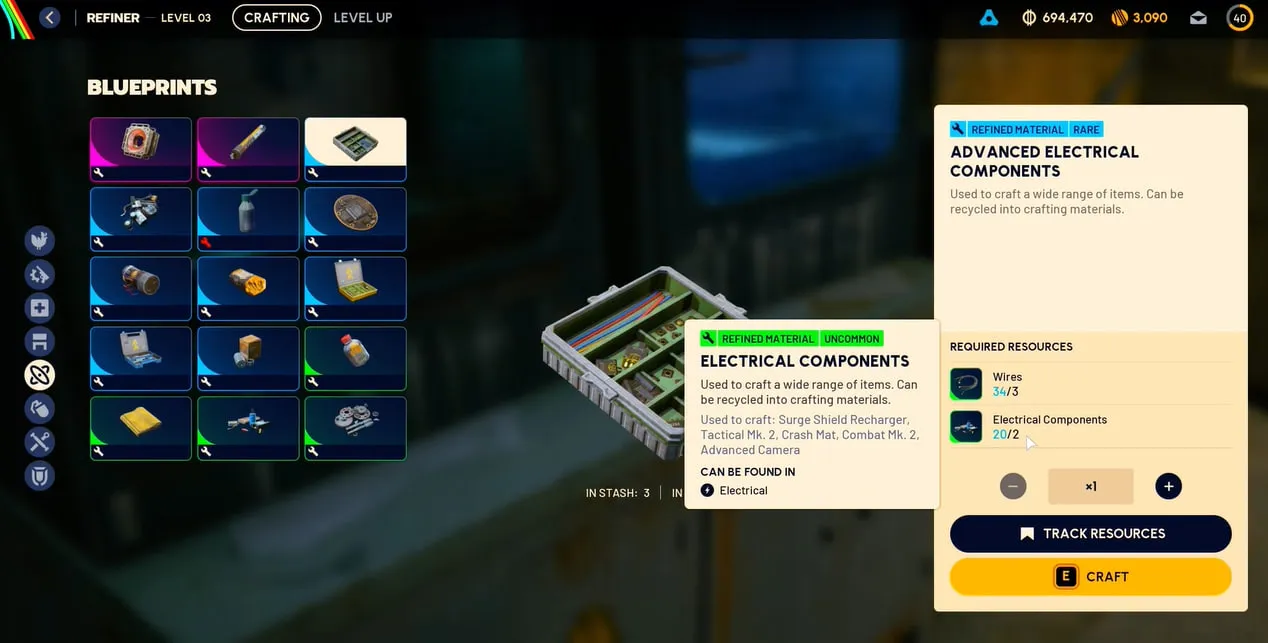
Do not recycle ARC Alloy, and do not spend any of these on unrelated crafts until the project is done.
Our loot map guide shows the best industrial and electrical zones, and our crafting guide covers Workshop recipes.
Stage 3: Safeguard the Building Site
Stage 3 is a damage check: 800 damage to flying ARC and 300 damage to Bullies.
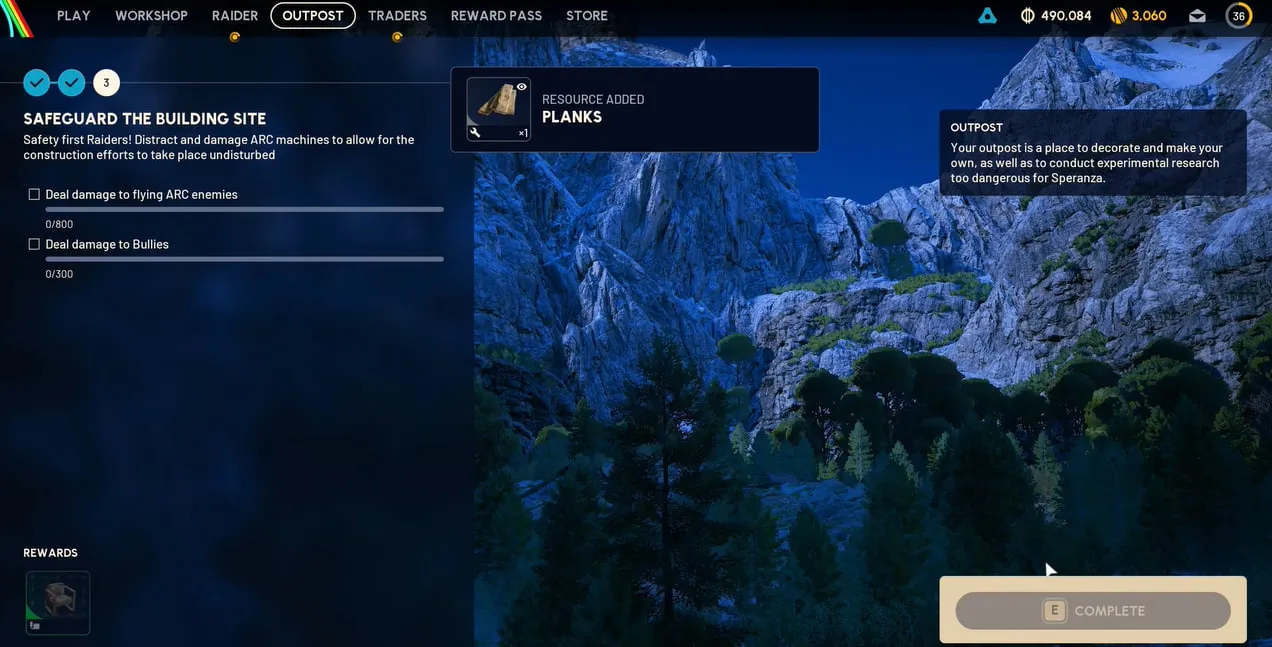
Flying ARC (800 Damage)
Flying ARC show up on nearly every map.
Launch guides estimate 7 to 8 kills cover the 800.
Wasps and Hornets double as your ARC Alloy supply, so kill them and loot them. Any stage 2 shortfall closes at the same time. Embark pitches the Yank Grenade for pulling flying ARC down to the ground, which can help with the 800 damage.
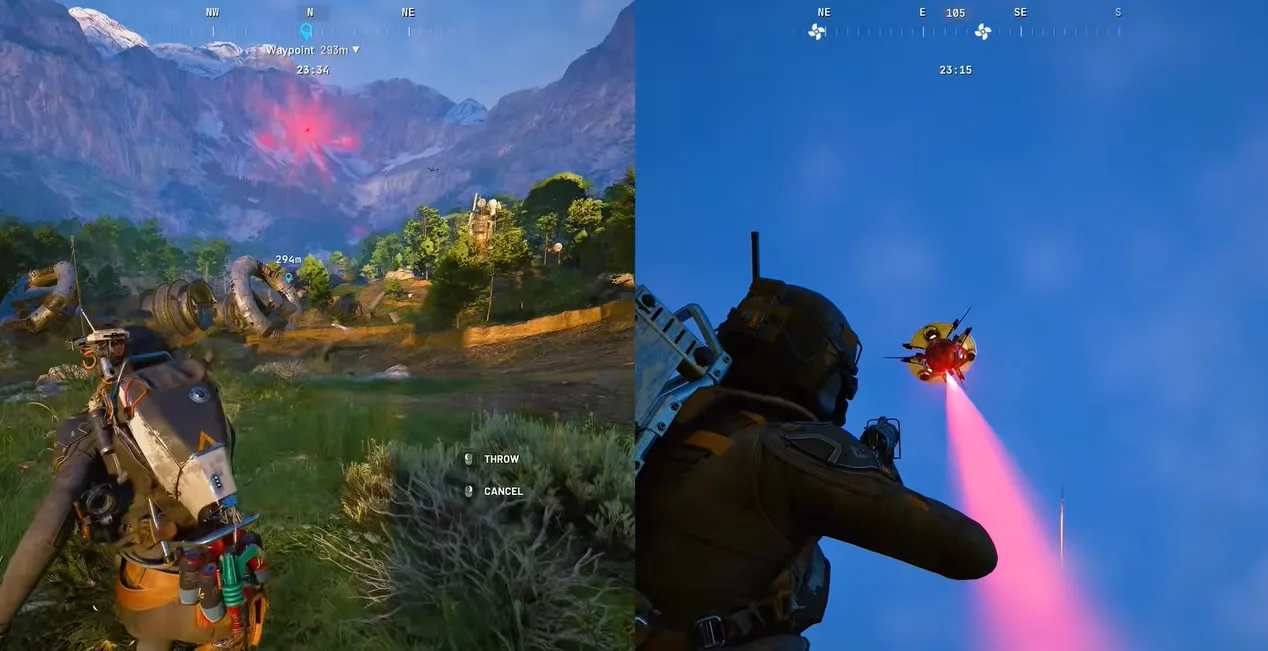
Some guides report that flying ARC damage also counts on other maps such as Spaceport. Pendola Pass has both targets, so taking them together there saves a raid.
The Bully (300 Damage)
The Bully is the hard part. Launch guides report it only appears on Pendola Pass, though Embark’s posts do not say where it spawns.
The wiki’s Bully page lists it as heavily armored with weak spots on the legs, and says the head opens up to reveal a weak spot when you shoot it. That wiki page is still marked as a stub, so treat the details as early.
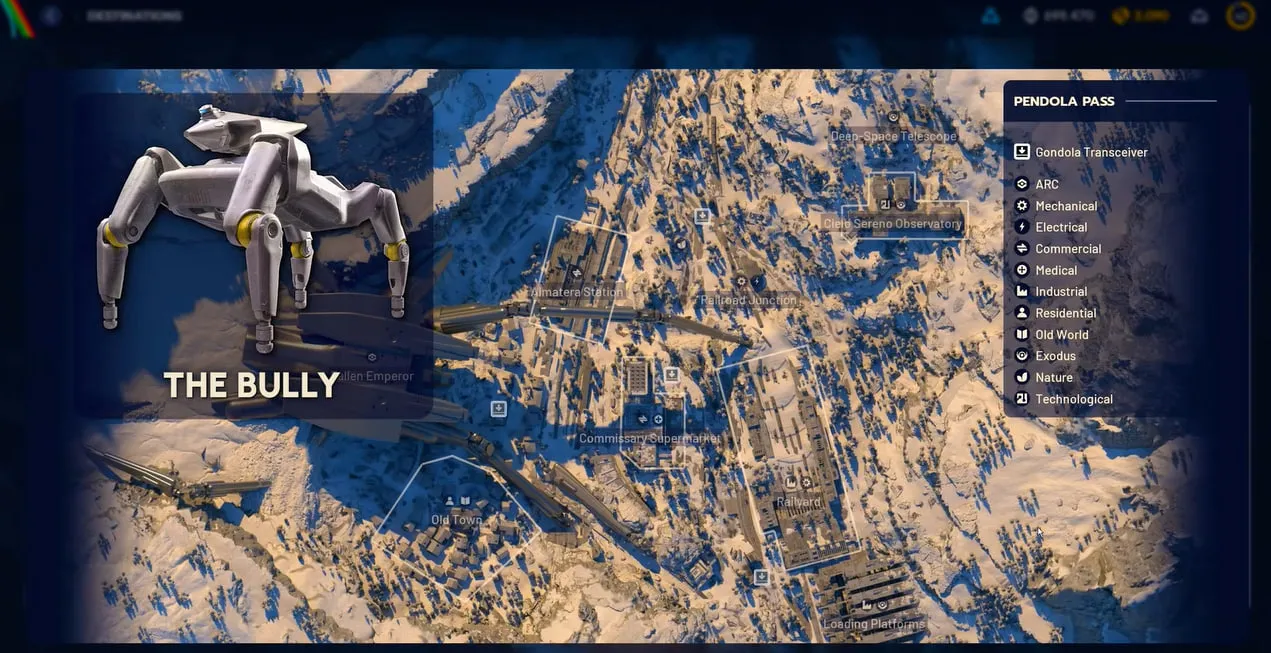
Its codex entry describes relentless charges to close distance, so do not fight it in open ground.
Embark reworked the explosive damage formula in 2.0. Explosive weapons like the Hullcracker now deal over 50% more damage against armor plates and around 30% less against fragile parts.
That makes explosives a sensible pick against heavy armor, with one trade-off: they are slightly weaker against weak points, so mix in precise shots at the legs. One launch guide also suggests Wolfpack grenades and fighting from indoors or a roof.
Tian Wen no longer sells the Hullcracker. Embark moved it to the weekly Nomadic Envoys rotation, so check their stock if you do not own one.
Our Bully guide covers its weak points and counters, our ARC enemies guide has the full roster, and our best loadout guide covers what to bring.
The Two-Raid Plan to Finish Sheltered Retreat
You need two raids at minimum, one per map. This order wastes nothing:
- Prep in Speranza. Accept the project, read stage 2, and stop recycling the four materials.
- Raid 1 on Blue Gate. Bring a camera, photograph a farmland house at Ruined Homestead, loot Planks and Sheet Metal on the way, then extract and claim stage 1.
- Check your Stash. Buy Planks from Celeste if you are short, then hand in all four materials to claim stage 2.
- Raid 2 on Pendola Pass. Bring an explosive weapon, kill flying ARC first, then fight the Bully. Our extraction guide covers getting out with your loot, and our Flash Freeze guide explains where to shelter if a storm hits. Our Exploring Pendola Pass quest guide covers that quest if you want to finish it on the same trip.
- Claim stage 3 in the Outpost tab.
If you are short on ARC Alloy or Advanced Electrical Components, add a loot run before raid 2 rather than pushing into Pendola Pass unprepared.
What You Unlock After the Project
Stage 3 gives you a chair Design, 15 Planks and 5 Durable Cloth. The wiki lists the chair as the Hotel Chair Design, and some guides call it the Decorative Chair.
Then the Outpost opens up:
- Modules and furniture. Embark says the Outpost expands with different modules. There are 100 Furniture Designs: 73 found Topside, 22 unlocked by upgrading the Outpost, 4 exclusive to the Frozen Trail Pass and 1 exclusive to the DLC.
- The Research Station. The wiki lists level 1 as 3 Mini Pumps, 35 Planks and 5 Battered Paperbacks. That page is marked as a stub, so confirm in-game. Start banking Planks now, since stage 3 only covers 15.
- No walking at launch. The wiki says the Outpost is not walkable in Frozen Trail.
- Weapon amplification. Embark’s Frozen Trail First Look says a fully upgraded Research Workstation unlocks a fifth weapon quality tier for 15 weapons. Our amplified weapons guide covers every perk path, and our Frozen Trail update breakdown lists the rest of the 2.0 content.
Sheltered Retreat Not Working? Common Fixes
- No project in the Outpost tab. Open the Outpost tab at the top of the menu and check you are Level 18.
- The photo will not register. Make sure the camera is in your loadout, try a different farmland house, and frame the whole building.
- No notification dot. Embark lists the missing orange dot on the Outpost tab after the first stage as a known issue, so open the tab yourself after you extract.
- Stage 3 will not move. Confirm you claimed stages 1 and 2 first, and that you are on Pendola Pass for the Bully.
- Short on materials. Stop crafting with them and buy Planks from Celeste.
Key Takeaways
- The Sheltered Retreat project unlocks the Outpost and Research Station.
- Launch guides report Level 18. Embark does not state a level.
- Stage 1: photograph a farmland house at Ruined Homestead on Blue Gate with a camera.
- Stage 2: 3 Planks, 5 Sheet Metal, 10 ARC Alloy, 3 Advanced Electrical Components.
- Stage 3: 800 damage to flying ARC and 300 to Bullies, with the Bully reported only on Pendola Pass.
- Pendola Pass reportedly unlocks after 25 rounds.
- Save materials early and plan two raids.
- Bank Planks afterward for the Research Station.
FAQ
How do you unlock the Outpost in ARC Raiders?
You unlock the Outpost by completing the three-stage Sheltered Retreat project in the Outpost tab.
Photograph a farmland house at Ruined Homestead on Blue Gate, hand in four building materials, then deal damage to flying ARC and the Bully on Pendola Pass.
Completing stage three unlocks the Outpost and its Research Station.
What level do you need for the Sheltered Retreat project?
Launch-week guides consistently report Level 18.
Embark’s patch notes do not state a level requirement.
If the project is missing from your Outpost tab, check your level first.
Where do you take the photo for Sheltered Retreat?
Take it at Ruined Homestead on Blue Gate, on the south side of the map.
Any farmland house in the area works.
You need a camera in your loadout, and visiting the building without photographing it does not count.
Where do you get a camera in ARC Raiders?
Embark says you can buy a camera from Shani, craft one at the Workbench, or find one Topside.
Shani’s offers are Coin based.
Launch guides also report that the Sizing Things Up quest can give you one.
What materials does Sheltered Retreat stage 2 need?
Stage 2 needs 3 Planks, 5 Sheet Metal, 10 ARC Alloy and 3 Advanced Electrical Components.
Launch guides flag Advanced Electrical Components as the hardest of the four to find.
Save all of them before you finish stage 1 so you do not need extra raids.
Where do you find the Bully in ARC Raiders?
The Bully appears on Pendola Pass, the new Frozen Trail map.
Launch guides report it spawns nowhere else.
You need to deal 300 damage to Bullies for stage 3.
How much damage do you need to deal in Sheltered Retreat stage 3?
You need 800 damage to flying ARC enemies and 300 damage to Bullies.
Launch guides estimate that 7 to 8 flying ARC kills cover the first number.
The Bully is the harder half because it charges and wears heavy armor.
What do you get for completing Sheltered Retreat?
Stage 3 rewards a chair Design, 15 Planks, 5 Durable Cloth and permanent access to the Outpost.
The earlier stages give an Advanced Camera Blueprint and a Red Light Stick Blueprint.
Unlocking the Outpost also unlocks the Research Station.
Can you see Sheltered Retreat stages before you reach them?
Yes. Launch guides confirm you can read the later stages in advance.
Check stage 2 early and stop recycling the four materials it needs.
Do you need the Outpost for amplified weapons?
Yes. Embark says you establish the Outpost and then fully upgrade the Research Workstation to reach the fifth weapon quality tier.
Amplification starts with 15 supported weapons.
Finishing Sheltered Retreat is the first step in that chain.